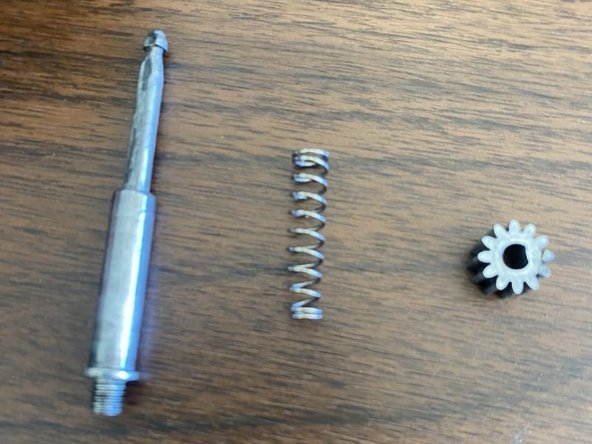
Salta al contenuto principale

Cosa ti serve

Questo smontaggio non è una guida di riparazione. Per riparare il tuo ZEBCO 202k, usa il nostro manuale di assistenza.

  1. ZEBCO 202k Teardown, ZEBCO 202k Teardown: passo 1, immagine 1 di 1
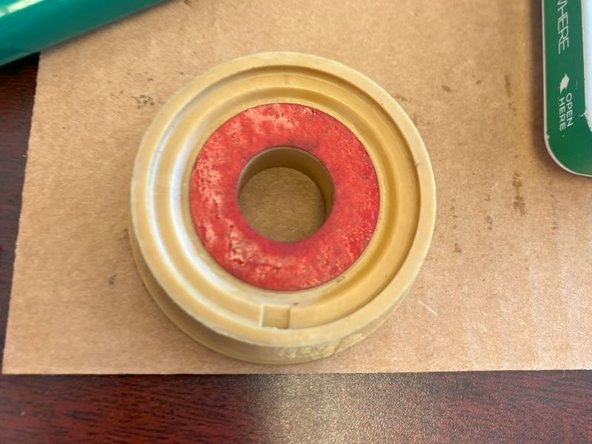
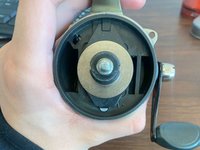
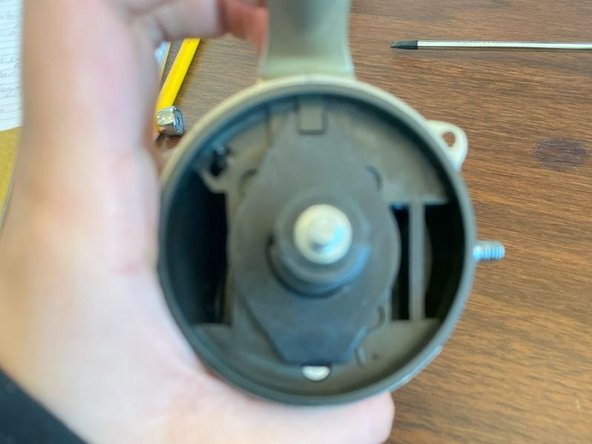
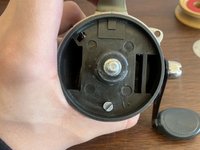
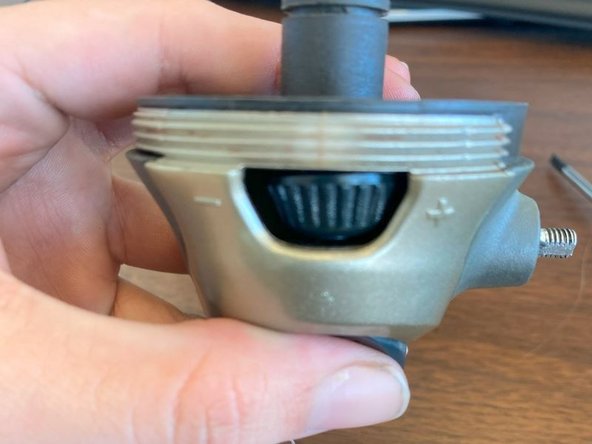
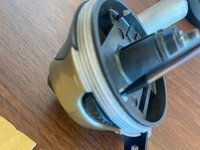
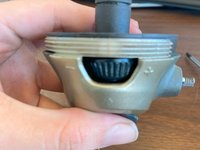
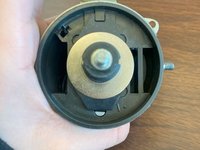
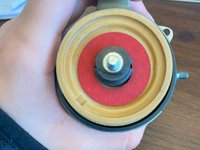
    • remove front cover assembly (red cap)

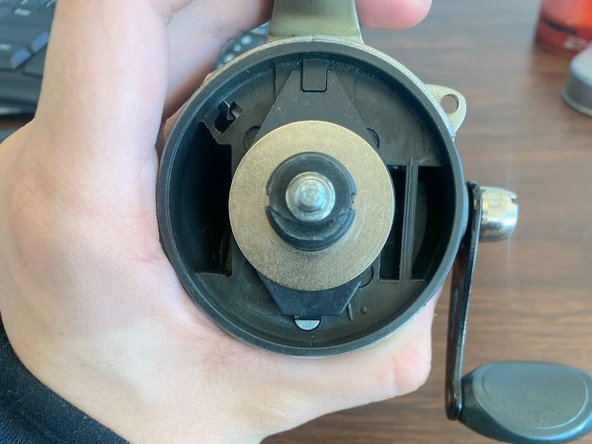
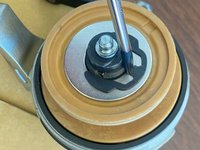
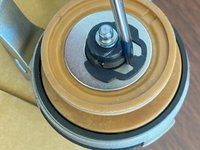
    • turn assembly cap counterclockwise

  2. ZEBCO 202k Teardown: passo 2, immagine 1 di 1
    • Takeoff spinner head assembly. (metal cap)

    • Hold the handle and turn spinner head assembly counterclockwise

  3. ZEBCO 202k Teardown: passo 3, immagine 1 di 3 ZEBCO 202k Teardown: passo 3, immagine 2 di 3 ZEBCO 202k Teardown: passo 3, immagine 3 di 3
    • Use flat head to remove the spool clip

    • remember order of washers for assembly.

    • after removing spool clip washer, you can also pull out spool

  4. ZEBCO 202k Teardown: passo 4, immagine 1 di 3 ZEBCO 202k Teardown: passo 4, immagine 2 di 3 ZEBCO 202k Teardown: passo 4, immagine 3 di 3
    • Underneath the spool there will be a thin washer and a drag adjuster spring.

    • lift up to remove

  5. ZEBCO 202k Teardown: passo 5, immagine 1 di 2 ZEBCO 202k Teardown: passo 5, immagine 2 di 2
    • Using the flat head unscrew drag actuator.

    • Will need to hold the drag nob down to keep it from moving.

  6. ZEBCO 202k Teardown: passo 6, immagine 1 di 3 ZEBCO 202k Teardown: passo 6, immagine 2 di 3 ZEBCO 202k Teardown: passo 6, immagine 3 di 3
    • remove back assembly from body assembly by pushing up oppisites side off handle

    • no tools are needed

  7. ZEBCO 202k Teardown: passo 7, immagine 1 di 2 ZEBCO 202k Teardown: passo 7, immagine 2 di 2
    • remove spring from center shaft by pulling it by hand or help of flat head

    • center shaft will fall from the middle

  8. ZEBCO 202k Teardown: passo 8, immagine 1 di 1
    • unscrew handle to remove driven gear and to remove anti reverse.

  9. ZEBCO 202k Teardown: passo 9, immagine 1 di 1
    • insert driven and anti revers screw and reconnect handle.

  10. ZEBCO 202k Teardown: passo 10, immagine 1 di 1
    • slide in back assembly

    • screw in drag nob and drag actuator

  11. ZEBCO 202k Teardown: passo 11, immagine 1 di 3 ZEBCO 202k Teardown: passo 11, immagine 2 di 3 ZEBCO 202k Teardown: passo 11, immagine 3 di 3
    • insert drag adjuster spring

    • then thin washer

    • spool then red washer and the last whasher

    • at the top you will need to clip in spool clip.

  12. ZEBCO 202k Teardown: passo 12, immagine 1 di 1
    • turn spinner head assembly till lock into place

    • put front cover assembly back on

Documenti Allegati

Daniel

Membro da: 09/09/24

205 Reputazione

1 Guida realizzata

0Commenti sulla guida

Aggiungi Commento

Visualizza Statistiche:

Ultime 24 Ore: 0

Ultimi 7 Giorni: 0

Ultimi 30 Giorni: 4

Tutti i Tempi: 150