Complete teardown of Sidekick II
Questo smontaggio non è una guida di riparazione. Per riparare il tuo Sidekick II, usa il nostro manuale di assistenza.
-
-
Use the plastic opening tool to remove the 4 buttons on each corner of the Sidekick.
-
Gently pry open button and remove button.
-
Do this for each of the 3 buttons remaining.
-
-
-
-
Flip the screen up halfway (90 degrees), to reveal the 2 screws above the right side of the keyboard.
-
Use the Torx 6 screwdriver to remove these 2 screws.
-
Be careful in handling the phone after removing the screws, because the two main bodies of the phone are no longer attached.
-
-
After removing the 6 screws and both bumpers, the phone will be easy to separate into the two main bodies.
-
You can use your hands to simply pull apart the top casing from the bottom casing.
-
-
-
-
-
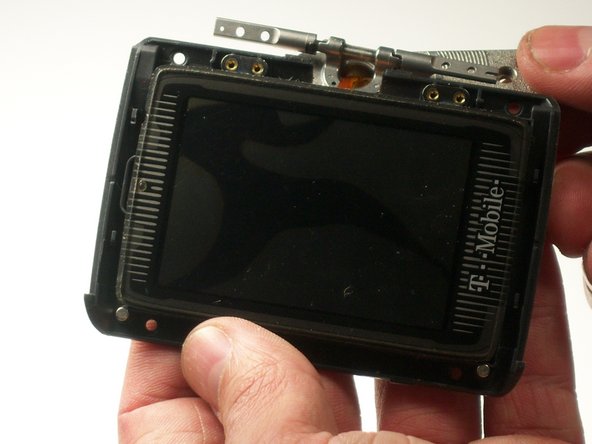
Remove 4 screws from front of screen with Phillip screwdrivers.
-
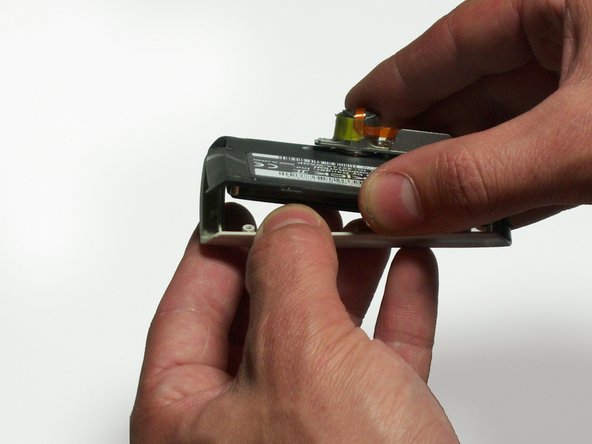
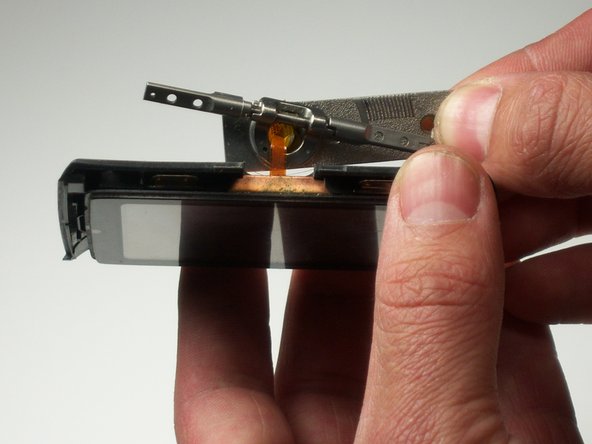
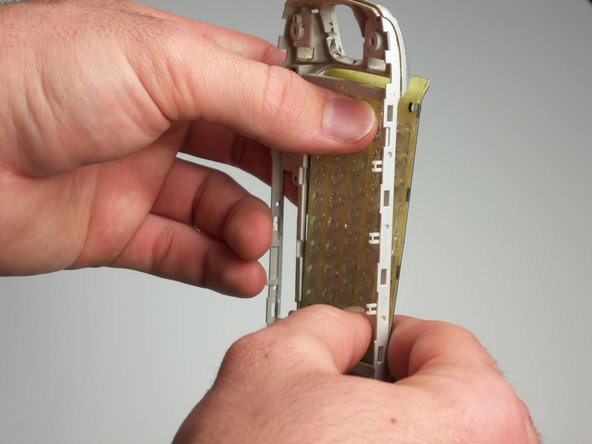
Peel off the metal covering on the back of the screen.
-
Be careful when taking off the metal covering. The orange ribbon will not come out all the way, and it is fragile.
-
-
Remove the protective cover in front of the screen.
-
Do not use metal tools, you may damage the protective cover or the screen. Use your fingers only.
-
-
-
-
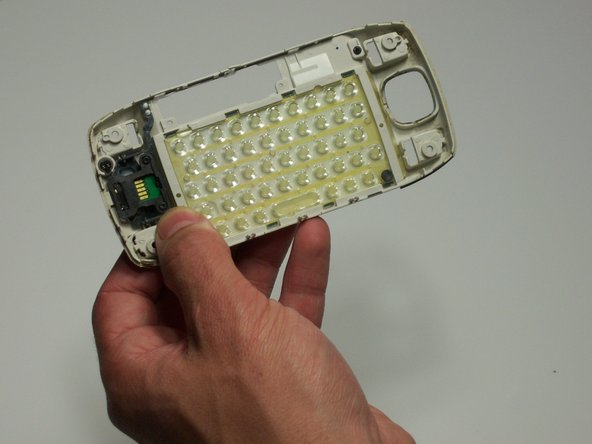
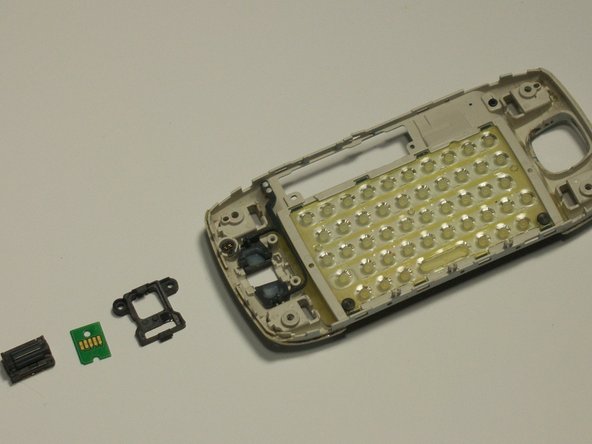
Remove the 5 black screws with a Phillips head screwdriver.
-
Lift the bottom of the control board from housing, and separate the two.
-
-
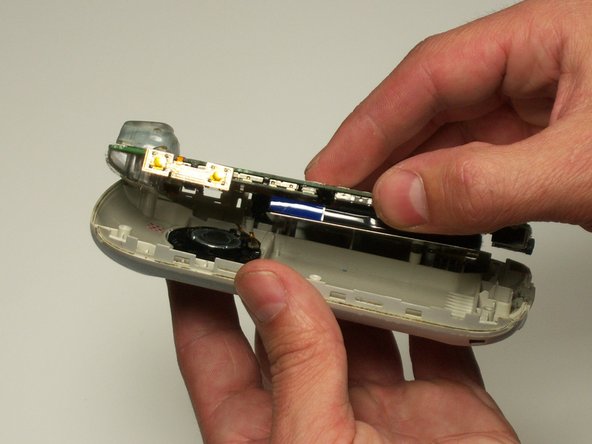
Carefully remove battery and back plate.
-
Do not use metal tools, you may damage the control board. Use only your fingers.
-
Incorpora questa guida
Scegli una dimensione e copia il codice qui sotto per incorporare questa guida come un piccolo widget sul tuo sito/forum.
Anteprima