Introduzione
Introducing the Samsung Galaxy S 4G. Not to be confused with the Samsung Galaxy S, Galaxy S II, or Galaxy Tab, the Galaxy S 4G is Samsung's newest entry to the smartphone arena. Join us today as we unravel the mysteries of the Galaxy S 4G.
Follow us on twitter to get all the latest updates.
Cosa ti serve
-
-
It's been nearly a year since T-Mobile released the Samsung Galaxy S in the United States, and this time they're back with the Samsung Galaxy S 4G.
-
The Samsung Galaxy S 4G is the newest revision (at least available to the public) to the Samsung Galaxy S (Samsung Vibrant).
-
Tech Specs:
-
1 GHz Processor
-
480 x 800 Super AMOLED display
-
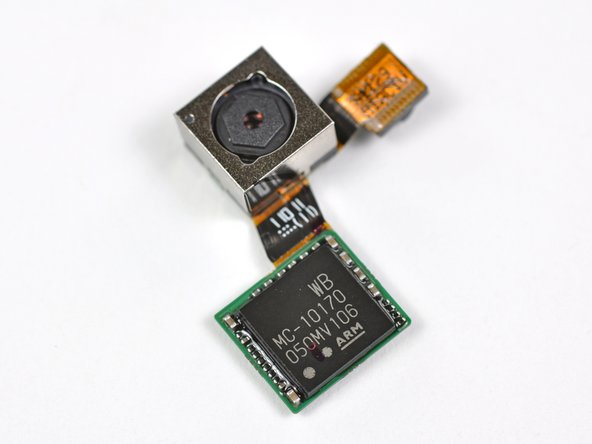
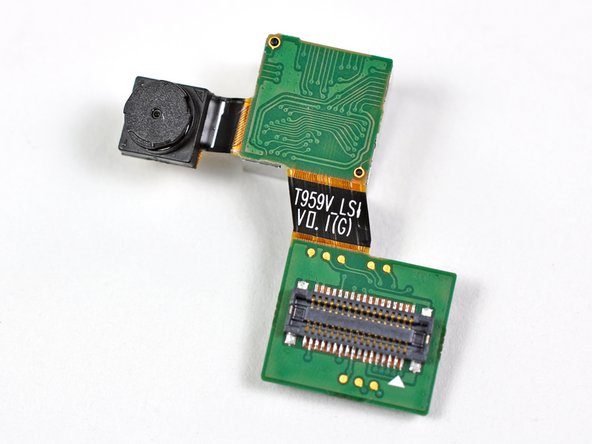
5.0 MP Rear-facing camera and a VGA Front-facing camera
-
1 GB onboard memory, with up to 32 GB microSD storage
-
512 MB DRAM
-
-
-
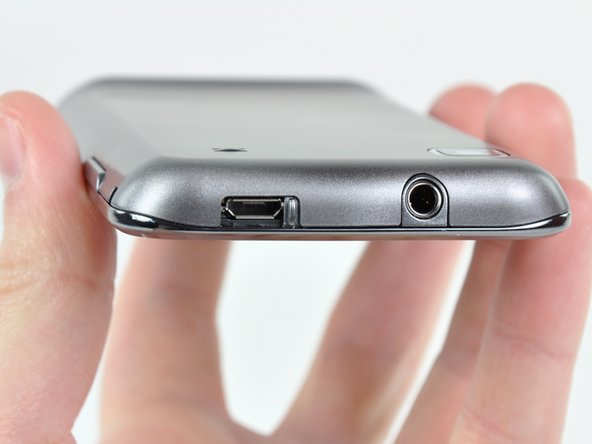
The Samsung Galaxy S 4G's graphite-looking back complements the phone's sleek contour.
-
The first bummer: what we have here is a fairly noticeable gap between the glass front panel and the outer framework. It'd be less of a concern if a cell phone's primary home isn't the pocket of its user.
-
-
-
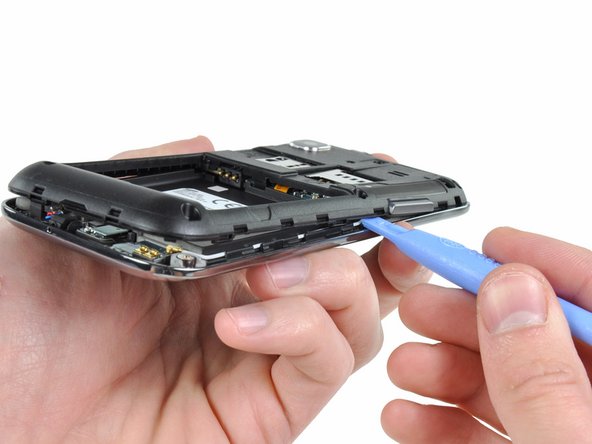
Well lookie lookie...what have we here? The rear panel is easily removed, revealing both SIM and microSD card slots, as well as what seems to be a replaceable battery!
-
As predicted (not that we're psychic or anything) the battery is easily removable, thus easily replaceable. Thanks, Samsung!
-
You may be asking yourself what powers this device?
-
The 3.7V Li-Ion battery inside the Galaxy S 4G lists a capacity of 6.11 Watt-hours, or 1650 mAh.
-
-
-
Adios plastic framework...we hardly knew ye...
-
With the plastic framework gone, we get a good look at the Galaxy S 4G's internals. The motherboard is quite compact.
-
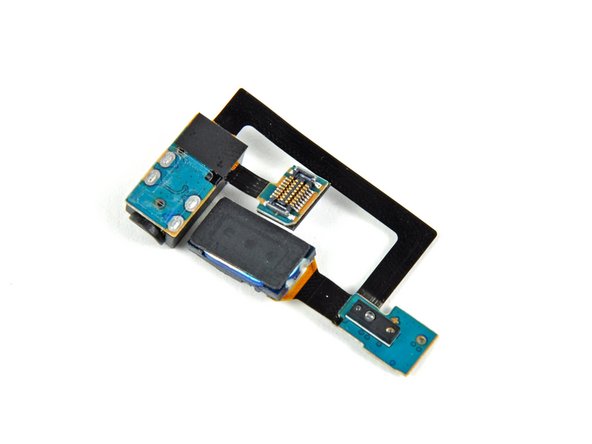
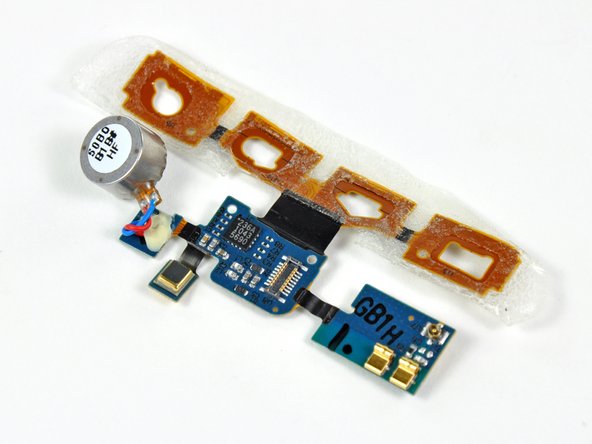
The first item that is readily removable is the loudspeaker. Removing it requires a simple flip of the ZIF ribbon cable lock on the motherboard.
-
-
-
-
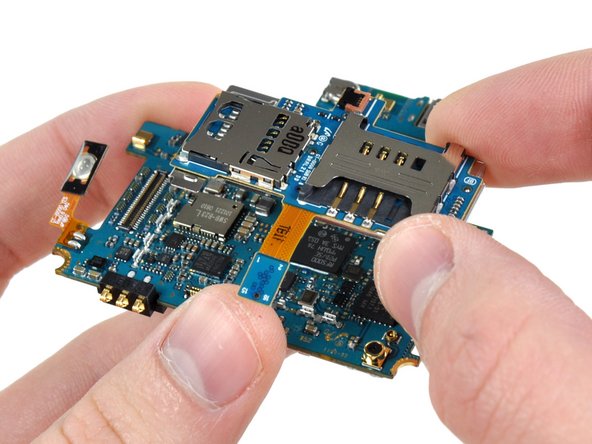
After removing a few more connectors, the motherboard assembly can be lifted right off the inner framework.
-
An interconnect board is adhered to the rear EMI shield and hosts the SIM card and microSD card slots. We popped them off as one piece to get a look at the ICs that make this thing tick.
-
-
-
Big players on the front of the motherboard include:
-
Samsung KB100L00WM-A453 4Gb (512 MB) of mobile DRAM which contains a 1 GHz Intrinsity Processor in a package-on-package configuration, according to the fine folks at Chipworks.
-
ST Ericsson's THOR M5730 HSPA+ Thin Modem
-
Bosch Sensortec Accelerometer
-
Maxim MAX8987 DC Power Management
-
ST Ericsson GNS7560 Single Chip GPS Solution
-
-
-
On the back of the board:
-
Broadcom BCM4329 802.11n Wi-Fi, Bluetooth 2.1, and FM Tuner
-
Wolfson Microelectronics WM8994 Audio CODEC
-
Skyworks SKY77460 WCDMA/HSPA+ Power Amplifier
-
ST Ericsson RF5000 Radio Transceiver (part of THOR M570 chipset)
-
Skyworks SKY77544 TX-RX Front End Module
-
Skyworks SKY77447 Load Insensitive Power Amplifier for WCDMA / HSDPA / HSUPA / HSPA+ Band II
-
-
-
Unfortunately, the Galaxy S 4G cannot be disassembled further without prying the front panel off the inner metal frame.
-
Heat gun time!
-
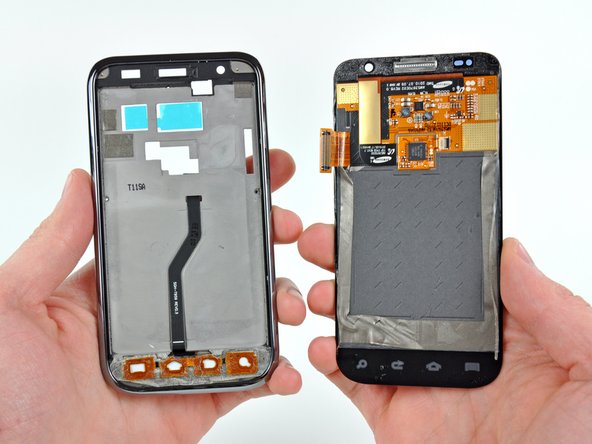
Separating the front panel assembly from the rear panel assembly requires loosening the adhesive around the perimeter.
-
Add a little heat and some opposing forces, and BAM! Front panel and rear panel successfully separated.
-
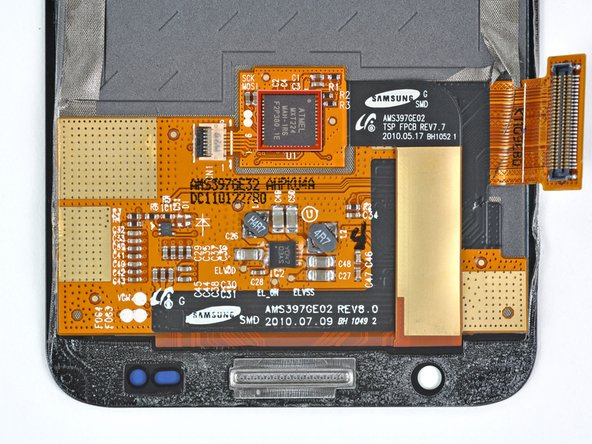
On the back of the display assembly we find the Atmel mXT 224 touchscreen controller, which provides capacitive multi-touch capabilities, and is also found in yesterday's Motorola Atrix teardown.
-
-
-
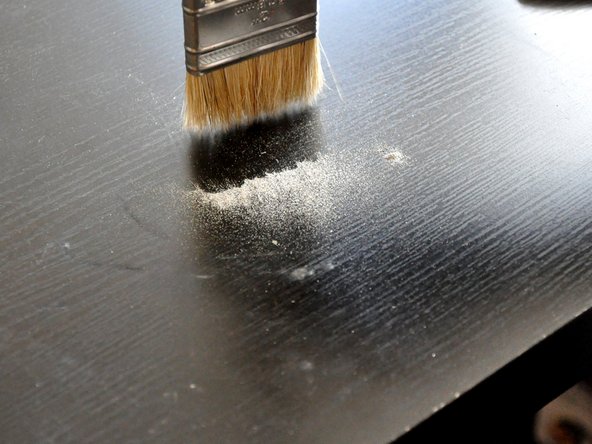
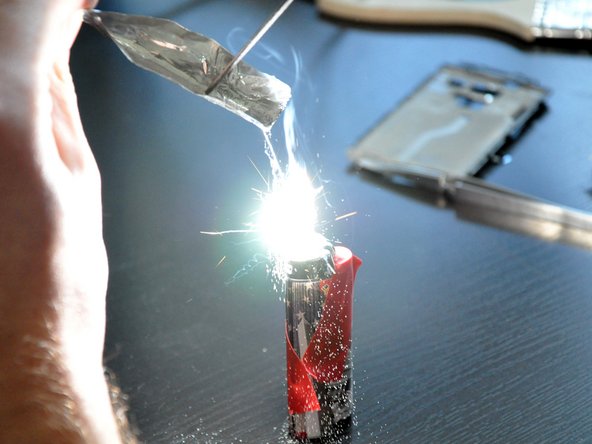
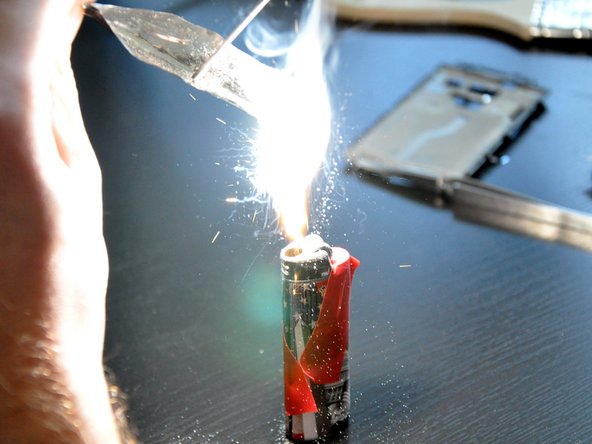
A simple way to verify the magnesium hypothesis was to file away a small pile of dust from the mid-plane frame and...well...light it on fire.
-
Yup, looks like it's magnesium.
-
But why magnesium? If you take a look at your old pal, the Periodic Table, it is one of the lightest metals - more so than even aluminum. Additionally, its high strength makes it ideal for providing structural support where weight is a major concern.
-
-
-
Samsung Galaxy S 4G Repairability Score: 6 out of 10 (10 is easiest to repair)
-
Removing the rear panel to replace the microSD/SIM cards and the battery requires no tools.
-
Attaching components like the headphone jack to separate cables makes their replacement less costly than replacing the entire motherboard.
-
Less-than-stellar fit of the front panel and chromed plastic accents can lead to cosmetic issues after long-term use.
-
The front panel is adhered to the AMOLED display, so they must be replaced as one expensive unit.
-


Un commento
How similar is this to the S4 model with the micro USB? I need to repair both my wife's phone and my own as the miniUSB jack is worn out. FWIW, I am a retired electronics technician, repairing mainly audio equipment such as amplifers and the like. I have the tools for SMD as well. I hope there is a teardown of the S4 already and maybe someone can point me to it? I will continue my search and book mark this page as a reference. THANKS!!!