Introduzione
Here I´m showing a repairablility index of -1 aka bad design.
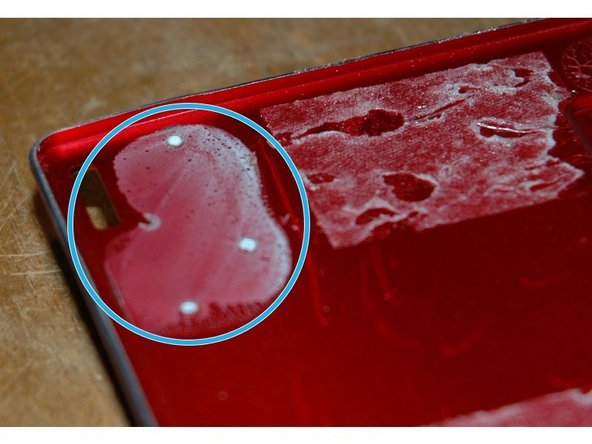
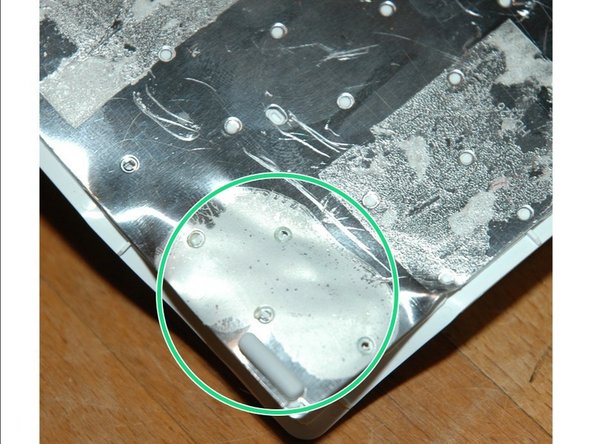
This Keyboard has been glued together not only with double sided tape but also with superglue making it impossible to repair. All I wanted was to replace the USB connector!
-
-
A broken off micro-USB connector for charging a bluetooth keyboard doesn´t seem like a challenge. But wait until you´ve tried with this one: Rapoo E6700 bluetooth keyboard.
-
-
-
I tried to get access to the damaged USB connector, but the bottom cover that contains the main PCB is held in place by screws not from the outside but the inside.
-
So I broke off the bottom cover to repair the connector, but then you cannot connect back the flex connectors to the keyboard.
-
Maby we can separate the keyboard from the aluminium housing ?
-
-


Team

13 Commenti
Thomas, thx for publishing your findings - I was just about to start trying to figure out how to open it to repair the USB connector (so I can charge it), but I think I will save my time and go buy a different one. It's sad that such a nice looking/working keyboard is so unusable because of a simple broken off USB connector...
... the bottom cover of the keyboard can be opened with a screwdriver.
piecemeal unclamp the sides and you can then access the USB port easyly without further damage...
;-)
see:
[IMG]http://i68.tinypic.com/bi9fus.jpg[/IMG]
und
[IMG]http://i65.tinypic.com/2mdjbkm.jpg[/IMG]
If a few scratches on the aluminum do not bother
Hi, there are 6 screws and 2 clips holding the cover over the main circuit pcb. You can lever the cover away from the main part of the keyboard and break the supports for the screws and probably break at least one of the clips. OR you could try drilling out the screws and save the clips. You will need to be accurate with the drilling or you will damage the wires to the battery possibly causing FIRE! Alternately leave these two for breaking off. You can effect required repairs and refix the pcb and cover to the main part of the keyboard with double sided tape or your preferred alternative.
One other hint, when replacing the striplines connect the trackpad (small) one first as the larger one is much easier to fit second than the other way around.
Do not attempt to open the keyboard from the top as super glue and disaster lurk on that path.
The positions to drill mentioned in my last post follow:
8mm towards the front of the keyboard from the centre of each of the small round feet.
Draw a line connecting these two holes. Measure 60mm and a further 105mm from the hole nearest the on/off switch and 8mm forward and back at each of these points.
Try a 1-2mm drill so you can see where the screw is before drilling a bigger hole. The support that the screws screw into is 3mm in diameter so if you use a 3mm (1/8inch) drill you should disconnect the support from the cover. all that will be left is a rib running front to back.
Take this slowly.