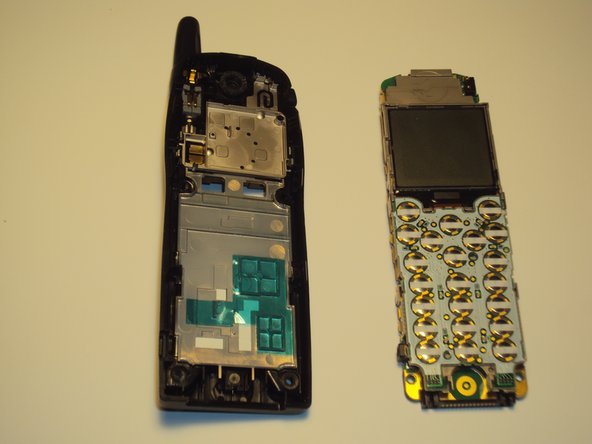
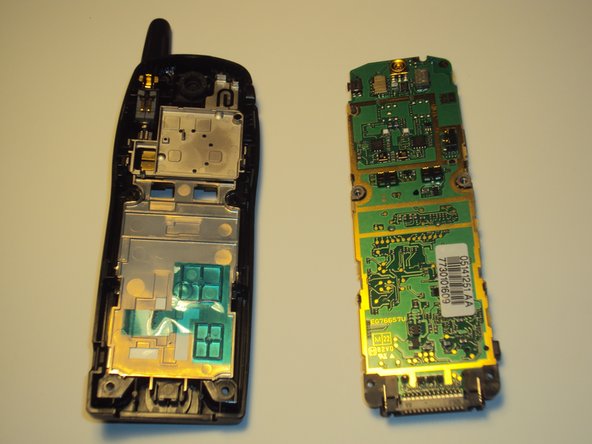
Salta al contenuto principale

Cosa ti serve

Questo smontaggio non è una guida di riparazione. Per riparare il tuo Panasonic EB TX320ASW, usa il nostro manuale di assistenza.

  1. Panasonic EB TX320ASW Teardown, Panasonic EB TX320ASW Teardown: passo 1, immagine 1 di 2 Panasonic EB TX320ASW Teardown, Panasonic EB TX320ASW Teardown: passo 1, immagine 2 di 2
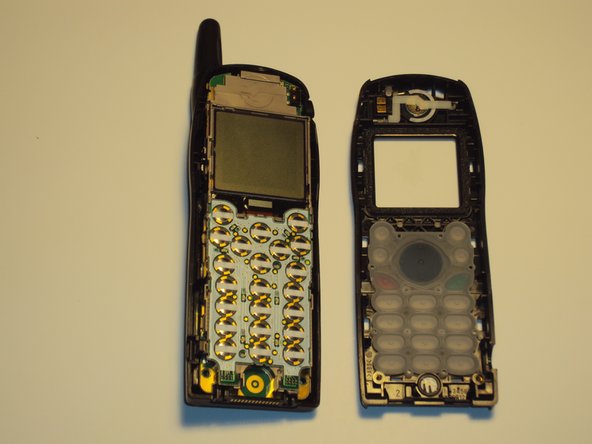
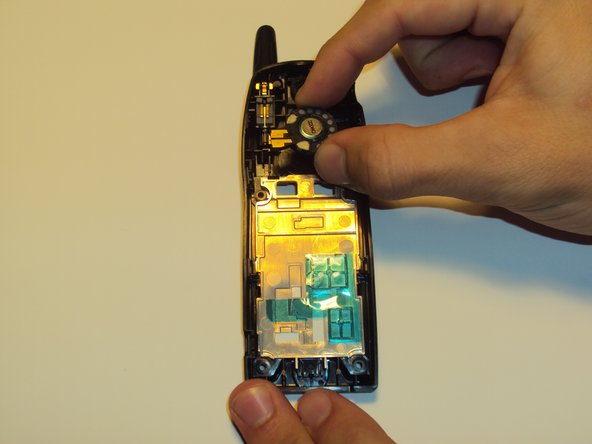
    • To remove the faceplate, pry the top of faceplate away from the phone. Follow snaps down, until faceplate is completely popped off.

  2. Panasonic EB TX320ASW Teardown: passo 2, immagine 1 di 1
    • To remove battery push clip in; battery will pop out.

  3. Panasonic EB TX320ASW Teardown: passo 3, immagine 1 di 1
    • Using a Star 3.0 bit, remove 4 screws in battery compartment.

  4. Panasonic EB TX320ASW Teardown: passo 4, immagine 1 di 2 Panasonic EB TX320ASW Teardown: passo 4, immagine 2 di 2
    • To separate front of phone from the back; start prying from bottom and work up the side. The phone should then pop apart.

  5. Panasonic EB TX320ASW Teardown: passo 5, immagine 1 di 1
    • To remove keypad, turn front of phone over and let keypad fall out. All keys are connected by one rubber section.

    • If a button had been ripped off your keypad, you can replace the entire rubber keypad at this step and reassemble phone.

  6. Panasonic EB TX320ASW Teardown: passo 6, immagine 1 di 3 Panasonic EB TX320ASW Teardown: passo 6, immagine 2 di 3 Panasonic EB TX320ASW Teardown: passo 6, immagine 3 di 3
    • To remove main-board from phone grab side of phone and pry upwards. Board should snap out.

  7. Panasonic EB TX320ASW Teardown: passo 7, immagine 1 di 1
    • To remove speaker cover, pull out silver plate.

  8. Panasonic EB TX320ASW Teardown: passo 8, immagine 1 di 2 Panasonic EB TX320ASW Teardown: passo 8, immagine 2 di 2
    • After silver plate is removed, power button sits freely. Speaker can be removed by pulling up on it.

    • If your speaker went out it can easily be replaced in this step with a new one, then reassemble phone after this step.

  9. Panasonic EB TX320ASW Teardown: passo 9, immagine 1 di 2 Panasonic EB TX320ASW Teardown: passo 9, immagine 2 di 2
    • To remove keyboard circuit press on the middle and slide down. The board will pop up allowing for removal.

  10. Panasonic EB TX320ASW Teardown: passo 10, immagine 1 di 3 Panasonic EB TX320ASW Teardown: passo 10, immagine 2 di 3 Panasonic EB TX320ASW Teardown: passo 10, immagine 3 di 3
    • To remove main-board from bracket, gently apply pressure to the four small clips. Board will pop out freely.

  11. Panasonic EB TX320ASW Teardown: passo 11, immagine 1 di 2 Panasonic EB TX320ASW Teardown: passo 11, immagine 2 di 2
    • To remove LCD screen pry back on highlighted clip and pull screen out. The screen will then pull up and out.

    • If the LCD screen went out, or was cracked somehow, replace with a new LCD screen and then reassemble phone from this step.

Andrew Foss

Membro da: 10/04/11

10 Reputazione

1 Guida realizzata

Team

UW Stout, Team 5-2, Zhou Fall 2011 Membro di UW Stout, Team 5-2, Zhou Fall 2011

UWSTOUT-ZHOU-F11S5G2

2 Membri

1 Guida realizzata

0 Commenti

Aggiungi Commento

Visualizza Statistiche:

Ultime 24 Ore: 0

Ultimi 7 Giorni: 1

Ultimi 30 Giorni: 1

Tutti i Tempi: 3,445