Salta al contenuto principale
Unisciti alla Community delle riparazioni - Crea un account

Introduzione

Vai al passo 1

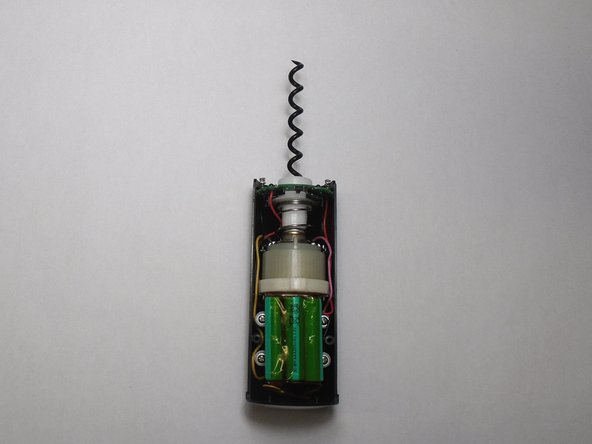
The full teardown of the MODAL WORCSS6 wine opener gives the user access to many of the critical internal components of the device for ease of repair and replacement.

Cosa ti serve

Strumenti

Mostra di più…

Questo smontaggio non è una guida di riparazione. Per riparare il tuo Modal MD-WORCSS6, usa il nostro manuale di assistenza.

  1. Modal MD-WORCSS6 Teardown Guide, Modal MD-WORCSS6 Teardown Guide: passo 1, immagine 1 di 2 Modal MD-WORCSS6 Teardown Guide, Modal MD-WORCSS6 Teardown Guide: passo 1, immagine 2 di 2
    • Put on Electrostatic Discharge (ESD) bracelet. Hold the device with the transparent plastic casing on the top.

    • Using the jimmy tool, carefully pry off the black plastic ring.

    • Remove the spring assembly from inside the transparent plastic tube.

  2. Modal MD-WORCSS6 Teardown Guide: passo 2, immagine 1 di 2 Modal MD-WORCSS6 Teardown Guide: passo 2, immagine 2 di 2
    • Using a Phillips #1 screwdriver, unscrew each of the four 12.7 mm screws inside and at the bottom of the plastic tube.

    • Take the plastic tube off of the metal casing.

  3. Modal MD-WORCSS6 Teardown Guide: passo 3, immagine 1 di 2 Modal MD-WORCSS6 Teardown Guide: passo 3, immagine 2 di 2
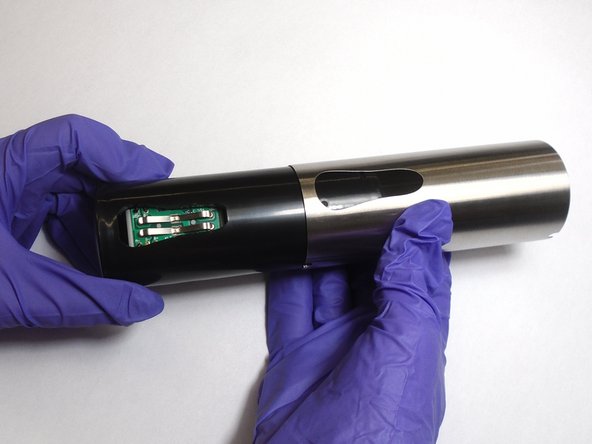
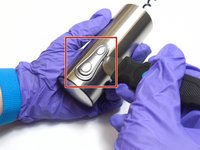
    • Place the jimmy tool blade between the button assembly and the metal casing. Gently pry off the button assembly; it should pop out.

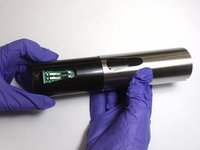
    • With the button assembly removed, slide off the metal casing.

  4. Modal MD-WORCSS6 Teardown Guide: passo 4, immagine 1 di 3 Modal MD-WORCSS6 Teardown Guide: passo 4, immagine 2 di 3 Modal MD-WORCSS6 Teardown Guide: passo 4, immagine 3 di 3
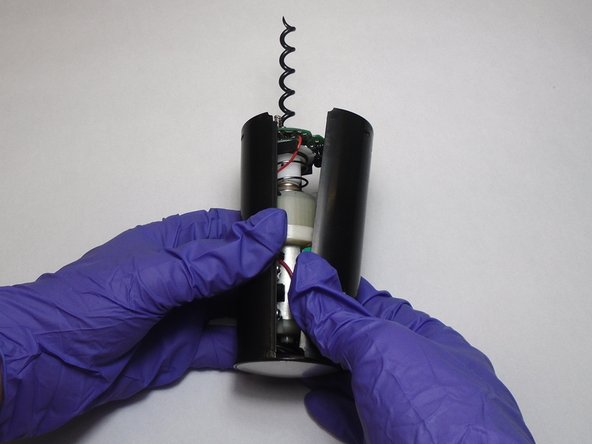
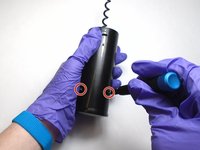
    • Unscrew the two 6.4 mm screws in the black plastic body using the Phillips #1 screwdriver.

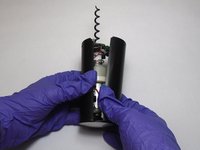
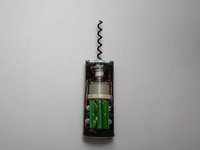
    • Separate the two halves of the plastic body. Keep the half containing the motor facing up.

  5. Modal MD-WORCSS6 Teardown Guide: passo 5, immagine 1 di 3 Modal MD-WORCSS6 Teardown Guide: passo 5, immagine 2 di 3 Modal MD-WORCSS6 Teardown Guide: passo 5, immagine 3 di 3
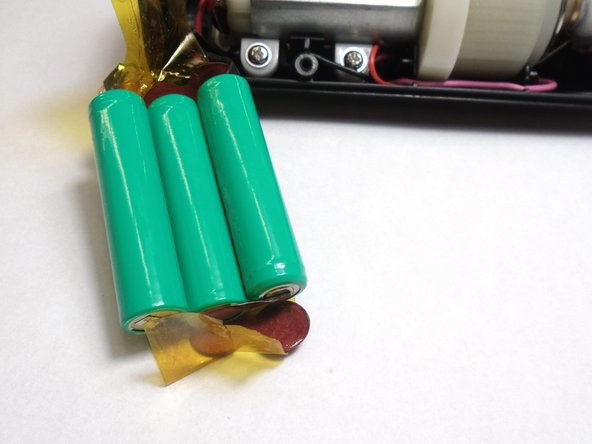
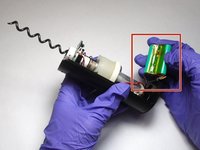
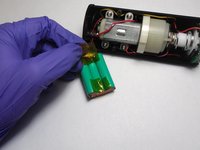
    • Carefully peel the tape off far enough to remove the 3 batteries.

0Commenti sulla guida

Aggiungi Commento

Visualizza Statistiche:

Ultime 24 Ore: 0

Ultimi 7 Giorni: 1

Ultimi 30 Giorni: 3

Tutti i Tempi: 334