Salta al contenuto principale

Cosa ti serve

Questo smontaggio non è una guida di riparazione. Per riparare il tuo Mi Band 3, usa il nostro manuale di assistenza.

  1. Mi Band 3 Teardown, Opening the shell: passo 1, immagine 1 di 3 Mi Band 3 Teardown, Opening the shell: passo 1, immagine 2 di 3 Mi Band 3 Teardown, Opening the shell: passo 1, immagine 3 di 3
    • Opening the shell is the hardest part here, and it's difficult to separate them.

    • I've used jimmy and hot air gun to soften and slice trought the adhesive.

    • Note the very fragile OLED screen and the ribbon of the touch screen.

  2. Mi Band 3 Teardown, Unclipping the ribbbons: passo 2, immagine 1 di 3 Mi Band 3 Teardown, Unclipping the ribbbons: passo 2, immagine 2 di 3 Mi Band 3 Teardown, Unclipping the ribbbons: passo 2, immagine 3 di 3
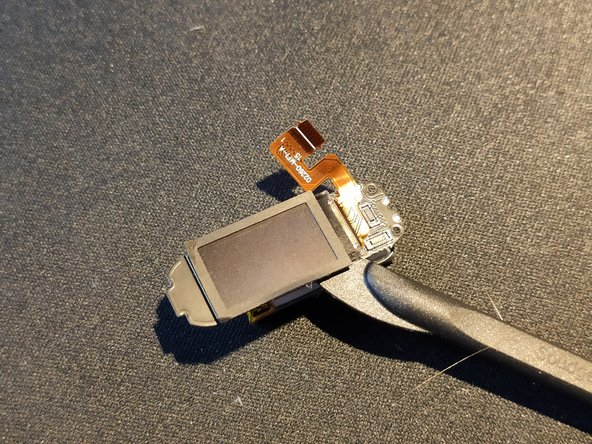
    • After cracking the shell you have access to the touch screen ribbon and the OLED screen.

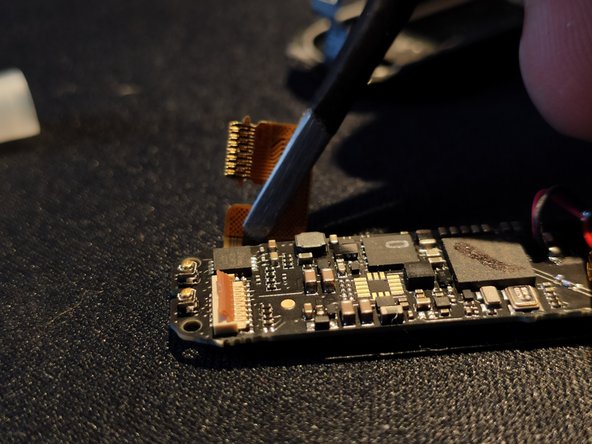
    • Use a spudger to unclip the Hearth rate and the touch screen sensor ribbon

  3. Mi Band 3 Teardown, Removing the mainboard: passo 3, immagine 1 di 3 Mi Band 3 Teardown, Removing the mainboard: passo 3, immagine 2 di 3 Mi Band 3 Teardown, Removing the mainboard: passo 3, immagine 3 di 3
    • Unscrew two Philips PH00 screws at the bottom and use the spudger to lift it up.

    • Next remove the mainboard with the battery. Battery isn't glued to the chassis so it's easy to lift up.

  4. Mi Band 3 Teardown, Removing the OLED screen: passo 4, immagine 1 di 3 Mi Band 3 Teardown, Removing the OLED screen: passo 4, immagine 2 di 3 Mi Band 3 Teardown, Removing the OLED screen: passo 4, immagine 3 di 3
    Attrezzo utilizzato in questo passaggio:
    Tweezers
    $4.99
    Compra
    • Use spudger to lift the orange clip at the bottom and take out the ribbon with tweezers.

    • Next to pty up the screen use the haliberd spudger to cut trough the adhesive under the OLED.

  5. Mi Band 3 Teardown, Removing the hearth rate sensor and vibration motor.: passo 5, immagine 1 di 2 Mi Band 3 Teardown, Removing the hearth rate sensor and vibration motor.: passo 5, immagine 2 di 2
    • Use Jimmy to pry up the hearth rate sensor and gently remove the vibration motor using tweezers.

  6. Mi Band 3 Teardown, Battery removal: passo 6, immagine 1 di 1
    • To remove the battey you need soldering iron the - terminal of the battery is marked on the mainboard

  7. Mi Band 3 Teardown, You're done!: passo 7, immagine 1 di 1
    • Dialog 14683 Main chip

    • 25LQ32 32 Mbit flash

    • Azoteq OLED controller

HAZON THE WOLF

Membro da: 03/30/19

145 Reputazione

1 Guida realizzata

Un commento

I need that display for my mi band 3 I am really sad because I broke my display

Mohammad Huzaifa - Replica

Aggiungi Commento

Visualizza Statistiche:

Ultime 24 Ore: 5

Ultimi 7 Giorni: 12

Ultimi 30 Giorni: 52

Tutti i Tempi: 2,147