Salta al contenuto principale

Cosa ti serve

Questo smontaggio non è una guida di riparazione. Per riparare il tuo Linksys WRT54G, usa il nostro manuale di assistenza.

  1. Linksys WRT54G Teardown, Get your Linksys: passo 1, immagine 1 di 2 Linksys WRT54G Teardown, Get your Linksys: passo 1, immagine 2 di 2
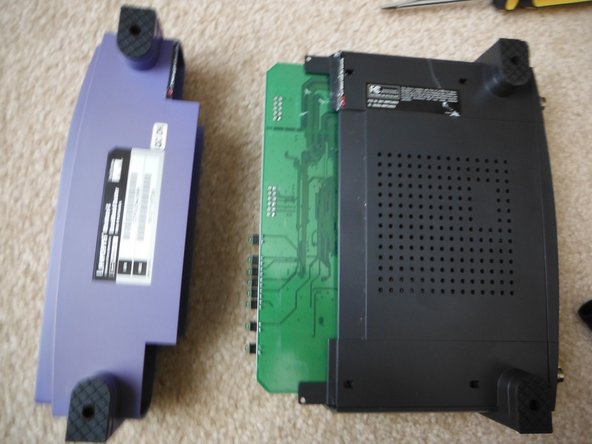
    • The Linksys WRT54G series is a series of Wi-Fi gateways manufactured by Linksys, a subsidiary of Cisco Systems.

  2. Linksys WRT54G Teardown, Antenna Removal: passo 2, immagine 1 di 2 Linksys WRT54G Teardown, Antenna Removal: passo 2, immagine 2 di 2
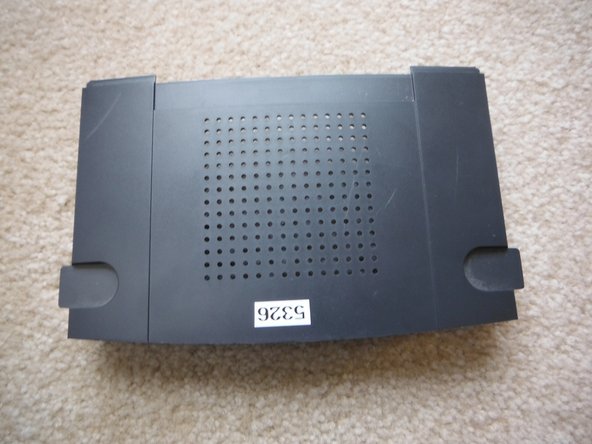
    • Let's begin with the teardown! First, unscrew the antennas from the back of the router and set them aside.

  3. Linksys WRT54G Teardown, Front Panel Removal: passo 3, immagine 1 di 3 Linksys WRT54G Teardown, Front Panel Removal: passo 3, immagine 2 di 3 Linksys WRT54G Teardown, Front Panel Removal: passo 3, immagine 3 di 3
    • Lets get into the internals! First, flip the unit over and insert a small flat-head screwdriver in between the warranty sticker and the front panel and gently pry it open.

    • Beware! It may take some effort to pry the panel off. Also, be careful not to damage the motherboard, like I did.

    • This will certainly void your warranty from 2002, in case you wanted to know.

  4. Linksys WRT54G Teardown, Remove Top Panel: passo 4, immagine 1 di 3 Linksys WRT54G Teardown, Remove Top Panel: passo 4, immagine 2 di 3 Linksys WRT54G Teardown, Remove Top Panel: passo 4, immagine 3 di 3
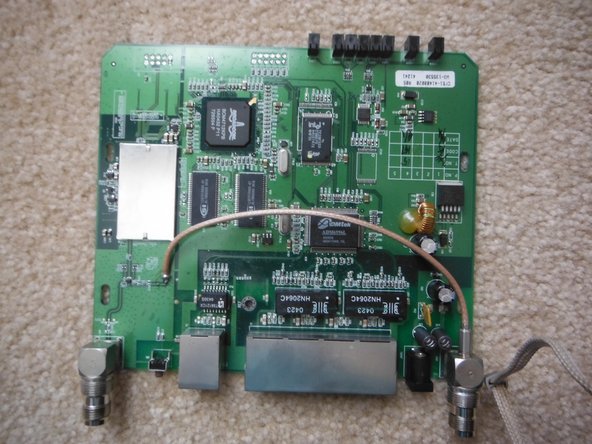
    • Now, slide the top plastic panel off and put it aside you now have a clear view of the motherboard.

    • Intel TE28F320 Flash Memory

    • Broadcom BCM4712KPB (I think it’s a modem chip)

    • Admtek ADM6996L Ethernet Controller

    • Activity LEDs

    • Issi 42S16400-6T Random Access Memory (unsure how much)

    • An assortment of other chips I couldn't find.

  5. Linksys WRT54G Teardown, Remove Motherboard: passo 5, immagine 1 di 3 Linksys WRT54G Teardown, Remove Motherboard: passo 5, immagine 2 di 3 Linksys WRT54G Teardown, Remove Motherboard: passo 5, immagine 3 di 3
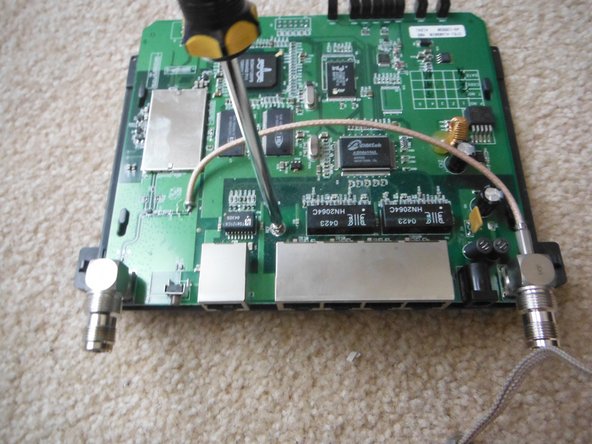
    • Time to remove the motherboard! Unscrew the single Phillips screw, slide the motherboard and then lift it out.

    • Single Phillips screw

    • Plastic slips holding the motherboard in place.

  6. Linksys WRT54G Teardown, Done!: passo 6, immagine 1 di 1
    • You're done! Thanks for sticking with me for my first teardown!

    • If you want to reassemble this, just do this guide in reverse order! (assuming you didn't break it like I did)

Reed Crosby

Membro da: 12/07/16

4.368 Reputazione

1 Guida realizzata

Team

Kid fixers Membro di Kid fixers

Community

156 Membri

292 Guide realizzate

2 Commenti

Happened to get one of these from goodwill recently and wanted to take it apart to take a look. This was really helpful for doing that, deeply appreciate these teardown posts.

Chris Caldwell - Replica

Aggiungi Commento

Visualizza Statistiche:

Ultime 24 Ore: 0

Ultimi 7 Giorni: 7

Ultimi 30 Giorni: 42

Tutti i Tempi: 7,457