Before we begin the disassembly, these are the tools you will need. In order, these tools are: T-15 bit, T-20 bit, Phillips head screwdriver, flat head screwdriver, 1/4" drive socket driver, 1/4" drive socket wrench, and a pair of scissors.
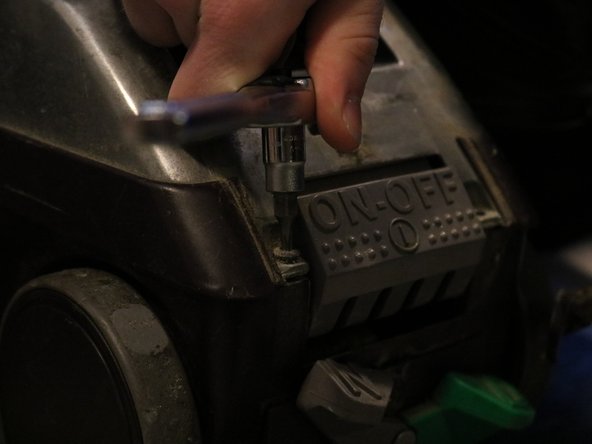
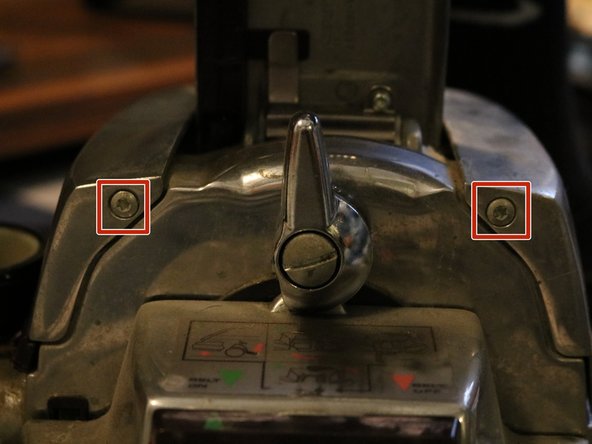
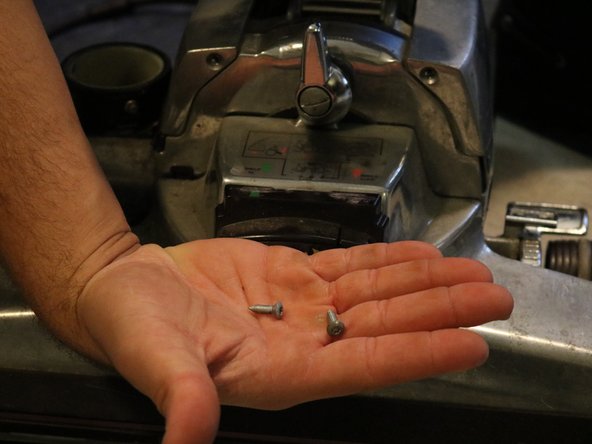
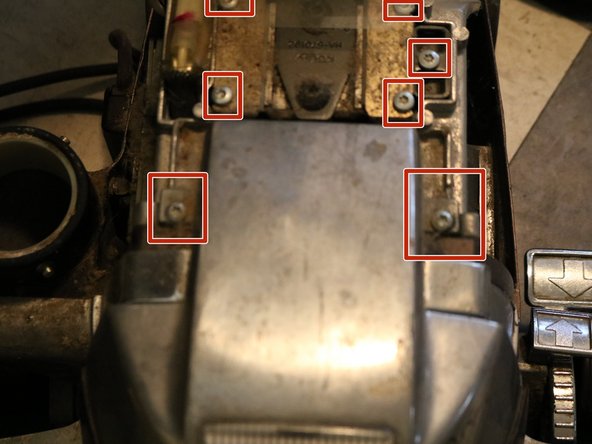
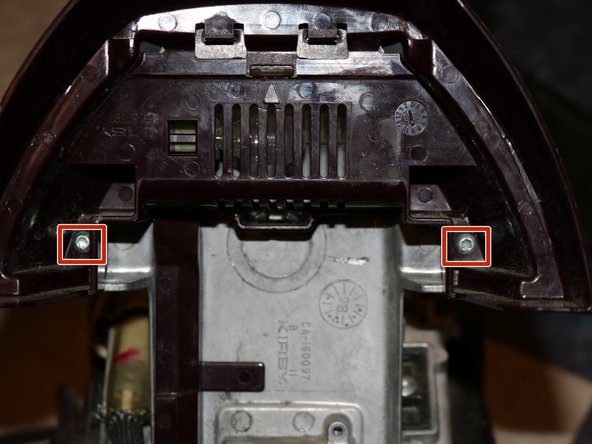
Using the T-15 bit, undo the screws on the front of the vacuum.
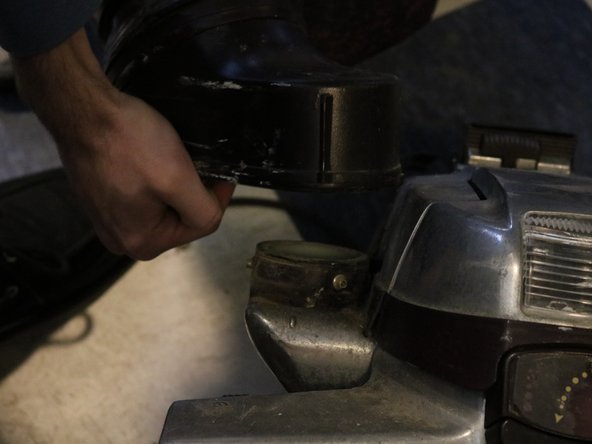
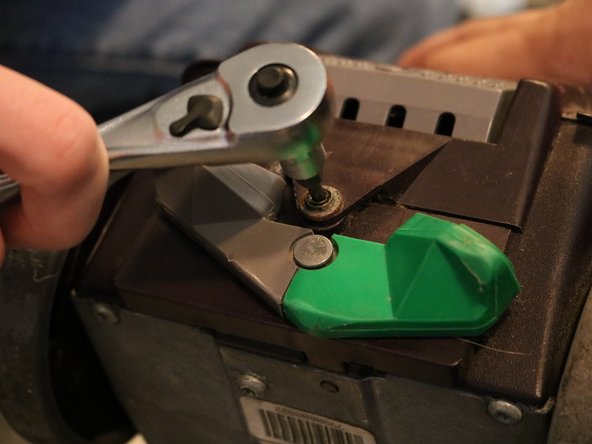
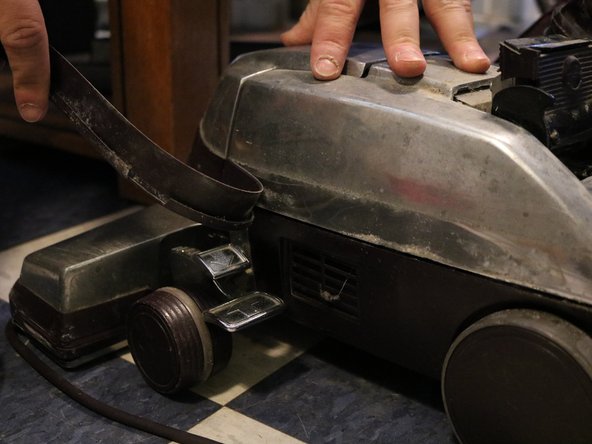
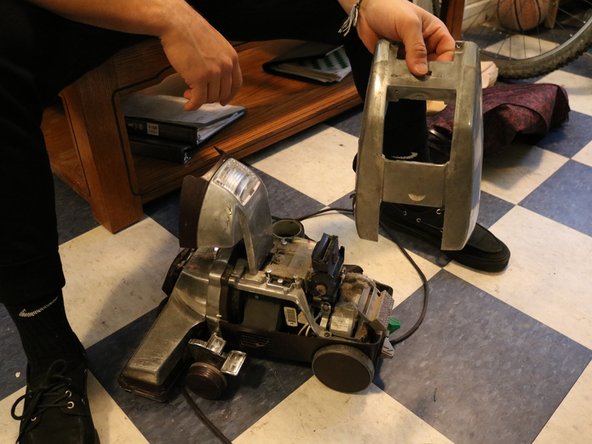
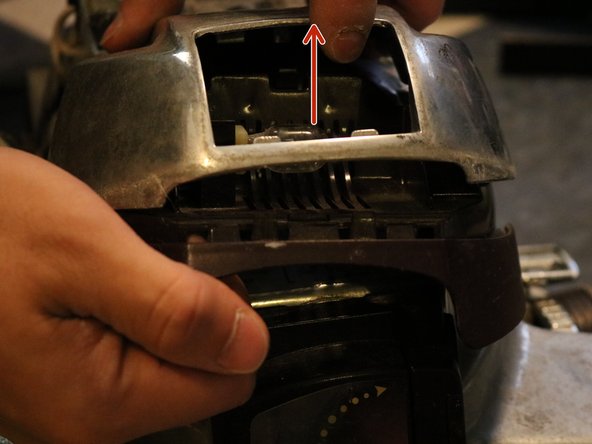
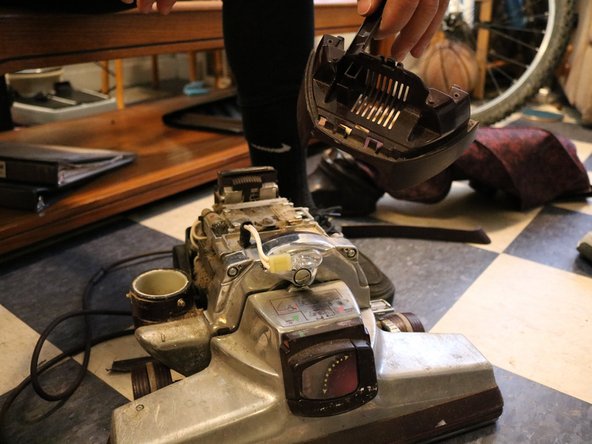
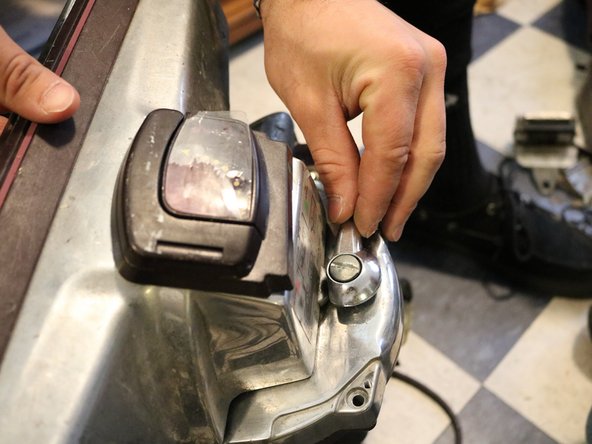
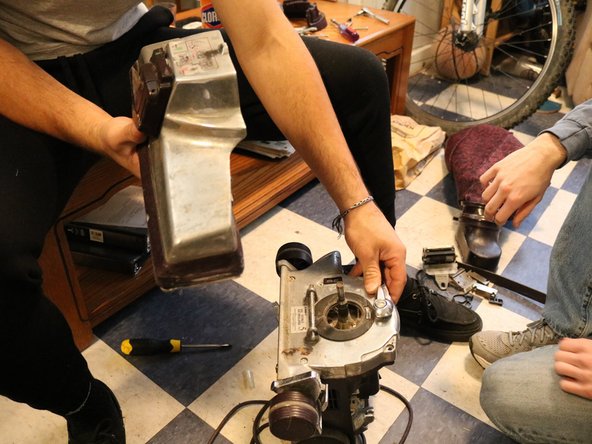
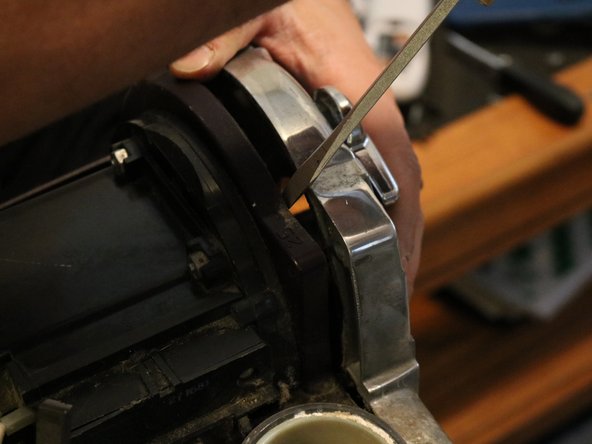
Twist the large knob on the front of the vacuum, and pull the entire front nose off. If it does not seem to easily come off, this just means there is a little bit of grease creating a seal in between the fibers of the vacuum.
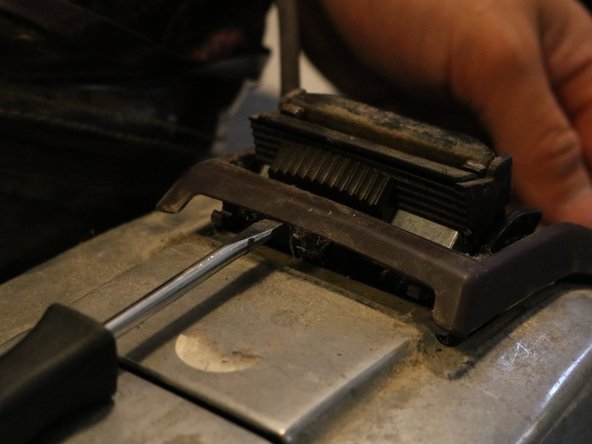
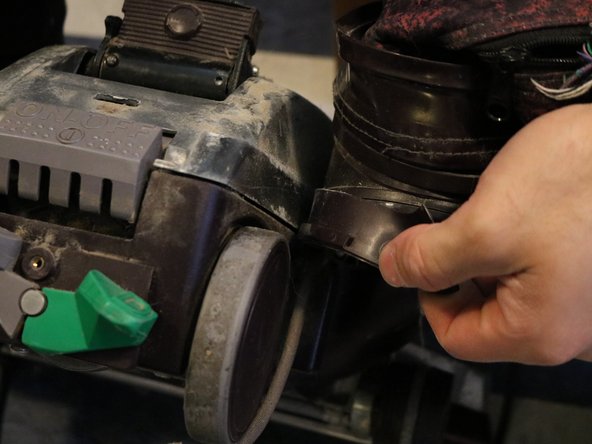
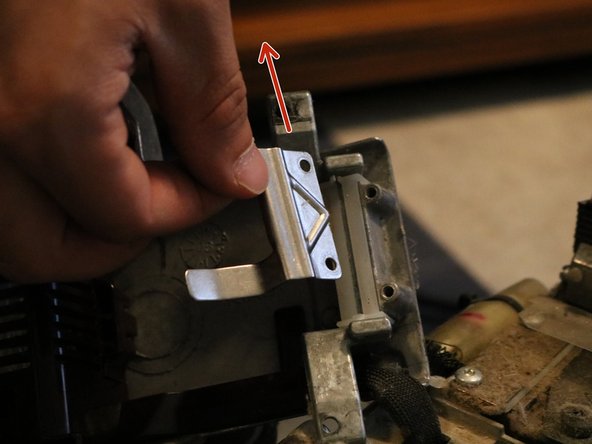
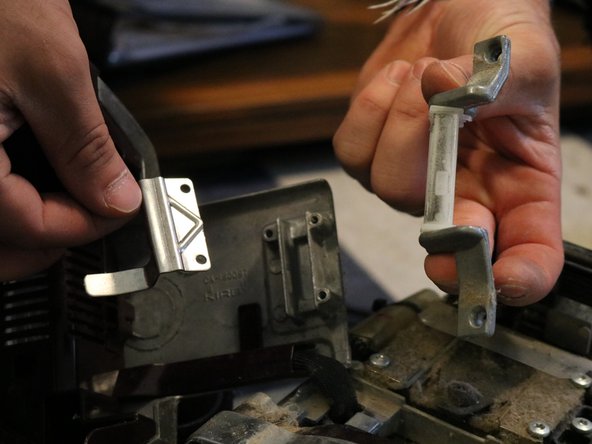
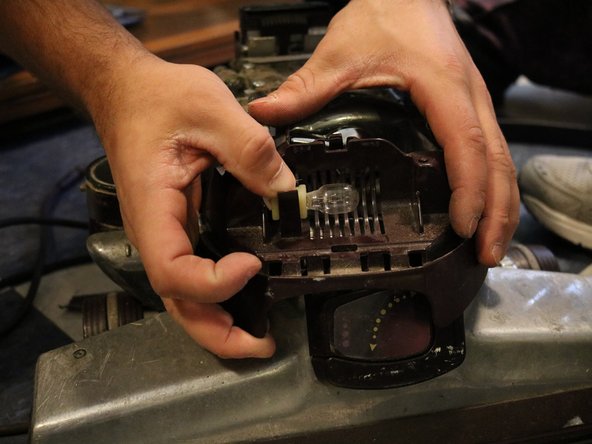
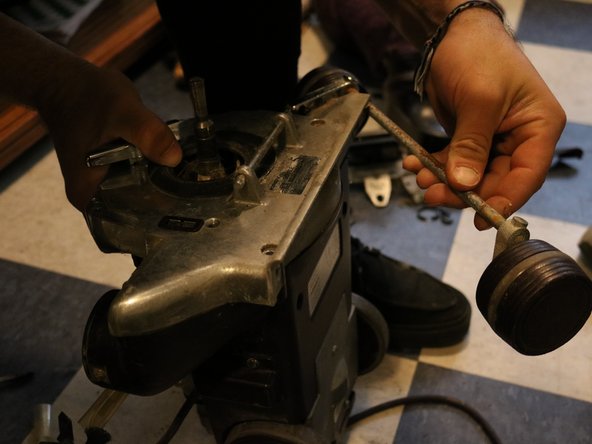
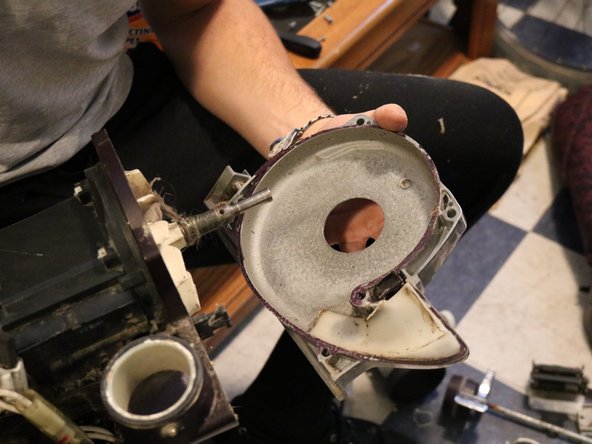
Finish pulling the metal part and attached axles out. If the axels are in need of cleaning, simply clean the existing axels with a wet clothe and put them back into the vacuum. If the axels are in need of replacement, use the new parts you have obtained and place them back in the same place as before and screw them back to the vacuum.
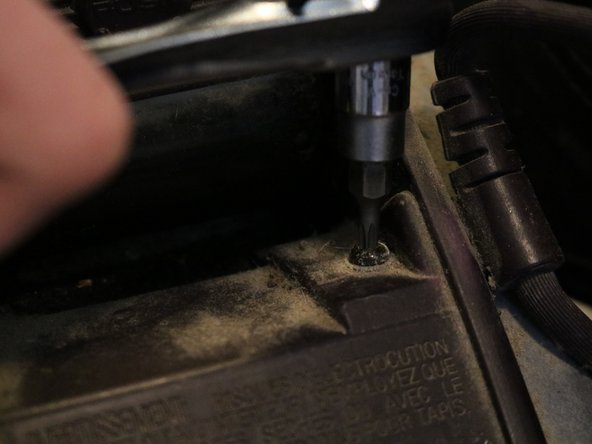
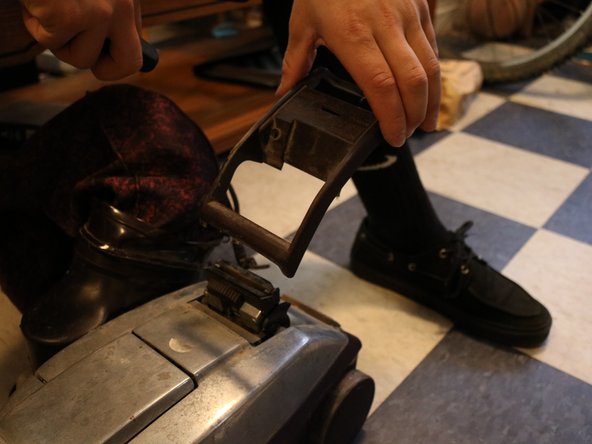
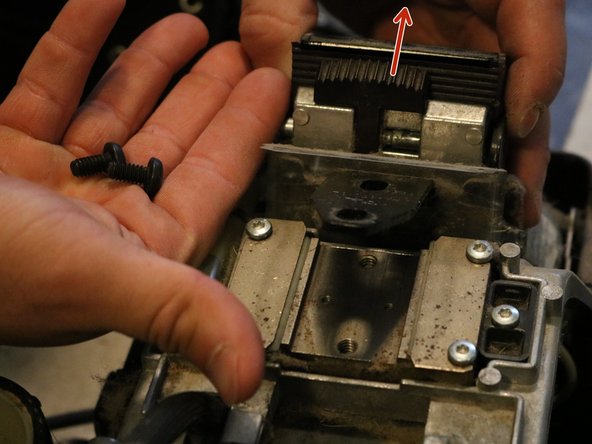
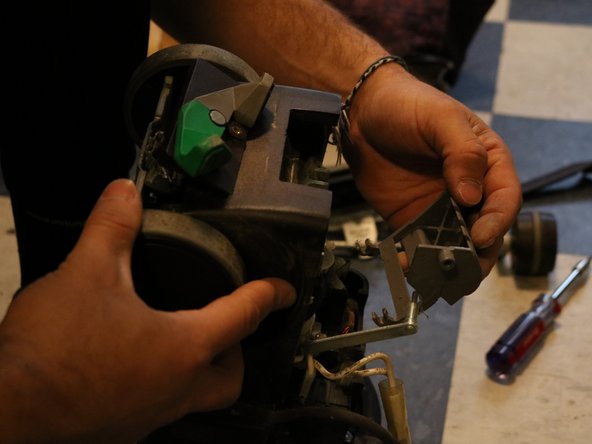
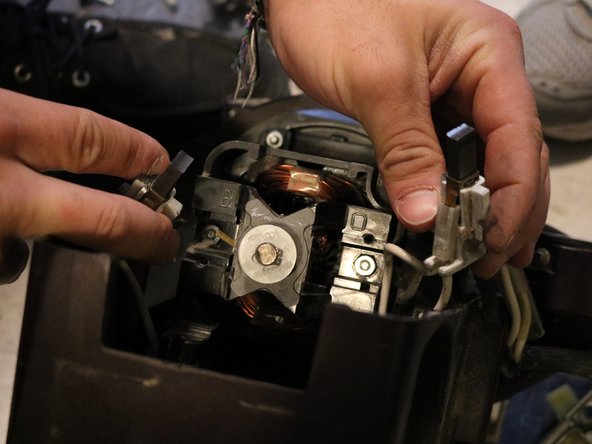
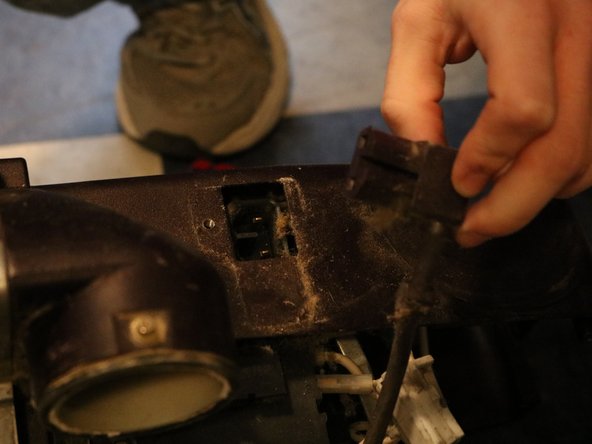
Undo the screws located on the bottom of the completely black piece of the vacuum. One will disconnect the wires you find while this step is being completed.
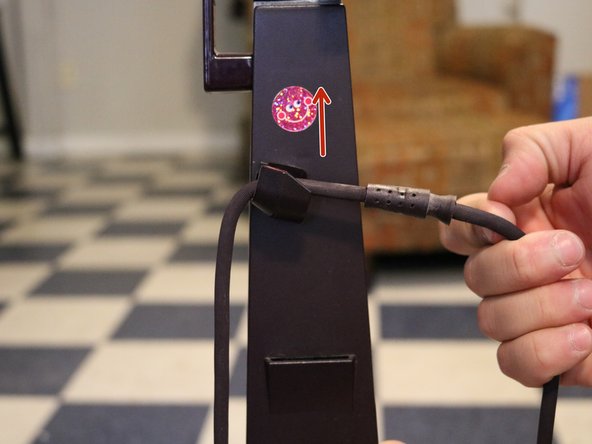
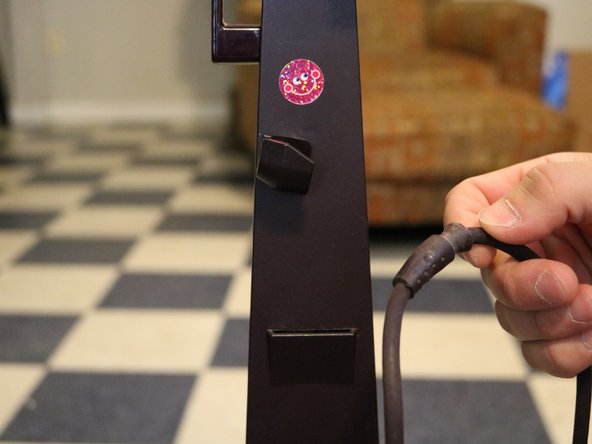
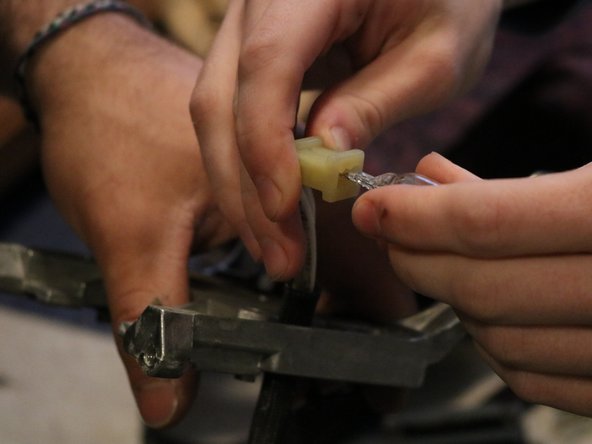
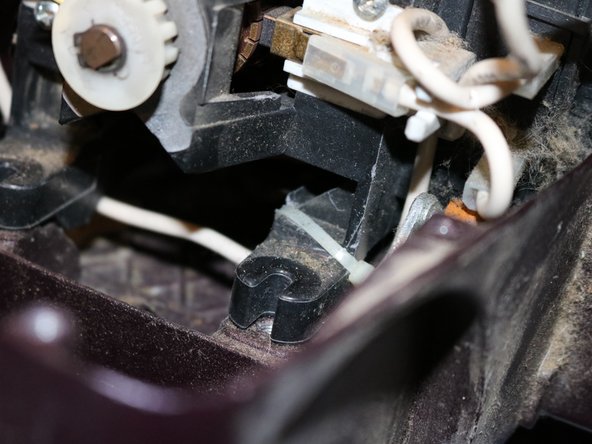
Cut the zip ties attaching all wires and detach the wires.