Introduzione
Questo è il mio smontaggio del Game Boy Color.
Cosa ti serve
-
-
Prendi il Game Boy e nota il modo in cui è stato stampato a iniezione in due parti. La prima cosa da fare è separare queste parti.
-
-
-
Non usare il trapano! Utilizzando un cacciavite Y1 puoi rimuovere facilmente tutte le viti posteriori.
I don't really get why you will drill out the screws! They are special screws, and ofcourse there's also a screwdriver for them, called Tri-wing - used in many parts, including Nintendo and Apple. Look it up at Wikipedia: http://en.wikipedia.org/wiki/Tri-Wing
I've bought one myself on eBay - that's better than screwing your Game Boy up ;)
Buuuh!!! Why are you using an electrical screwdriver!
That's cheating man!
Do not use a drill or phillips head screwdriver, use a tri-wing screwdriver. This step should be edited to reflect the proper procedure.
-
-
-
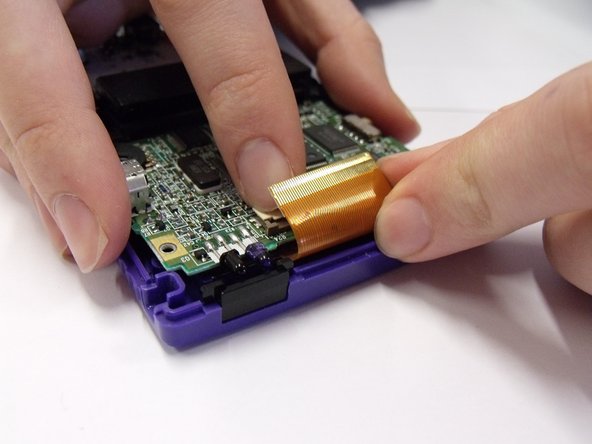
Spingi verso l'alto le linguette su entrambi i lati del nastro con uno spudger e rimuovi delicatamente il cavo dalla porta.
-
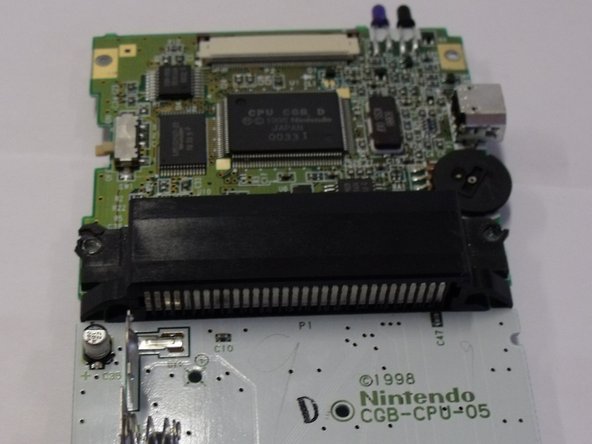
Utilizzando il cacciavite a croce Phillips n. 1, rimuovere le 3 viti che assicurano la mainboard.
-
-
-
-
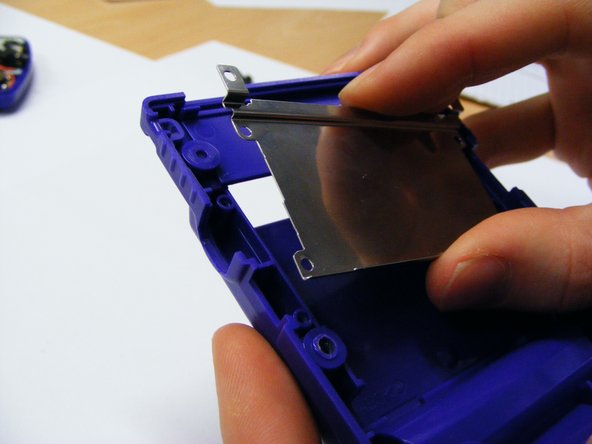
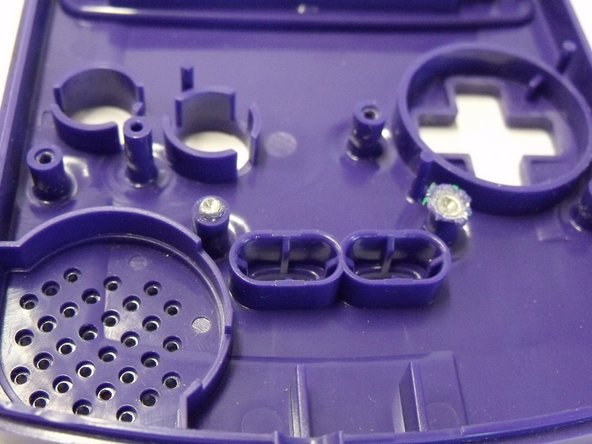
Il portacassetta in metallo sul pannello di plastica posteriore può essere rimosso semplicemente usando il cacciavite a croce Phillips. Le viti si trovano nei quattro angoli.
What does the metal cassette holder do? Does it have any specific purpose?
-
-
-
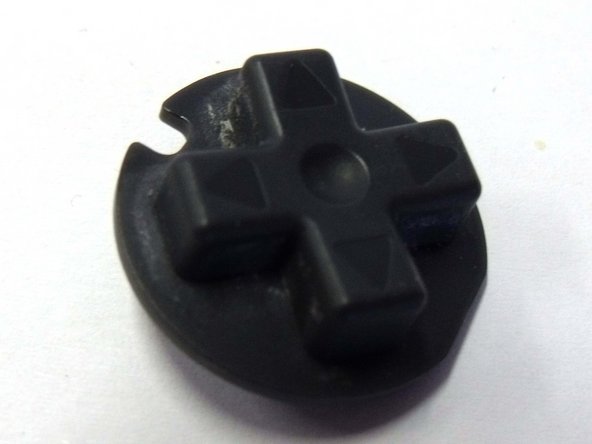
Alcune parti del circuito stampato possono anche essere rimosse e osservate molto più da vicino come l'altoparlante e le luci LED sul prodotto.
I wish I could take a picture of my situation I've succeeded in pulling out the back cover because I need to clean my corroded battery points. I see only 2 heads on the board what do I do?
-


Un ringraziamento speciale a questi traduttori:
100%


Questi traduttori ci stanno aiutando ad aggiustare il mondo! Vuoi partecipare?
Inizia a tradurre ›
9 Commenti
That feel when everything turns out perfectly. ^.^ Thanks a lot for the guide! I was able to switch out a few broken/worn out bits, and now it's working like new! Super hyped! Thank you so much!
(Also, the screws that are mentioned needing a drill are regular phillips screws and, are indeed incredibly tough to get out without a drill. Though, the ones in my Gameboy were somehow already stripped pretty badly.)
DEFINITELY do NOT need to use a drill to open a Gameboy Color!
Exactly! I've watched plenty of repair and restoration videos regarding Gameboy Color systems and NONE of them use a drill
The 6 screws to open the case ARE NOT PHILLIPS! They are Tri-Wing, a Y shaped driver, not + shaped. If you use a phillips head screwdriver, you will strip them quickly, and then you actually will have to drill them out. Use the right tool every time!
I had to open it up once because I forgot to connect the ribbon, but thanks for the guide! It was quite helpful.
Love how this model’s screen comes out relatively easy.
Will this fix my connection issues i was able to trade multiple times to get certain pokemon i stoped for like. Month i came back to do more trading keeps saying my friend is not ready and i have to try to connect atleast 50 times before we can go in the room so we go in and when we try to trade it says connection timed out ????