Smontaggio
I am tearing down the ps3 controller.
Questo smontaggio non è una guida di riparazione. Per riparare il tuo DualShock 3, usa il nostro manuale di assistenza.
PS3 controller
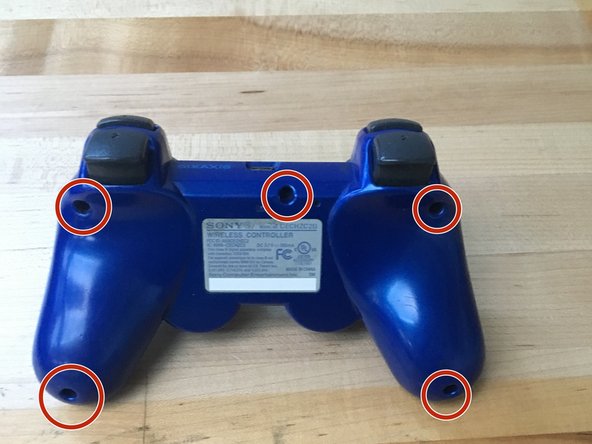
First take the screws of with a screw driver.
They are 5 screws.
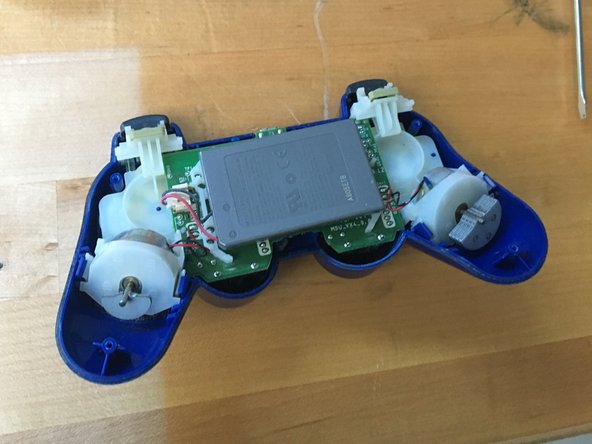
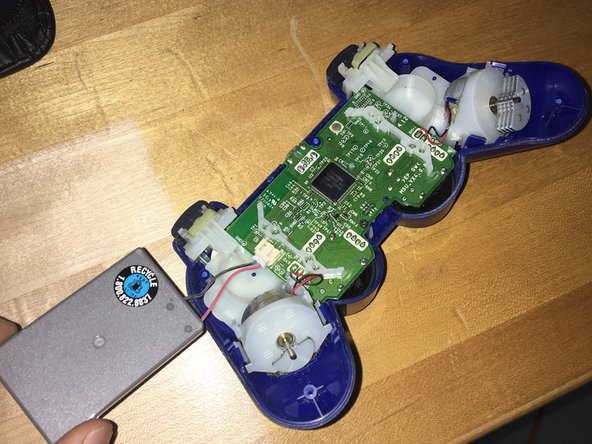
When your in you can take the battery out easily with your hands.
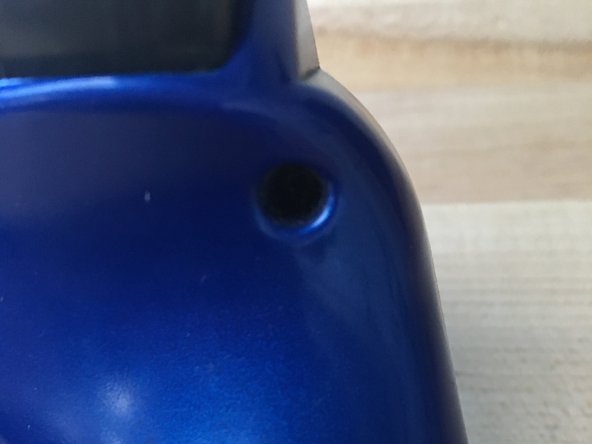
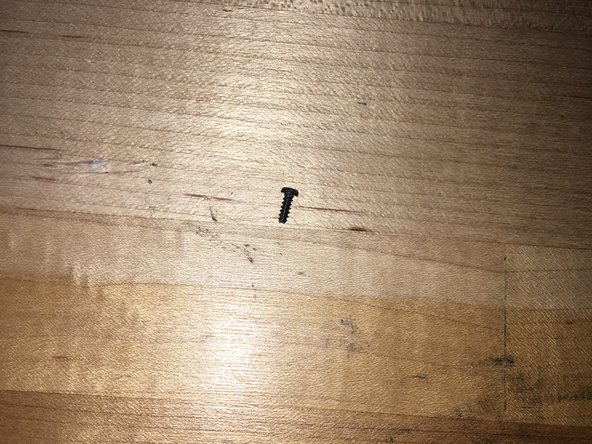
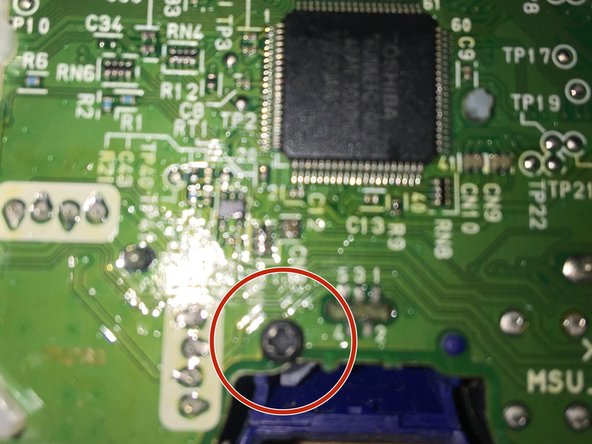
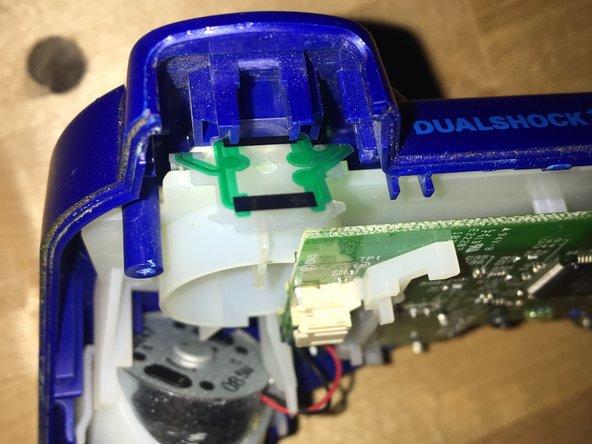
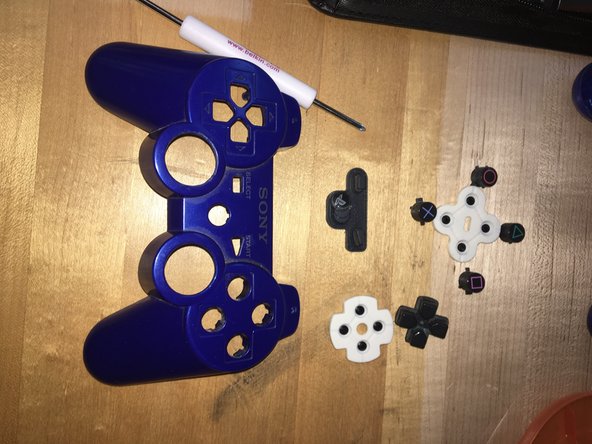
Take this screw out before you try to take out your buttons.
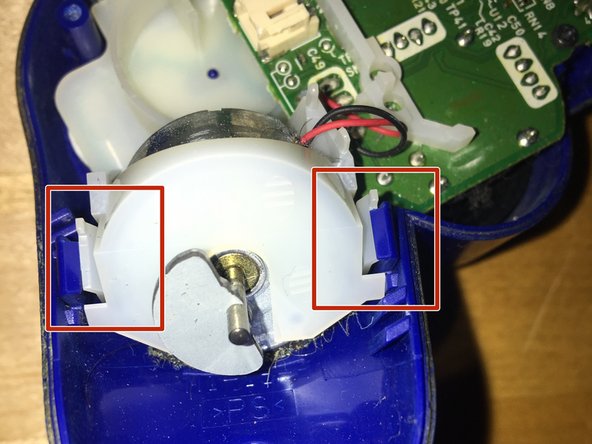
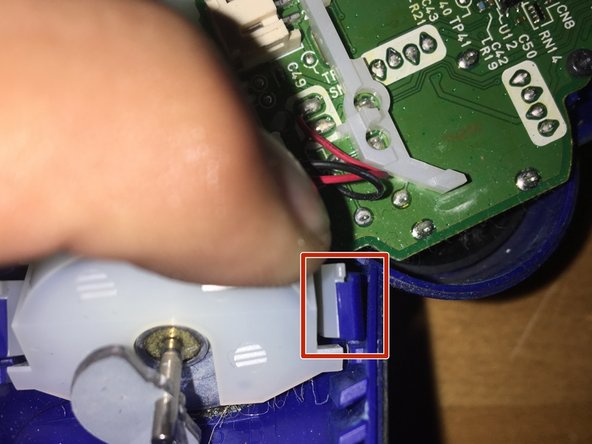
In order to take off the mother board you have to move those two white things away from the blue.
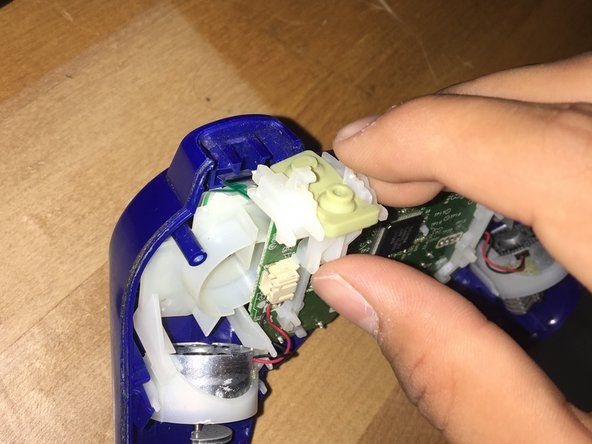
It is really easy to take the buttons off you just slide it off easily.
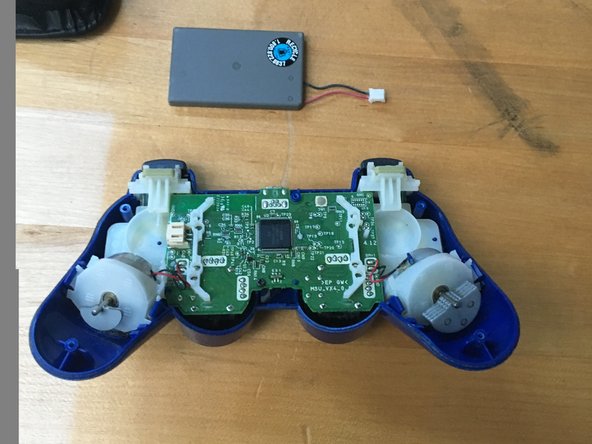
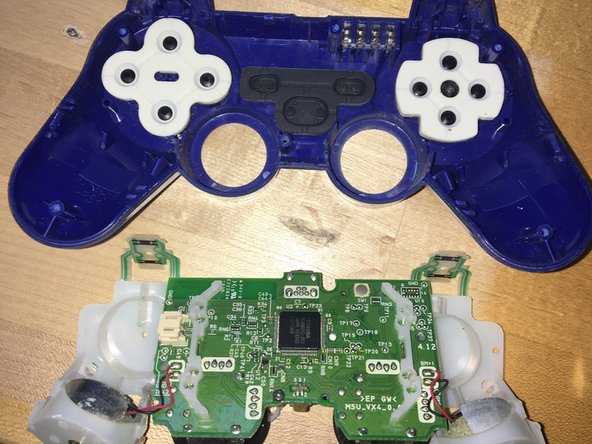
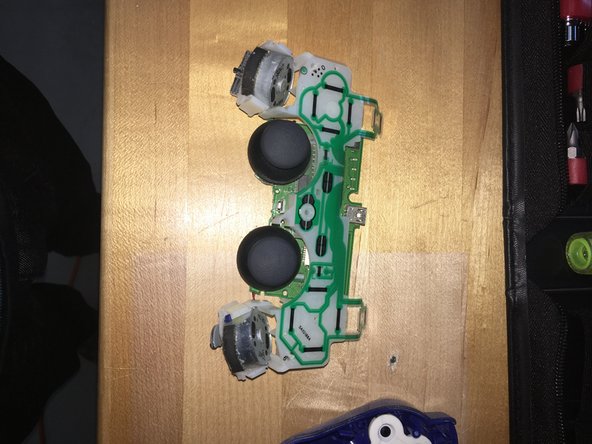
This is how it looks when your done with the ps3 controller,
con 1 altro collaboratore
Membro da: 10/24/16
258 Reputazione
1 Guida realizzata
Distintivi: 0
Scegli una dimensione e copia il codice qui sotto per incorporare questa guida come un piccolo widget sul tuo sito/forum.
Ultime 24 Ore: 0
Ultimi 7 Giorni: 0
Ultimi 30 Giorni: 0
Tutti i Tempi: 1,881