Salta al contenuto principale

Cosa ti serve

Questo smontaggio non è una guida di riparazione. Per riparare il tuo Digital Caliper, usa il nostro manuale di assistenza.

  1. Digital Caliper Teardown, Remove Battery: passo 1, immagine 1 di 2 Digital Caliper Teardown, Remove Battery: passo 1, immagine 2 di 2
    • Slide the battery compartment open.

    • Pull out the battery.

  2. Digital Caliper Teardown, Screw out the housing: passo 2, immagine 1 di 2 Digital Caliper Teardown, Screw out the housing: passo 2, immagine 2 di 2
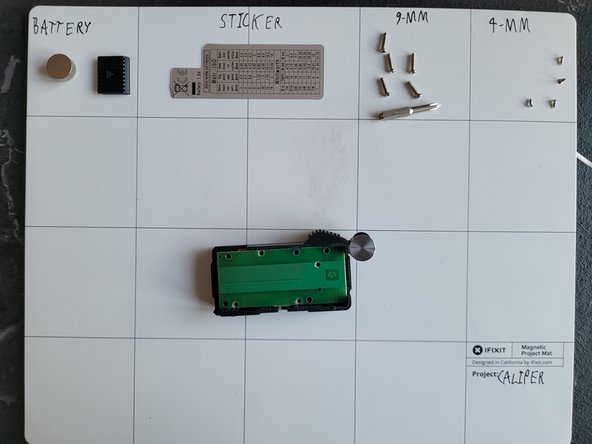
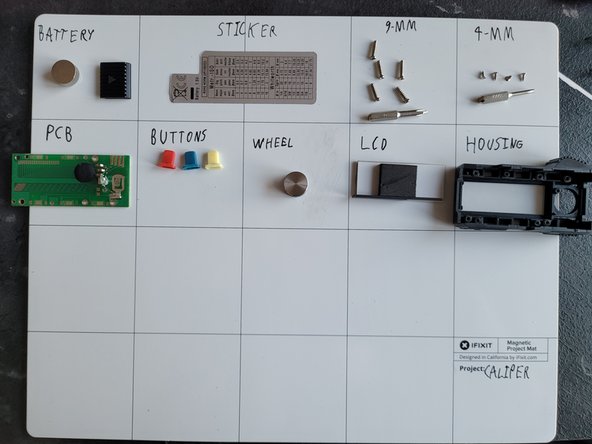
    • Remove the sticker and place it on a clean sticker-friendly surface.

    • Screw out the 9-mm screws using the J0 Bit.

  3. Digital Caliper Teardown, Housing dissasembly: passo 3, immagine 1 di 3 Digital Caliper Teardown, Housing dissasembly: passo 3, immagine 2 di 3 Digital Caliper Teardown, Housing dissasembly: passo 3, immagine 3 di 3
    • Screw out the 4-mm screws holding the PCB in place. Use the J000 bit.

    • Now take out all the parts from the housing.

  4. Digital Caliper Teardown, Body: passo 4, immagine 1 di 2 Digital Caliper Teardown, Body: passo 4, immagine 2 di 2
    • Remove the right/bottom 6mm screws.

    • Then the last 2 and the tightener screws. So you can pull it apart.

Sebastian

Membro da: 12/02/21

532 Reputazione

2 Guide realizzate

0 Commenti

Aggiungi Commento

Visualizza Statistiche:

Ultime 24 Ore: 2

Ultimi 7 Giorni: 13

Ultimi 30 Giorni: 116

Tutti i Tempi: 1,710