Salta al contenuto principale

Cosa ti serve

Questo smontaggio non è una guida di riparazione. Per riparare il tuo Dell latitude 3500, usa il nostro manuale di assistenza.

  1. Dell latitude 3500 Teardown, Remove bottom cover: passo 1, immagine 1 di 2 Dell latitude 3500 Teardown, Remove bottom cover: passo 1, immagine 2 di 2
    • 10 screws total

    • The screws don't come the whole way out of the cover, but you will feel when they are loosened enough.

    • A spudger will make quick work of removing the cover, but you may have to open the laptop to find a spot for it to fit.

    • Sometimes the cover can snag when you go to pull it off: a snap may have caught again, or a screw may be hanging on by a thread.

  2. Dell latitude 3500 Teardown, Remove Battery: passo 2, immagine 1 di 1
    • 4 screws total

    • Unplug it from the motherboard.

  3. Dell latitude 3500 Teardown, Remove RAM: passo 3, immagine 1 di 1
    • Carefully push the metal latches on each side of the module outwards.

  4. Dell latitude 3500 Teardown, Remove M.2 SSD: passo 4, immagine 1 di 3 Dell latitude 3500 Teardown, Remove M.2 SSD: passo 4, immagine 2 di 3 Dell latitude 3500 Teardown, Remove M.2 SSD: passo 4, immagine 3 di 3
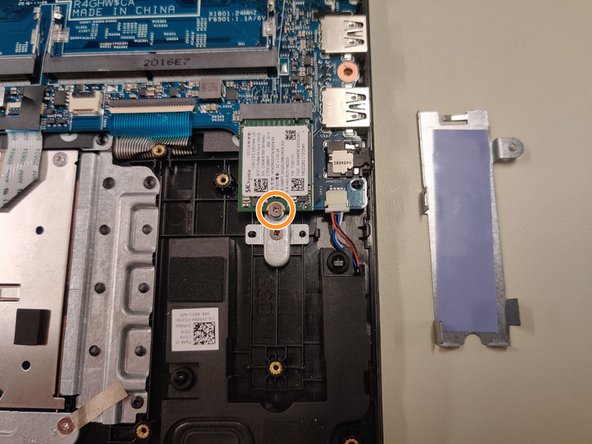
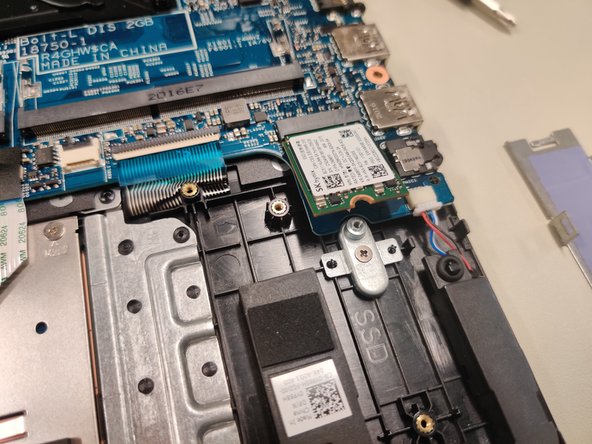
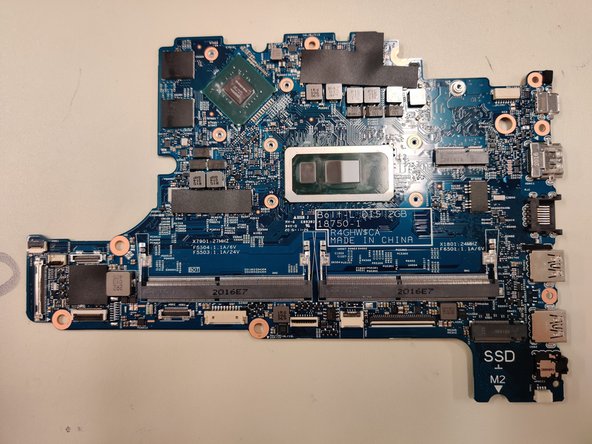
    • One screw holds an aluminum plate in place over the SSD to disperse heat.

    • Another screw holds the actual SSD in place.
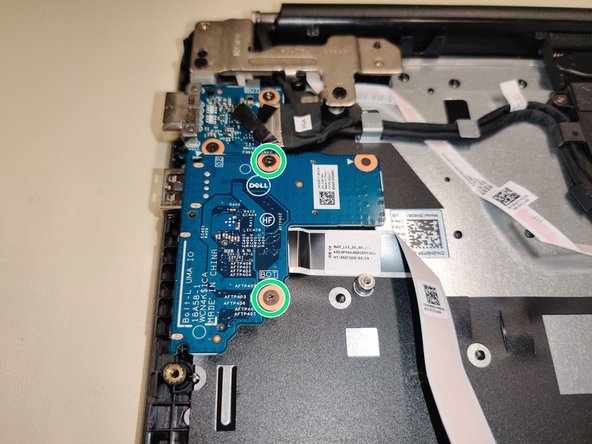
  5. Dell latitude 3500 Teardown, Remove USB/SD Card Reader: passo 5, immagine 1 di 3 Dell latitude 3500 Teardown, Remove USB/SD Card Reader: passo 5, immagine 2 di 3 Dell latitude 3500 Teardown, Remove USB/SD Card Reader: passo 5, immagine 3 di 3
    • 2 screws

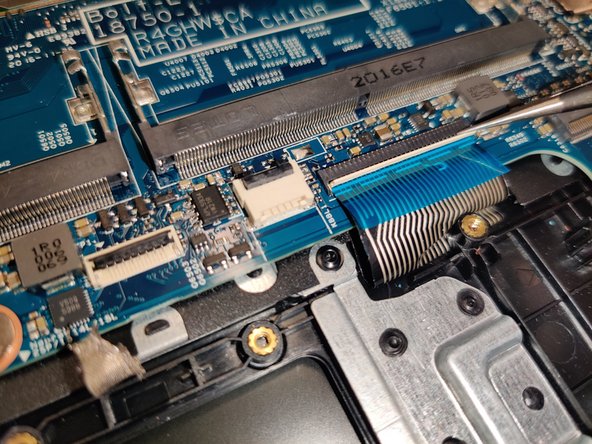
    • Carefully lift the black tab to free the ribbon cable from it's connection to the motherboard.

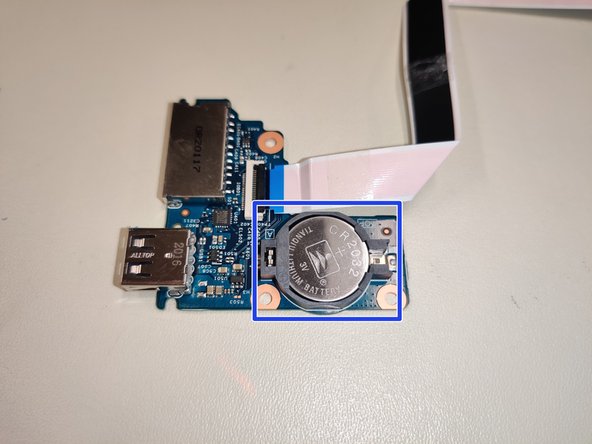
    • On the underside is where the CMOS battery is located.

  6. Dell latitude 3500 Teardown, Remove CPU Fan: passo 6, immagine 1 di 1
    • Unplug the small fan header from it's slot on the motherboard

    • 2 screws total holding the fan in place.
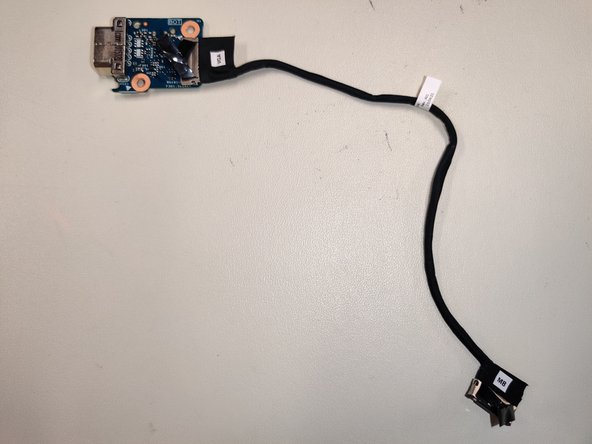
  7. Dell latitude 3500 Teardown, Remove VGA Board: passo 7, immagine 1 di 2 Dell latitude 3500 Teardown, Remove VGA Board: passo 7, immagine 2 di 2
    • 2 screws total

    • the cable can be unplugged from the motherboard by carefully pulling up on the connector

  8. Dell latitude 3500 Teardown, Remove Wi-Fi Card: passo 8, immagine 1 di 3 Dell latitude 3500 Teardown, Remove Wi-Fi Card: passo 8, immagine 2 di 3 Dell latitude 3500 Teardown, Remove Wi-Fi Card: passo 8, immagine 3 di 3
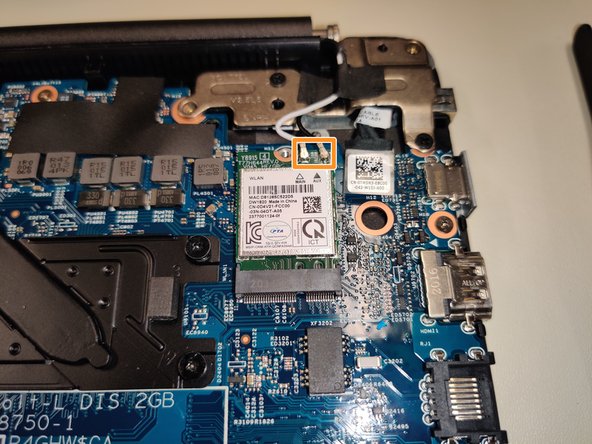
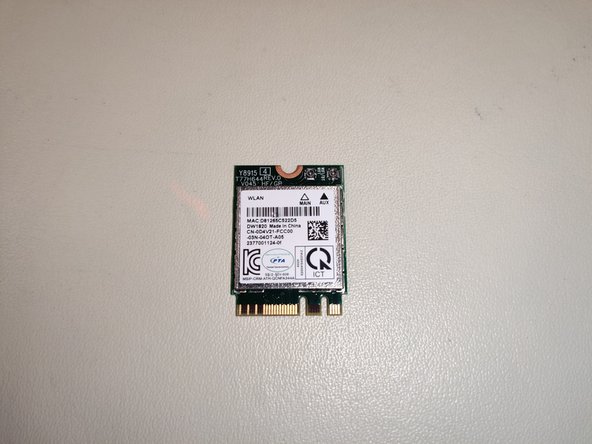
    • 1 screw total, holds a small bracket in place over the antennas.

    • Use a tool to carefully lift the antennas upwards from their connections.

  9. Dell latitude 3500 Teardown, Remove Touchpad: passo 9, immagine 1 di 1
    • There's a small amount of tape that needs peeled back

    • 7 screws total

    • There's also a small lip on the top edge of the touchpad that will catch if you pull it out at an angle.
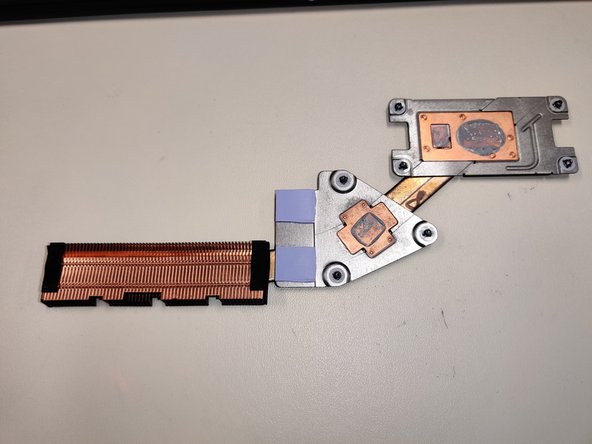
  10. Dell latitude 3500 Teardown, Remove CPU Heatsink: passo 10, immagine 1 di 3 Dell latitude 3500 Teardown, Remove CPU Heatsink: passo 10, immagine 2 di 3 Dell latitude 3500 Teardown, Remove CPU Heatsink: passo 10, immagine 3 di 3
    • 7 screws total

    • The screws are numbered to spread the thermal paste the most evenly across each die.

  11. Dell latitude 3500 Teardown, Lift Hinges: passo 11, immagine 1 di 2 Dell latitude 3500 Teardown, Lift Hinges: passo 11, immagine 2 di 2
    • 2 screws on each side

    • These hinges hold the 2 halves together, so it will slide when you lift them up

  12. Dell latitude 3500 Teardown, Disconnect Remaining Connections: passo 12, immagine 1 di 1
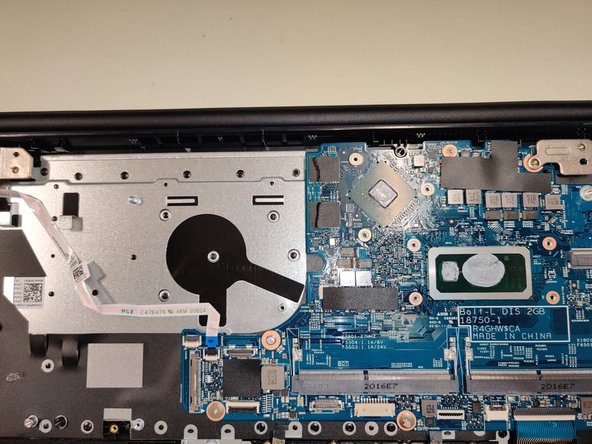
    • There should be three connectors still attached to the motherboard.

  13. Dell latitude 3500 Teardown, Remove Motherboard: passo 13, immagine 1 di 3 Dell latitude 3500 Teardown, Remove Motherboard: passo 13, immagine 2 di 3 Dell latitude 3500 Teardown, Remove Motherboard: passo 13, immagine 3 di 3
    • 4 screws total

  14. Dell latitude 3500 Teardown, Remove Screen Cover: passo 14, immagine 1 di 3 Dell latitude 3500 Teardown, Remove Screen Cover: passo 14, immagine 2 di 3 Dell latitude 3500 Teardown, Remove Screen Cover: passo 14, immagine 3 di 3
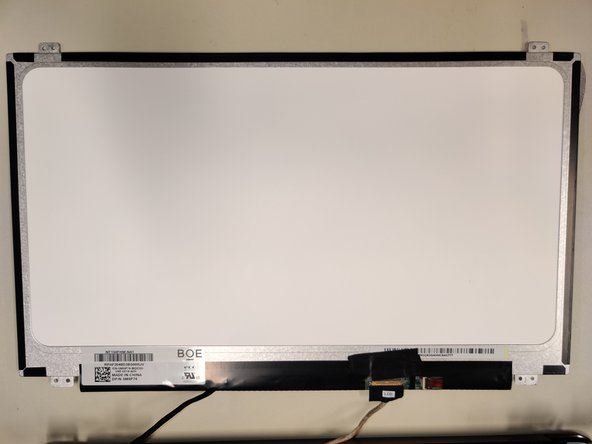
    • Spudge around the edges, even the hinge.

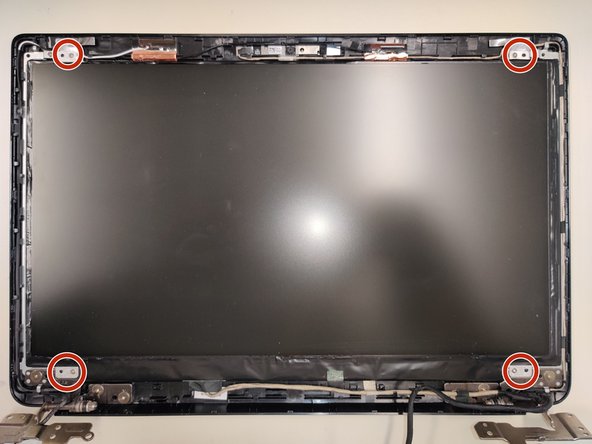
    • Thin(but strong) adhesive is placed around the border of the screen.

    • 4 screws holding screen in place.

Jake

Membro da: 03/08/23

1.300 Reputazione

14 Guide realizzate

0 Commenti

Aggiungi Commento

Visualizza Statistiche:

Ultime 24 Ore: 2

Ultimi 7 Giorni: 12

Ultimi 30 Giorni: 57

Tutti i Tempi: 1,651