Introduzione
Continuing in my fascination with Quick Charge 2.0 based chargers, this is the second teardown of the fast charge series.
Cosa ti serve
-
-
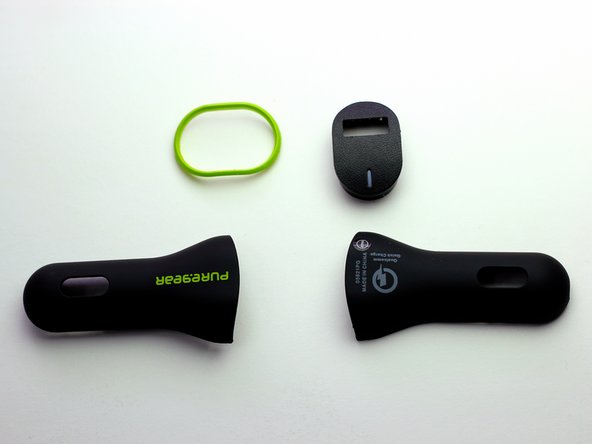
PureGear's Extreme USB Car Charger is an elegant cigarette lighter car charger with a smooth, matte outer casing.
-
This charger is able to charge devices with Qualcomm Quick Charge 2.0 compatible processors up to 4 times faster.
-
The adapter is rated at 12W with 5V/2.4A for Quick Charge compatible devices and 5V/1A for all others.
-
The charger includes:
-
USB adapter
-
LED to indicated status of charge
-
-
-
-
To separate the last part of the outer shell, we need to apply some pressure from with the vice grip pliers.
-
Squeezing the shell across the seem causes the connecting tabs to separate enough for us to pry them apart.
-
Inside the shell are three metal leads that fell out when the shell pieces separated.
-
-
-
Finally we can see what makes this charger tick and It seems that there are two important chips at work here:
-
Active-Semi ACT4533C DC/DC Converter
-
Power Integrations CHY100D-TL Battery Management Charger Interface
-
These two chips in tandem make this CLA possible with so few parts, including:
-
a couple resistors and capacitors
-
an inductor
-
a fuse
-
and two diodes
-
-
-
PureGear Extreme USB Car Charger Repairability Score: 7 out of 10 (10 is easiest to repair)
-
It was very easy to remove the lid of the casing
-
There are few parts to disassemble
-
There was not an obvious way to separate the two halves of the outer casing
-
The charger reassembled very easily without any need for repair
-
It's amazing how PureGear was able to make a Quick Charge 2.0 compatible charger with so few parts.
-


3 Commenti
Any info on the USB chip?
I need help fixing a car charger. I think the fuse is blown. It's an Ainope AV804. I don't see how to take the face off. I'd rather send it to you for repair.
Please email me at: WFBanach@aol.com