Salta al contenuto principale

Cosa ti serve

Documento in evidenza
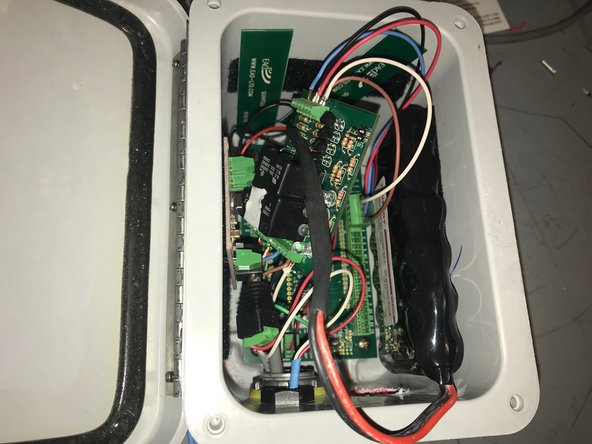
Questo smontaggio non è una guida di riparazione. Per riparare il tuo Autosampler Node, usa il nostro manuale di assistenza.

  1. Autosampler Node Teardown, Node Overview: passo 1, immagine 1 di 2 Autosampler Node Teardown, Node Overview: passo 1, immagine 2 di 2
    • Generally, there will also be ultrasonic components, such as wires, present within the node. There is no ultrasonic connected to our node in order to focus entirely on the autosampler

  2. Autosampler Node Teardown, Disconnect and Remove the Battery: passo 2, immagine 1 di 3 Autosampler Node Teardown, Disconnect and Remove the Battery: passo 2, immagine 2 di 3 Autosampler Node Teardown, Disconnect and Remove the Battery: passo 2, immagine 3 di 3
    • Ensure you remove the battery first before doing anything else

  3. Autosampler Node Teardown, Disconnect Relay: passo 3, immagine 1 di 3 Autosampler Node Teardown, Disconnect Relay: passo 3, immagine 2 di 3 Autosampler Node Teardown, Disconnect Relay: passo 3, immagine 3 di 3
    • If you choose to disconnect the wires from the terminal, we recommend you either write down the wires' respective locations on the terminal, or consult our pin documentation when reassembling

  4. Autosampler Node Teardown, Remove the Solar Charger: passo 4, immagine 1 di 3 Autosampler Node Teardown, Remove the Solar Charger: passo 4, immagine 2 di 3 Autosampler Node Teardown, Remove the Solar Charger: passo 4, immagine 3 di 3
    • To disconnect the blue circled point on the solar charger, you have to remove the terminal at the blue circle on the board

  5. Autosampler Node Teardown, Remove the Cell Module from the Board: passo 5, immagine 1 di 3 Autosampler Node Teardown, Remove the Cell Module from the Board: passo 5, immagine 2 di 3 Autosampler Node Teardown, Remove the Cell Module from the Board: passo 5, immagine 3 di 3
    • Pull the module from the bottom; pulling the module in a different way may damage it

  6. Autosampler Node Teardown, Unscrew and Remove Board: passo 6, immagine 1 di 2 Autosampler Node Teardown, Unscrew and Remove Board: passo 6, immagine 2 di 2
    • In the second image, one of the screws is already removed

  7. Autosampler Node Teardown, Node Overview: passo 7, immagine 1 di 2 Autosampler Node Teardown, Node Overview: passo 7, immagine 2 di 2
    • With the interior of the small node removed, these are the components you should have (from left to right)

    • The battery

    • Solar charger with terminal still attached

    • Relay with terminal still attached

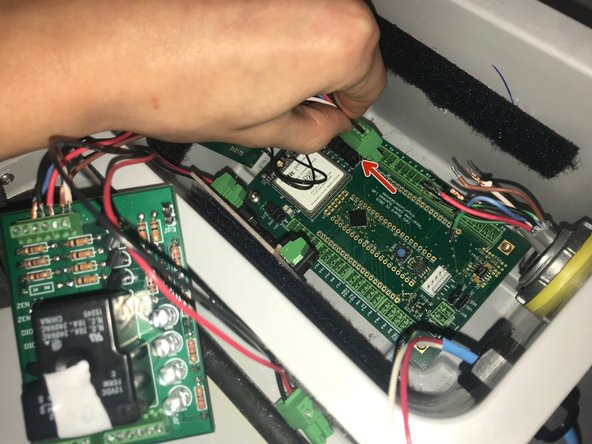
    • Module with antenna still attached

    • Board with 4 screws

Documenti Allegati

Nicholas Jeng

Membro da: 01/16/18

529 Reputazione

3 Guide realizzate

0 Commenti

Aggiungi Commento

Visualizza Statistiche:

Ultime 24 Ore: 0

Ultimi 7 Giorni: 0

Ultimi 30 Giorni: 1

Tutti i Tempi: 162