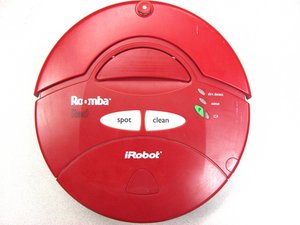
There is kinda a catch 22 with this version Roomba. When the battery died, it was probably in the middle of something, and now that you have a good battery, it’s trying to finish what it was doing, but the battery isn’t charged, and it won’t charge the battery until it finished what it was doing.
I would charge the battery outside of the Roomba. This is a 14.4V battery, and you can charge it with a 12V walwart. Don’t use one that supplies more the 500mA, as you don’t want to charge it too fast, and it should be over 200mA. I would use an older style linear walwart, as these do not have regulation circuits in them, and a 12V one will show 15V or more. This is good, as you want it above 14.4V
If you look at the terminals, there are 3 of them. I think the positive line is on the outside, I know the center one is the sensor, and do not hook anything to this one, and the inside one is negative. Use a meter to check this before you charge it, as there should be enough voltage in it to tell it’s polarity. You’ll need to stick something in the slots to get a good enough connection.
Hook up the charger, and make sure the battery isn’t getting hot. A little warmth is OK, but it shouldn’t get hot. As you charge it, disconnect the walwart, and check that the voltage is increasing. It will actually be above 14.4V, and your charger.
Let it charge for an hour or more, but don’t leave it unattended.
If you can see the voltage improving, plug it in and see if it works enough to get it to turn on and off, and then let it do a full 16 hour charge from the base.
Questa risposta è stata utile?
Votato
Annulla
Punteggio
0
Annulla
Scorri questo thread per trovare il posto appropriato per questo commento. Quindi, fai clic su "Allega commento a questo post" per spostarlo.

 1
1 

 2
2  2
2
Avevo lo stesso problema. Resettato ROOMBA tenendo premuti per 10 secondi i due pulsanti a lato del pulsante CLEAN.
da MARCO PRINCIPI