
Back to School season is here. We’re highlighting useful resources for getting your tech ready, plus 20% off select parts all month long. Most issues plaguing your existing devices can be fixed easily by replacing a few components—no expensive new laptop required!
Buying a used computer and upgrading it can get you most of the power you need at a fraction of the price (and environmental cost) of a new machine. But which upgrades get you the most value per dollar inside your battle-hardened system? If your laptop hasn’t been modded since it was originally made way back when, there are likely a few things you’ll want to tackle.
We get this type of question all the time from our readers. Mulling over your question inspired us to start a series on our blog, to answer these kinds of repair, upgrade, and nitty-gritty questions from readers. It’s called, imaginatively enough, Ask iFixit.
Please note that in 2012, Apple started soldering memory to the logic boards of their Retina Display models. Storage became non-swappable with the Touchbar MacBook Pro in 2016. This has made MacBooks thinner and lighter, but rendered RAM and SSD upgrades impossible. So when it comes to upgrades, an “old” MacBook Pro qualifies as a 2015 Retina model or older. If you have a 2016 model or newer, Apple has decided for you that what you bought is what you’ll have to be content with. Gee, thanks for that! Fortunately, battery replacements are still on the table for all models.
Swap In an SSD
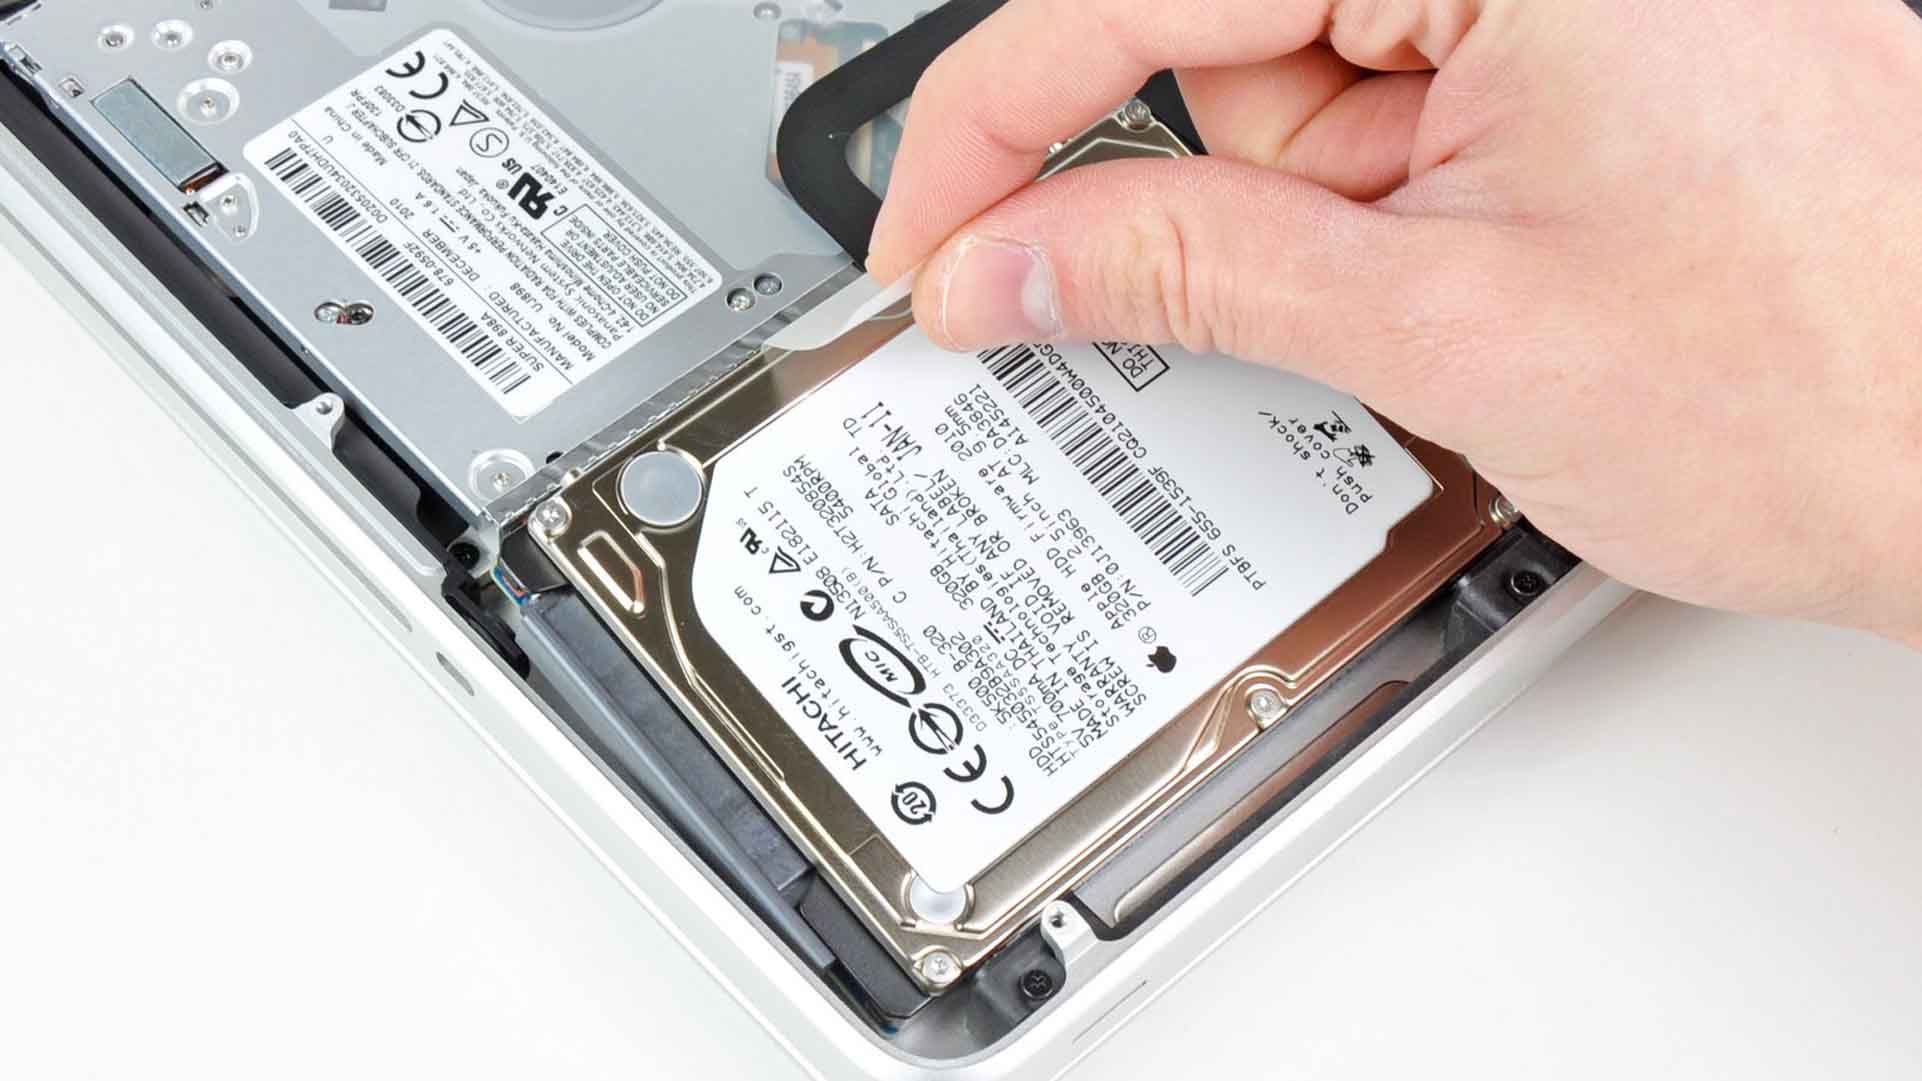
An SSD is the greatest upgrade you can make to any aged computer. Traditional hard drives (sometimes called HDDs) have long been a bottleneck in PC snappiness. Replacing that spinning drive with an SSD will make it feel like an entirely new machine. I am not exaggerating: the computer will boot faster, apps will launch faster, and if you play games, say goodbye to long loading times. This is the first upgrade you should tackle, hands down.
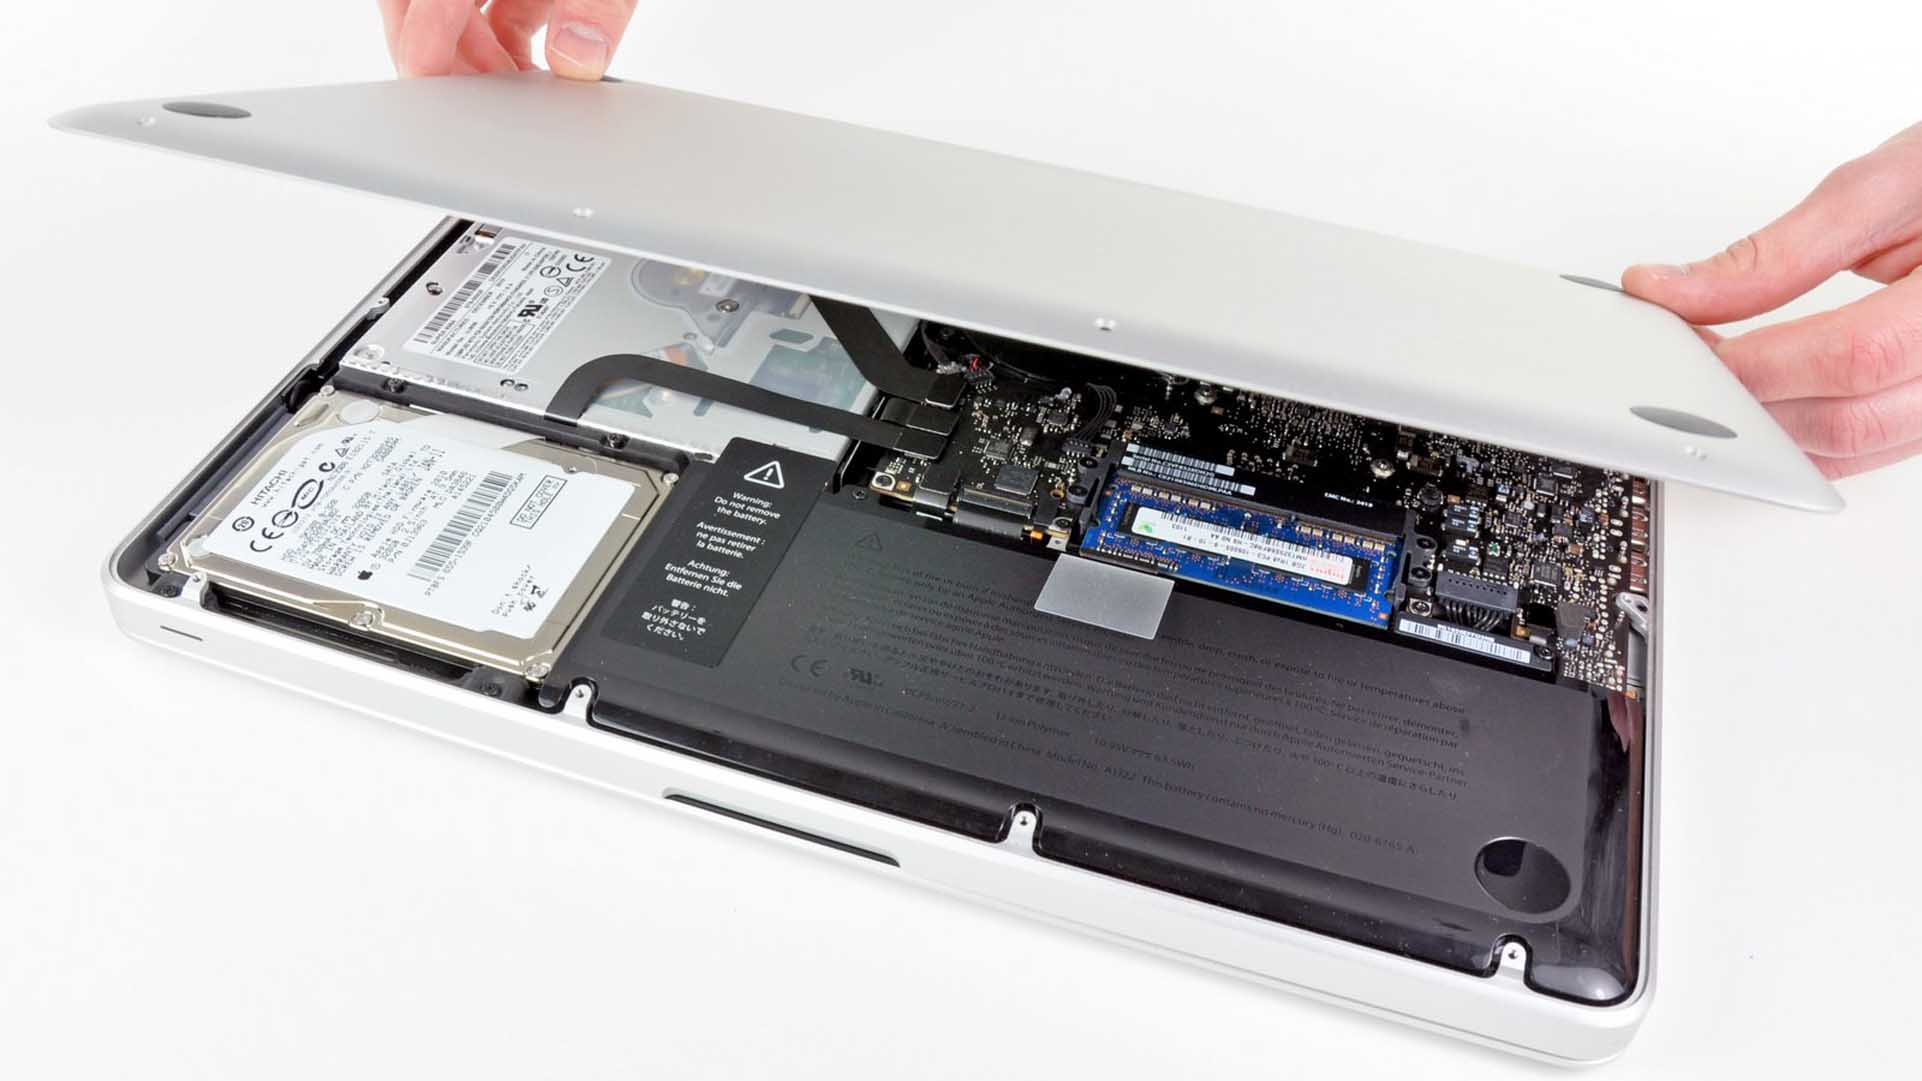
Thankfully, replacing a hard drive is pretty easy on most older laptops, MacBooks included—it’s just a matter of unscrewing the bottom case and loosening a bracket around the hard drive itself.
Once upon a time, SSDs were so small in capacity that this upgrade wasn’t practical unless you removed the optical drive and replaced it with a second hard drive for all your files. I did this myself, in fact: my first SSD was a measly 80GB, and it cost $200, so there was no way I could fit all I needed on just one drive. These days, you can get a 500GB SSD for half the cost of that ancient, tiny drive, so grab whatever SSD fits your needs and just swap out the old drive entirely. You never know, you might get a hankerin’ to watch that old DVD of Harold & Kumar go to White Castle someday. There’s even a mod out there to swap in a Bluray Optical Drive, if you want to experience their journey in high-res video!
Instead of an actual storage drive, newer MacBook Pros might have the option to swap out a mSATA or M.2 SSD. These have an even smaller footprint to accommodate the more tightly-packed laptop design, are faster and still can be expanded on a ton. Retina MacBook Pro released between 2012 and 2015 offer a way to install a mSATA or M.2 SSD, but due to a proprietary storage drive connector you’ll need a compatible SSD or an adapter.

Upgrade the Probably-Dying Battery
Once you’ve replaced the SSD, recommending the next upgrade is a bit trickier—a more if-this-then-that proposition. So consider these next two recommendations equal in terms of utility.
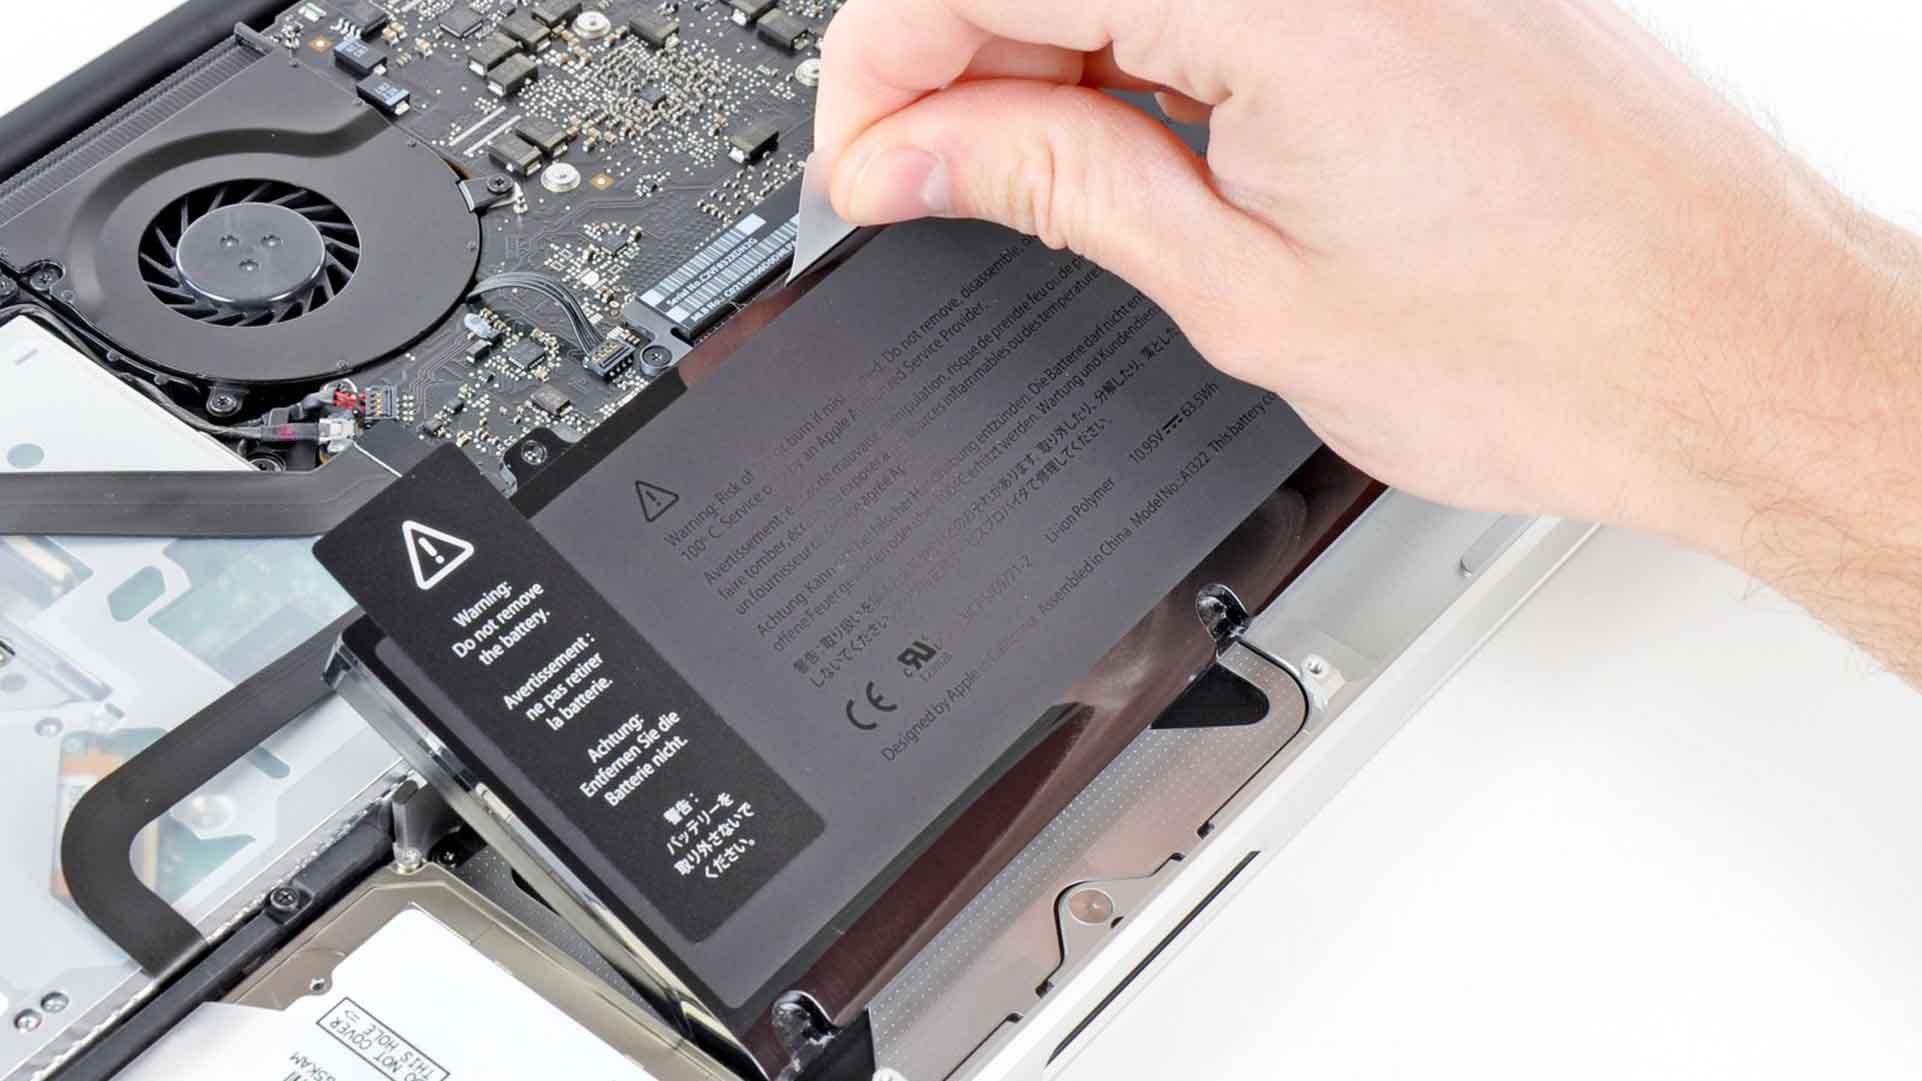
If it were me, I’d probably replace the battery next. If it hasn’t been replaced since the laptop came out of the factory, there’s a good chance it holds so little of a charge that it’s barely useful as a laptop anymore. You can buy a new battery for under $100, swap it in with a few screws, and get the freedom from wall outlets you’ve always dreamed of. Sure, sometimes you’ll have to contend with adhesive instead of screws, but with the right guide, there’s nothing you can’t fix!


Add More RAM
Finally, that old laptop probably needs a RAM upgrade. 4GB is technically usable, but these days, 8GB is really the minimum I’d recommend for someone running Windows or macOS—especially if you use a browser like Google Chrome and open a lot of tabs at once.
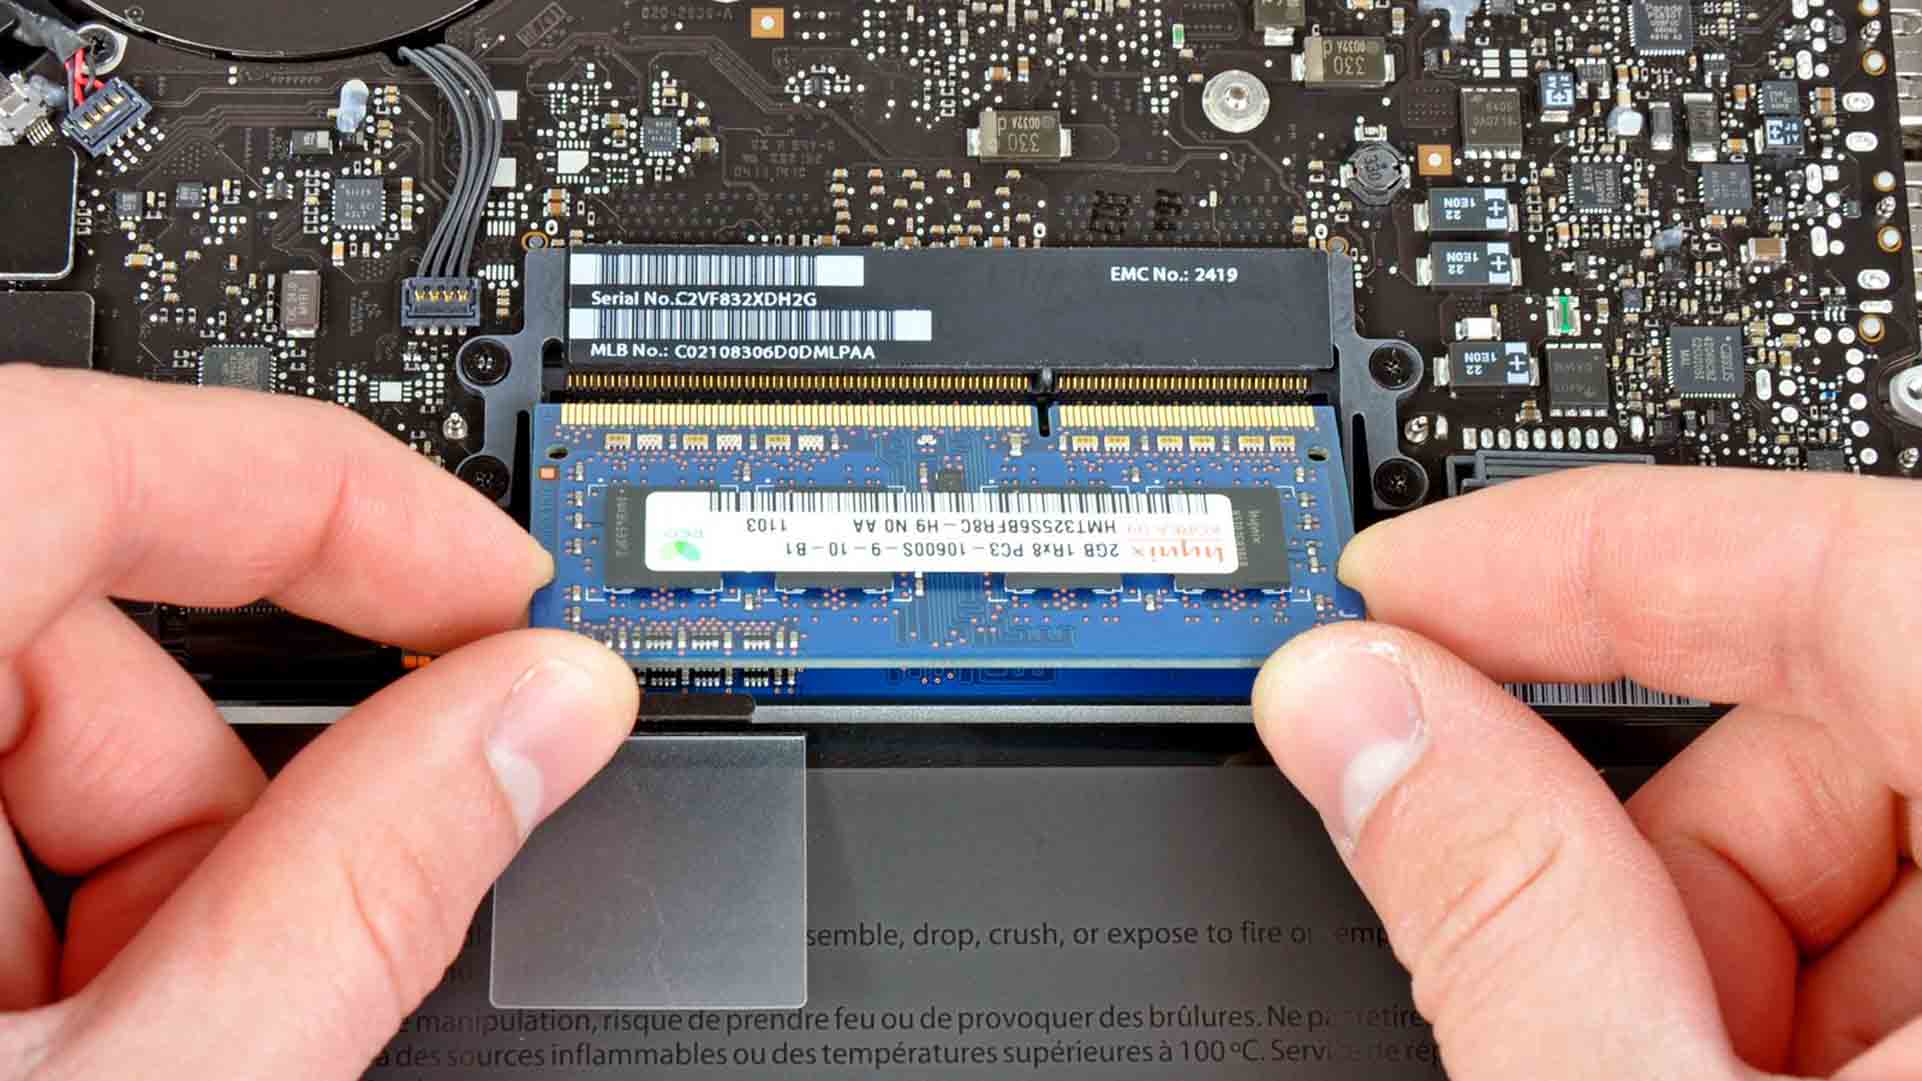
Thankfully, an 8GB stick of RAM costs less than $50 or so, and replacing it is so simple a baby T-Rex could do it (well, probably—I’m not able to test this theory). It won’t necessarily make your computer feel instantly faster the way an SSD does, but it’ll hopefully prevent some of the random slowdowns and hangups that you’d experience under a shortage of RAM when running a few apps at once.
(Technically, for best performance, you’ll want to spread your new RAM across all your RAM slots, though it doesn’t make a huge difference. If you’re particular like me, though, press Command+Space, search for System Profiler, and clicking on the Memory tab to see how many memory slots you have. Then you can divide your total RAM among those slots—e.g., two 4GB sticks instead of one 8GB stick.)
Make sure to get the right type of RAM for your device. Pre-Retina MacBook Pros use SO-DIMM instead of the regular ‘ol DIMM variant. All Retina MacBook Pros unfortunately feature soldered RAM, making a replacement impossible.


Give It a Good Cleaning While You’re In There
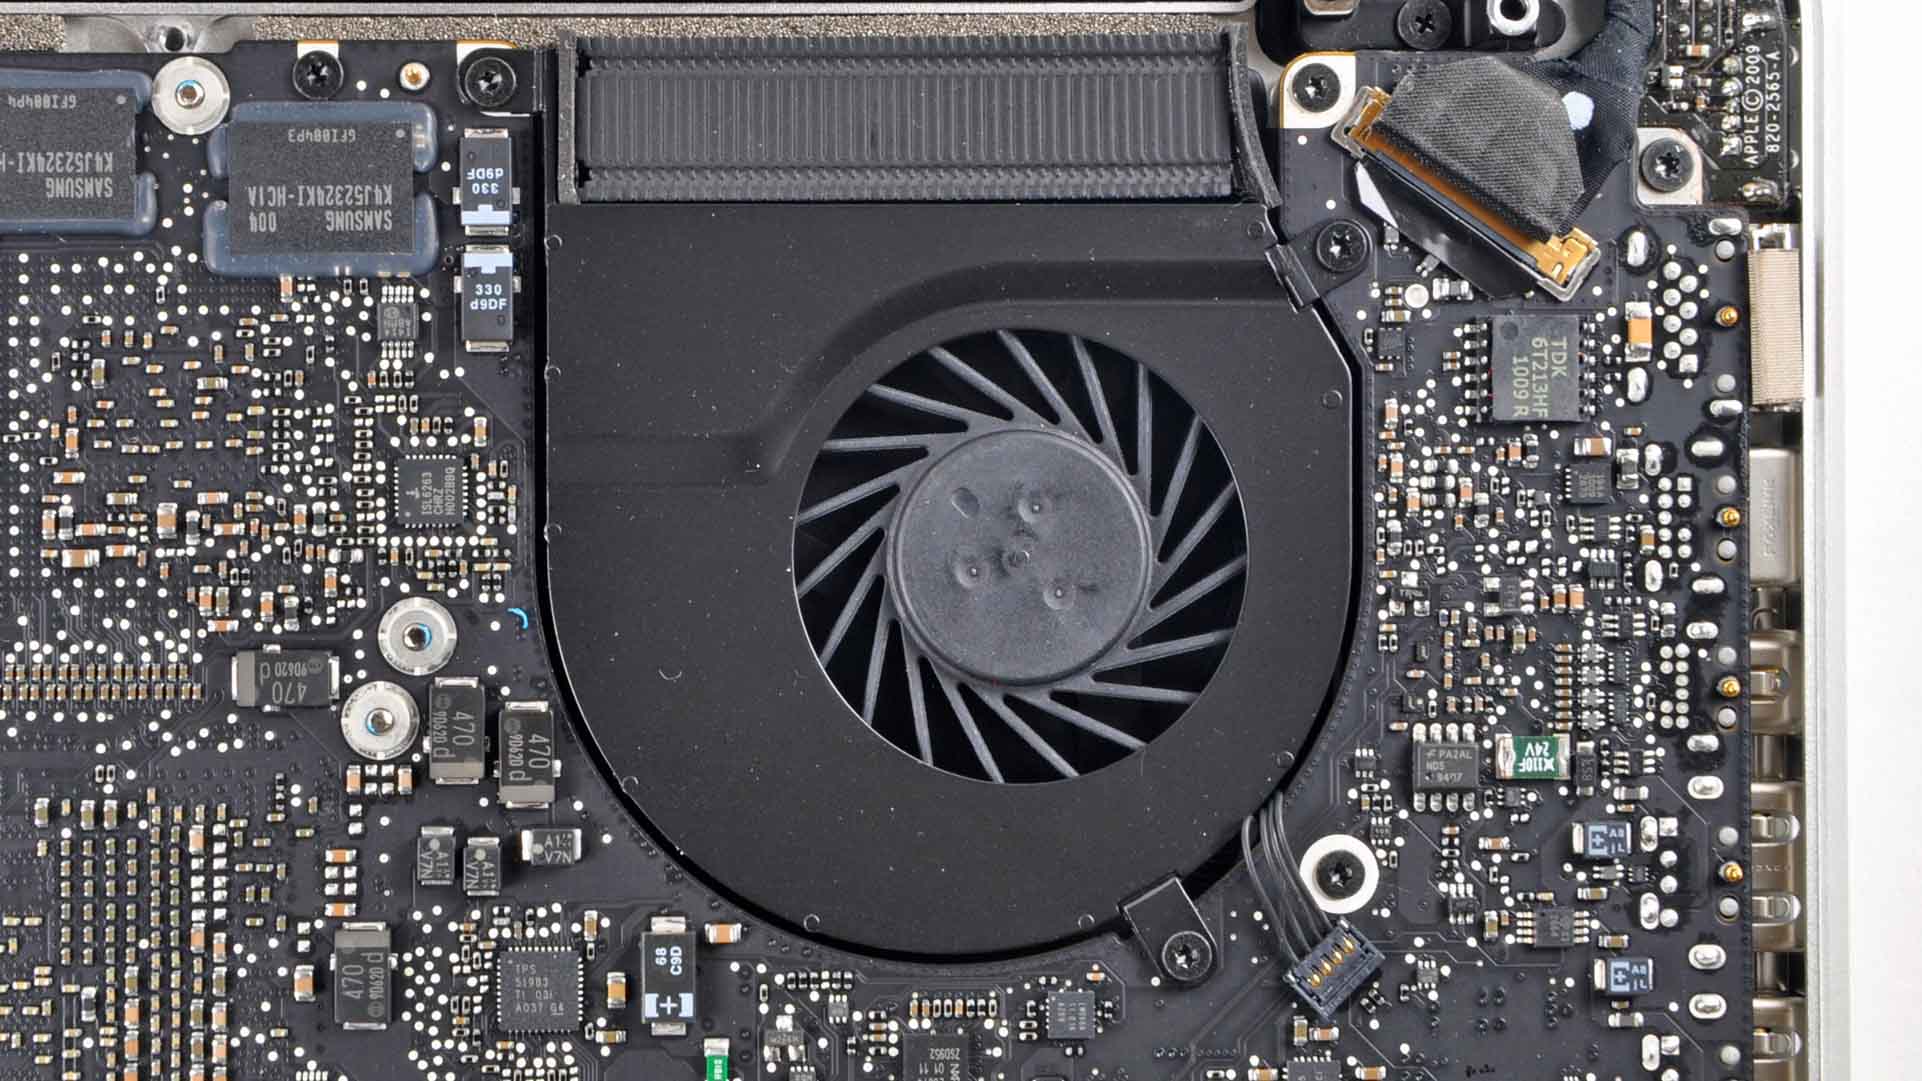
This isn’t an upgrade or a modification, per se, but while you’re inside the laptop upgrading the above parts, you might find that things are a little (or a lot) dusty. Blowing it out—especially in the fans, where dust can clog up the works—is a great way to ensure the longevity of your system. Most folks recommend compressed air for this, but it’s bad for the environment, so we recommend going with something a little more friendly. I think this little dust blower does the trick well enough for most, though if you need more juice, a Hurricane Canless Air machine is a more powerful alternative. Hold the fan with your finger so it doesn’t spin, blow out the dust, and make sure the vents, boards, and heatsinks are nice and clean. Your fan will be able to cool your laptop more effectively, hopefully leading to less noise and longer-lasting components. For a true deep clean, try our Precision Cleaning Kit for hard-to-reach areas.

Got a question for iFixit? Tweet at us with #askifixit or leave a post on our Answers forum.
Originally published January 30, 2020, updated for August 2023.


65 Commenti
Great! I’ve done all those things to my MacBook Pro 17 (early 2011) to great effect. I’ve added 1 TB SSD, bumped the memory to 16 GB and shifted the original 750 GB HDD to the optical bay using an adapter. I replaced the fans the other day to find a scary swollen battery with a separated battery case. A new battery is on the way, while the old one is where it can’t burn down the house if it “gets all splody” like those”hover”board videos show. Only problem? I’m stuck on Mac OS X 10.13.6! Other than that, it’s been well worth the cost to keep using it for photography and web site design almost 9 years.
garvinjd - Replica
Try looking up dosdude, my old 2009 (yes 2009!) is still alive and kicking with Catalina
stevenpearson -
Catalina on a 2009? How?? Would you share?
Doug Franklin -
Catalina Patcher: http://dosdude1.com/catalina/
seamus -
Thanks for link to dos dude!
I had already done 16GB, RAM SSD into optical drive slot and clean. Now I can go to Catalina Thanks again
Andrew CS -