
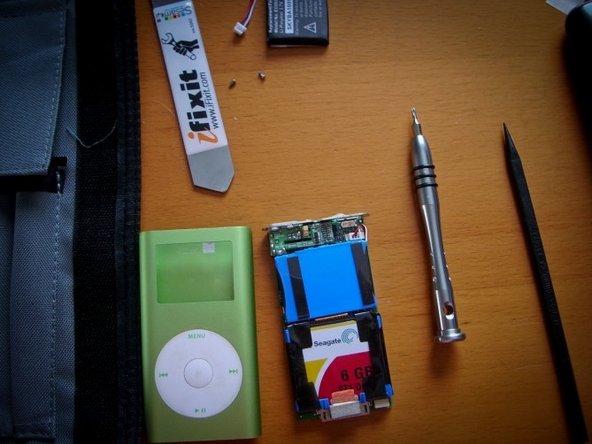
Trevor Bugera submitted a story this week about fixing two iPods—his wife’s Mini and her friend’s Nano. Neither iPod would hold a charge, and the Mini recently started showing the “Sad iPod” icon. Trevor changed the batteries in both iPods.
The repair went smoothly, Trevor says, thanks in part to having the right tools: to open up the iPods, he used an iSesamo. Once he got past the bezels, he switched to the driver and spudger (from his Pro Tech Base Toolkit).
To change a Nano battery, you need to desolder the battery cable from the logic board. Trevor wished he had a vise, for holding the Nano steady while desoldering the battery. “I had to use my 7-year-old’s hands instead,” he says.
Though the battery replacement was successful, the Mini is still Sad, unfortunately. On the recommendation of a couple of iFixit Answers users, he plans to open it up again and try replacing the hard drive with a compact flash drive.
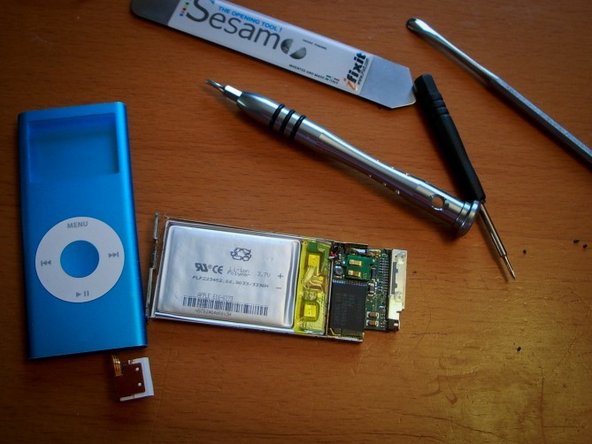
Because of the desoldering, we’ve marked the Nano battery replacement guide “Very Difficult.” But Trevor was undeterred—he’s been taking stuff apart for a long time. His interest in repair was sparked by his handy dad, who studied electronics and worked with industrial instrumentation. Trevor told me in an email:
My father would let me take apart all kinds of broken appliances and equipment, so I could see how they worked. After a while, he brought me things that worked and told me I could take them apart as long as they would work when I put them back together. I have always been rough on my gadgets too, so I would have to fix them several times before I could afford to buy a new one.
He believes that taking apart working devices is an important part of learning how to fix stuff that’s broken. If you don’t know how a device is supposed to look inside, it’s much harder to troubleshoot when something goes wrong.


0 Commenti