Salta al contenuto principale

Toshiba NB205 N330PK Keyboard Replacement

Cosa ti serve

  1. Toshiba NB205 N330PK Keyboard Replacement, Power Button: passo 1, immagine 1 di 2 Toshiba NB205 N330PK Keyboard Replacement, Power Button: passo 1, immagine 2 di 2
    • Start by first removing the battery.

    • Move the first release switch to the right position.

    • Move the second release switch to the right position while pulling the battery towards the top of the netbook.

  2. Toshiba NB205 N330PK Keyboard Replacement: passo 2, immagine 1 di 2 Toshiba NB205 N330PK Keyboard Replacement: passo 2, immagine 2 di 2
    • Using the bit driver and a Phillips #0 bit, remove the three circled screws, 5 mm in length.

    • Using the bit driver and a Phillips #0 Bit, remove the two circled screws labelled F6. (These hold the keyboard) one screw may be under a rubber stopper

  3. Toshiba NB205 N330PK Keyboard Replacement: passo 3, immagine 1 di 2 Toshiba NB205 N330PK Keyboard Replacement: passo 3, immagine 2 di 2
    • While holding the top of the netbook, flip the netbook over.

  4. Toshiba NB205 N330PK Keyboard Replacement: passo 4, immagine 1 di 2 Toshiba NB205 N330PK Keyboard Replacement: passo 4, immagine 2 di 2
    • Carefully lift off the power bar assembly for access to the button and receiver.

  5. Toshiba NB205 N330PK Keyboard Replacement, Keyboard: passo 5, immagine 1 di 2 Toshiba NB205 N330PK Keyboard Replacement, Keyboard: passo 5, immagine 2 di 2
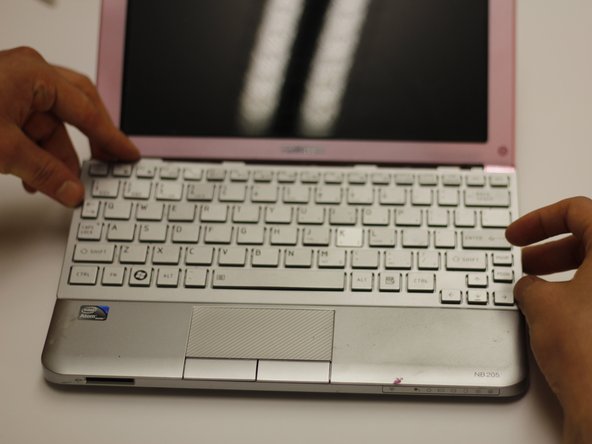
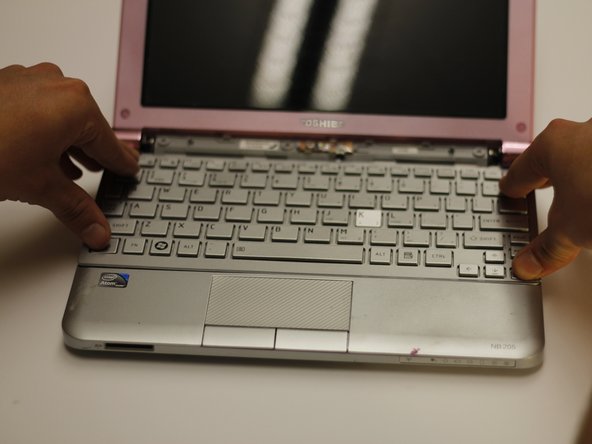
    • Use the spudger to gently pry around the keyboard. This will release the keyboard assembly from the body.

  6. Toshiba NB205 N330PK Keyboard Replacement: passo 6, immagine 1 di 2 Toshiba NB205 N330PK Keyboard Replacement: passo 6, immagine 2 di 2
    • Reach under the keyboard and disconnect the electrical connection.

    • Lift the broken keyboard off.

  7. Toshiba NB205 N330PK Keyboard Replacement: passo 7, immagine 1 di 3 Toshiba NB205 N330PK Keyboard Replacement: passo 7, immagine 2 di 3 Toshiba NB205 N330PK Keyboard Replacement: passo 7, immagine 3 di 3
    • Reattach the new electrical connection into the old connection location.

    • Place the keyboard into the original location starting with the bottom first.

    • Gently press the keyboard down to secure it into its original location.

Linea Traguardo

Un'altra persona ha completato questa guida.

Mason McCaskill

Membro da: 10/18/13

1.000 Reputazione

9 Guide realizzate

Team

Clemson, Team 14-2, Benson Fall 2013 Membro di Clemson, Team 14-2, Benson Fall 2013

CLEM-BENSON-F13S14G2

3 Membri

27 Guide realizzate

0 Commenti

Aggiungi Commento

Visualizza Statistiche:

Ultime 24 Ore: 0

Ultimi 7 Giorni: 1

Ultimi 30 Giorni: 4

Tutti i Tempi: 834