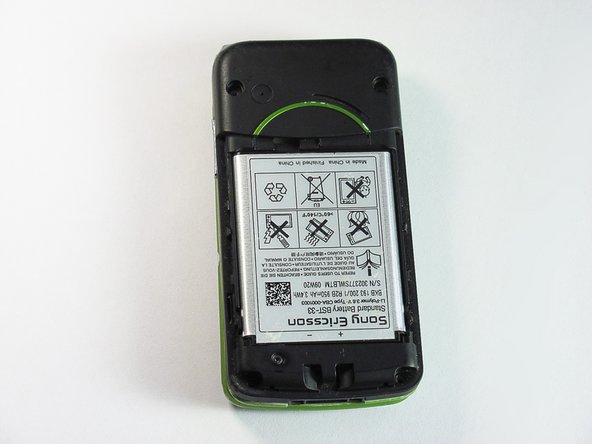
Salta al contenuto principale

Sony Ericsson TM506 Screen Replacement

Cosa ti serve

  1. Sony Ericsson TM506 Screen Replacement, Battery Cover: passo 1, immagine 1 di 3 Sony Ericsson TM506 Screen Replacement, Battery Cover: passo 1, immagine 2 di 3 Sony Ericsson TM506 Screen Replacement, Battery Cover: passo 1, immagine 3 di 3
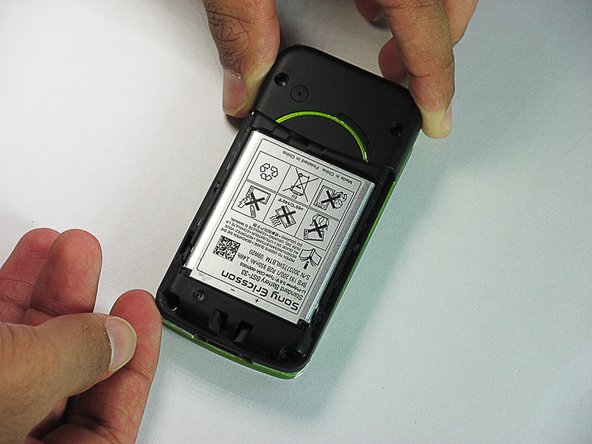
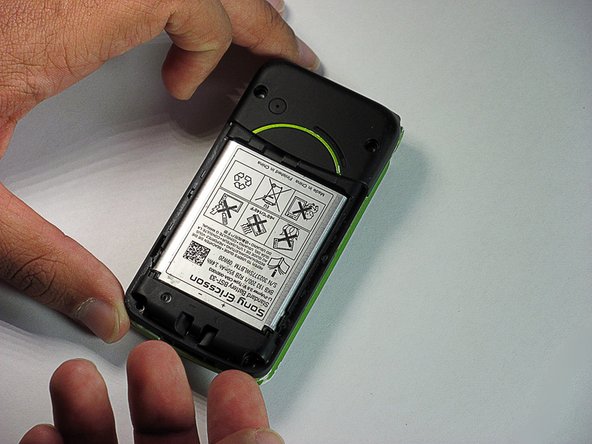
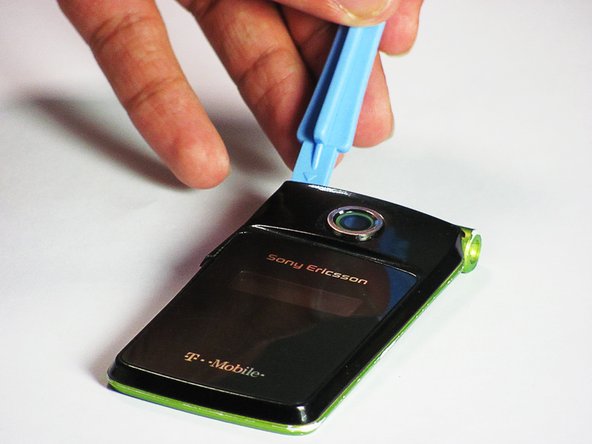
    • Firmly hold the phone between your fingers with your thumb on the battery cover.

    • Push down with your thumb until the battery cover comes off.

  2. Sony Ericsson TM506 Screen Replacement, Back Case: passo 2, immagine 1 di 3 Sony Ericsson TM506 Screen Replacement, Back Case: passo 2, immagine 2 di 3 Sony Ericsson TM506 Screen Replacement, Back Case: passo 2, immagine 3 di 3
    • Unscrew the bottom two 5.4mm screws with a Torx T6 screwdriver.

  3. Sony Ericsson TM506 Screen Replacement: passo 3, immagine 1 di 2 Sony Ericsson TM506 Screen Replacement: passo 3, immagine 2 di 2
    • Remove the two rubber casings for the top two screws with a plastic opening tool.

  4. Sony Ericsson TM506 Screen Replacement: passo 4, immagine 1 di 1
    • Unscrew these two 5.4mm screws with a Torx T6 screwdriver.

  5. Sony Ericsson TM506 Screen Replacement: passo 5, immagine 1 di 3 Sony Ericsson TM506 Screen Replacement: passo 5, immagine 2 di 3 Sony Ericsson TM506 Screen Replacement: passo 5, immagine 3 di 3
    • There are eight snap hooks located around the outer case. Carefully snap these to remove the outer case.

  6. Sony Ericsson TM506 Screen Replacement, Sound Box: passo 6, immagine 1 di 3 Sony Ericsson TM506 Screen Replacement, Sound Box: passo 6, immagine 2 di 3 Sony Ericsson TM506 Screen Replacement, Sound Box: passo 6, immagine 3 di 3
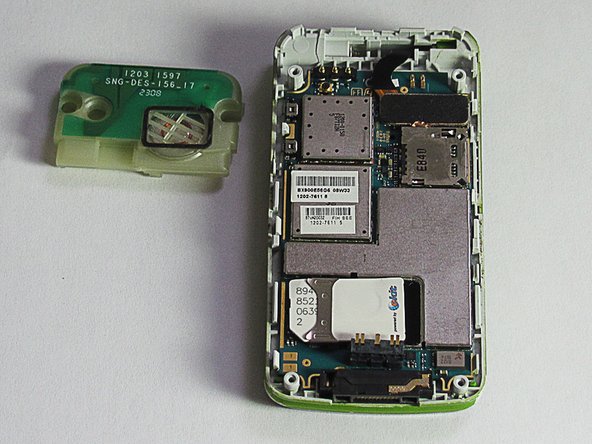
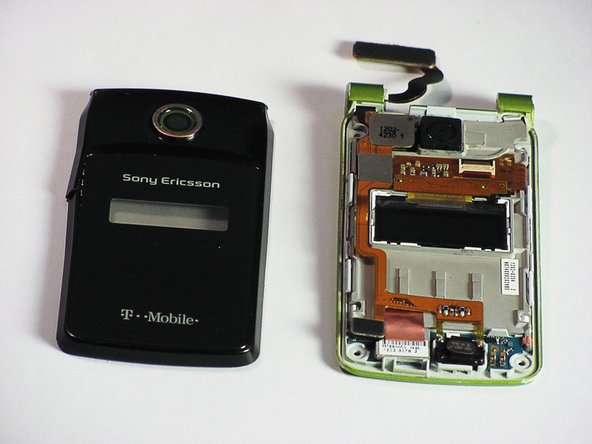
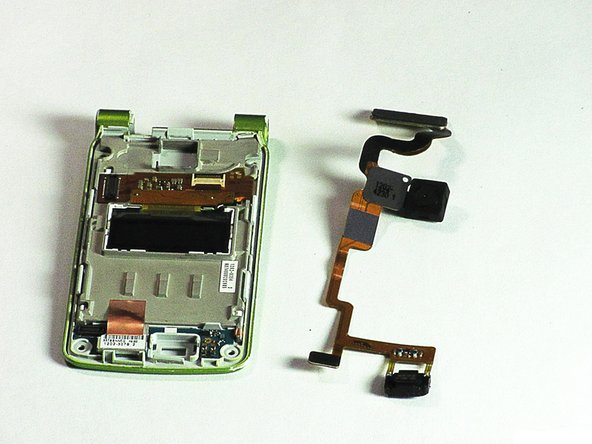
    • The sound box is attached to the case by two snap hooks.

    • Lift the sound box up to remove it from the case.

  7. Sony Ericsson TM506 Screen Replacement, Motherboard: passo 7, immagine 1 di 2 Sony Ericsson TM506 Screen Replacement, Motherboard: passo 7, immagine 2 di 2
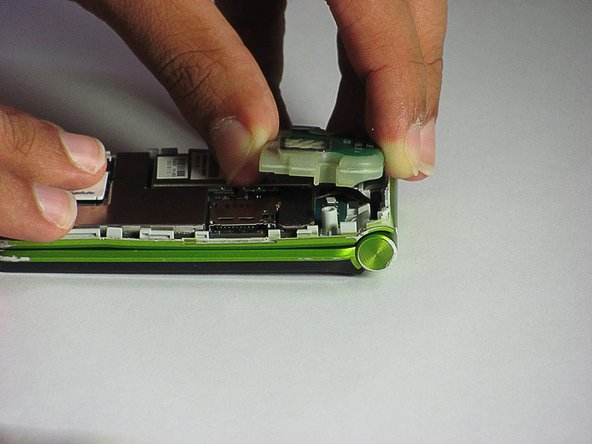
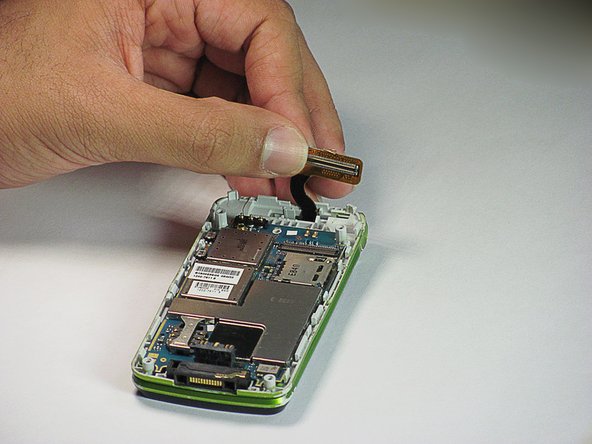
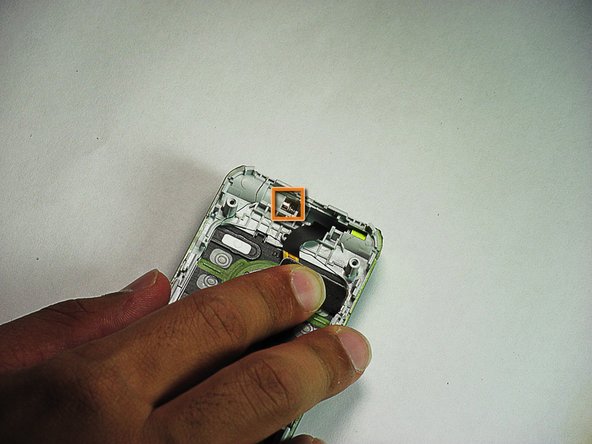
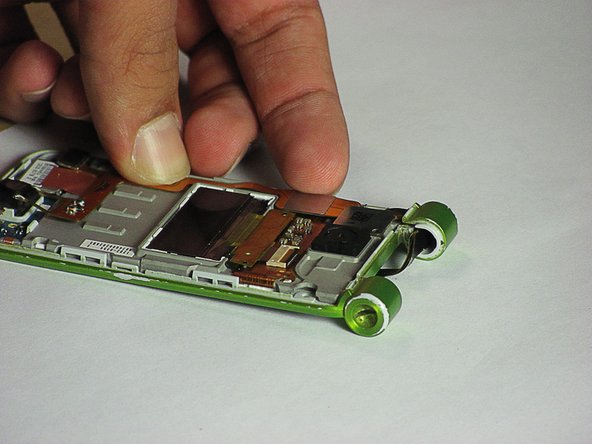
    • Locate the 80-pin connector.

    • Carefully, lift up on the connector to separate it from the board.

  8. Sony Ericsson TM506 Screen Replacement: passo 8, immagine 1 di 3 Sony Ericsson TM506 Screen Replacement: passo 8, immagine 2 di 3 Sony Ericsson TM506 Screen Replacement: passo 8, immagine 3 di 3
    • There are two snap hooks that attach the motherboard to the case.

    • Using a plastic opening tool, carefully lift up on the motherboard to detach it.

    • The motherboard is extremely fragile. Try to be forceful yet delicate in the removal because it will not come off easily.

  9. Sony Ericsson TM506 Screen Replacement, Speaker, GPS, and Camera: passo 9, immagine 1 di 2 Sony Ericsson TM506 Screen Replacement, Speaker, GPS, and Camera: passo 9, immagine 2 di 2
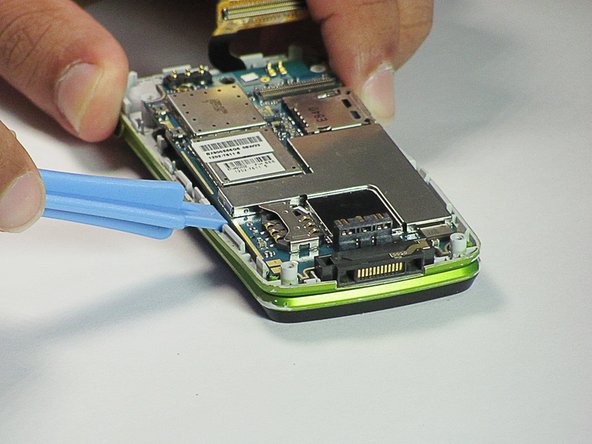
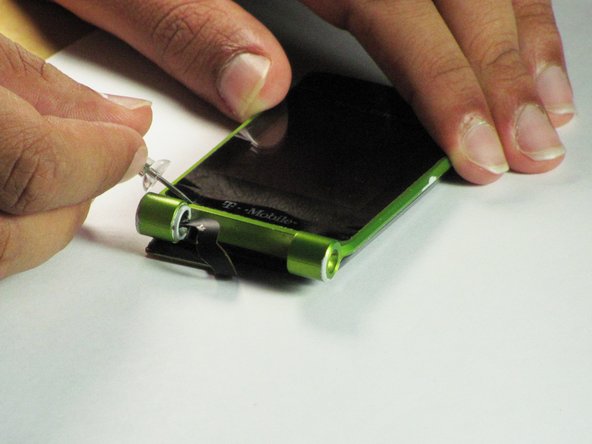
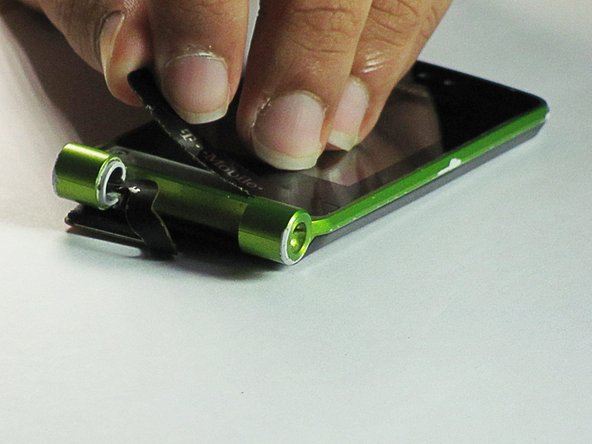
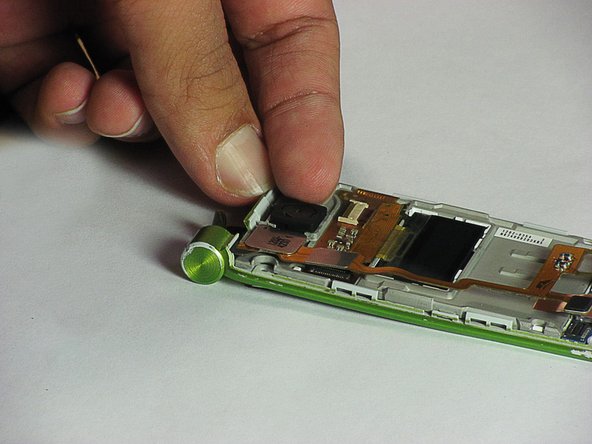
    • Use tweezers to push the hinge stopper in until it can no longer be moved.

    • The hinge stopper should be about 5.5mm in.

  10. Sony Ericsson TM506 Screen Replacement: passo 10, immagine 1 di 2 Sony Ericsson TM506 Screen Replacement: passo 10, immagine 2 di 2
    • Separate the bottom and top half of the phone from the hinge they are connected by.

    • Don't completely pull apart the two pieces or you will damage the ribbon.

  11. Sony Ericsson TM506 Screen Replacement: passo 11, immagine 1 di 1
    • Pull the ribbon through the opening in the hinge to completely separate the upper and lower halves of the phone.

  12. Sony Ericsson TM506 Screen Replacement: passo 12, immagine 1 di 3 Sony Ericsson TM506 Screen Replacement: passo 12, immagine 2 di 3 Sony Ericsson TM506 Screen Replacement: passo 12, immagine 3 di 3
    • The top and bottom covers are held in place by adhesive. To remove them, use a pushpin in the four indentations indicated to remove.

  13. Sony Ericsson TM506 Screen Replacement: passo 13, immagine 1 di 2 Sony Ericsson TM506 Screen Replacement: passo 13, immagine 2 di 2
    • Remove the four 5.4 mm screws with a Torx T5 screwdriver.

  14. Sony Ericsson TM506 Screen Replacement: passo 14, immagine 1 di 3 Sony Ericsson TM506 Screen Replacement: passo 14, immagine 2 di 3 Sony Ericsson TM506 Screen Replacement: passo 14, immagine 3 di 3
    • Use a plastic opening tool in the indicated location and apply pressure until the case hook is detached. Then lift the case up until the two pieces are detached.

  15. Sony Ericsson TM506 Screen Replacement: passo 15, immagine 1 di 3 Sony Ericsson TM506 Screen Replacement: passo 15, immagine 2 di 3 Sony Ericsson TM506 Screen Replacement: passo 15, immagine 3 di 3
    • Use a paperclip to detach the speaker from the case.

    • Detach the GPS from the case by carefully lifting it up from the case.

    • Detach the camera with your hands or by using a paperclip similar to the way the speaker was removed.

  16. Sony Ericsson TM506 Screen Replacement: passo 16, immagine 1 di 2 Sony Ericsson TM506 Screen Replacement: passo 16, immagine 2 di 2
    • Once the three components are detached, removing the ribbon is possible.

    • Simply, move the ribbon to the right and it will be completely detached from the case.

  17. Sony Ericsson TM506 Screen Replacement, Screen: passo 17, immagine 1 di 3 Sony Ericsson TM506 Screen Replacement, Screen: passo 17, immagine 2 di 3 Sony Ericsson TM506 Screen Replacement, Screen: passo 17, immagine 3 di 3
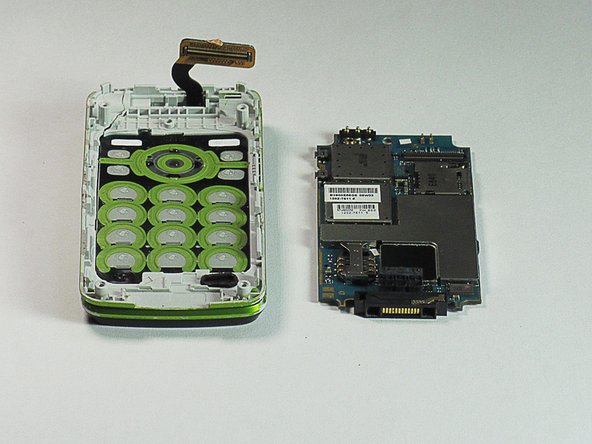
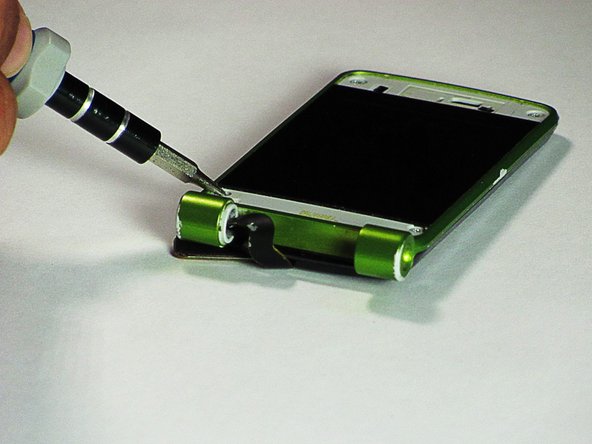
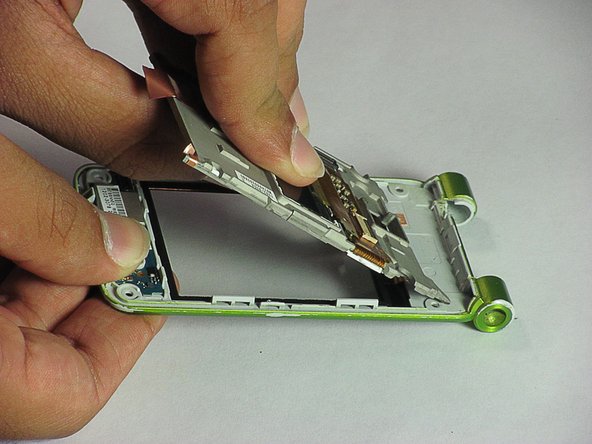
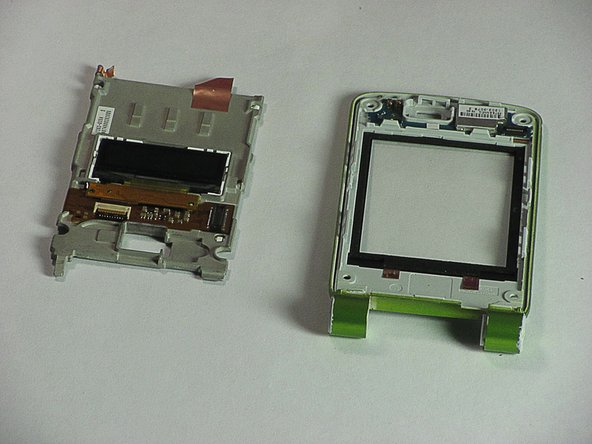
    • Pull apart the screen and the case at one end. Then slide the screen out to completely detach them.

Conclusione

To reassemble your device, follow these instructions in reverse order.

Un'altra persona ha completato questa guida.

Daniel

Membro da: 06/20/12

83 Reputazione

7 Guide realizzate

Team

Cal Poly, Team 1-1, Regan SU 2012 Membro di Cal Poly, Team 1-1, Regan SU 2012

CPSU-REGAN-SU12S1G1

2 Membri

16 Guide realizzate

0 Commenti

Aggiungi Commento

Visualizza Statistiche:

Ultime 24 Ore: 0

Ultimi 7 Giorni: 0

Ultimi 30 Giorni: 2

Tutti i Tempi: 1,098