Cosa ti serve
-
-
Grip the drill. Locate the red locking switch on the back of the battery. Hold the switch down.
-
-
-
While holding down the red locking switch, slide the battery towards the back of the drill until the battery is fully removed from the drill.
-
-
-
-
Grip cordless drill firmly with left hand. Grip the cordless drill handle firmly with the right hand. Rotate the handle counterclockwise in order to remove the handle from the drill.
-
-
-
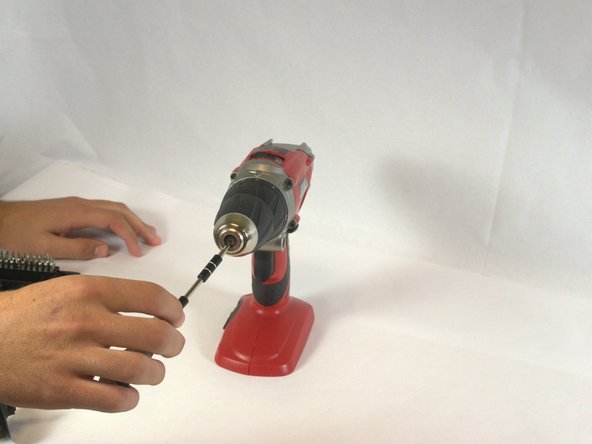
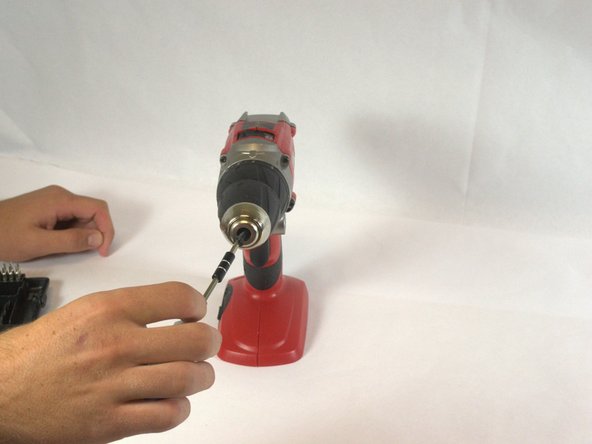
The chuck sleeve is held on by a 20mm Phillips #2 screw in the center.This screw is reverse threaded. Insert a Phillips #2 screwdriver and rotate it clockwise to loosen and remove it.
-
-
-
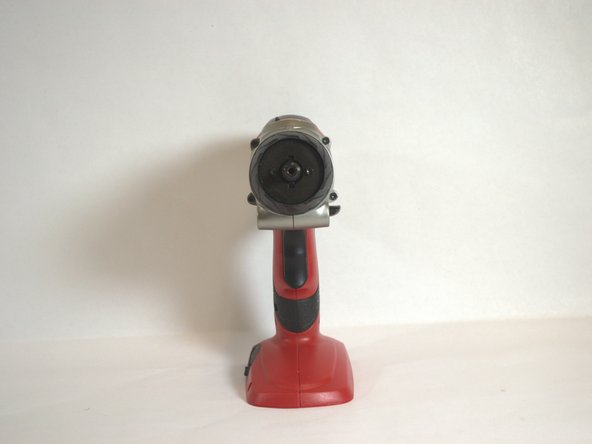
The threaded hole the screw was in is in the shape of a 6-point star. Insert a T40 Torx Key and rotate it clockwise to loosen and remove the chuck sleeve.
-


To reassemble your device, follow these instructions in reverse order.
To reassemble your device, follow these instructions in reverse order.

Team

USF Tampa, Team 2-3, Blackwell Fall 2014 Membro di USF Tampa, Team 2-3, Blackwell Fall 2014
USFT-BLACKWELL-F14S2G3
5 Membri
9 Guide realizzate
Un commento
For my drill, the Torx screw had to be rotated *counter-clockwise to remove. I'm not sure if that was an error in step #5 or some drills are different.
Thank you for the location of those screws btw.
"Step 5 — Remove the chuck sleeve
The threaded hole the screw was in is in the
shape of a 6-point star. Insert a T40 Torx Key
and rotate it *clockwise to loosen and remove
the chuck sleeve."