Salta al contenuto principale

Ricoh YF-20 Super Lens Cover Replacement

Cosa ti serve

  1. Ricoh YF-20 Super Lens Cover Replacement, Front Cover: passo 1, immagine 1 di 2 Ricoh YF-20 Super Lens Cover Replacement, Front Cover: passo 1, immagine 2 di 2
    • Use the screwdriver to unscrew the indicated screws from the left, right, bottom, and back sides of the camera.

  2. Ricoh YF-20 Super Lens Cover Replacement: passo 2, immagine 1 di 3 Ricoh YF-20 Super Lens Cover Replacement: passo 2, immagine 2 di 3 Ricoh YF-20 Super Lens Cover Replacement: passo 2, immagine 3 di 3
    • Loosen the back cover from both the left and the right sides of the camera. Take off the back cover.

    • The lid of the battery compartment may fall off because it is not attached to anything.

  3. Ricoh YF-20 Super Lens Cover Replacement: passo 3, immagine 1 di 3 Ricoh YF-20 Super Lens Cover Replacement: passo 3, immagine 2 di 3 Ricoh YF-20 Super Lens Cover Replacement: passo 3, immagine 3 di 3
    • Open the film compartment.

    • Press your finger on top of the grey latch on the left side of the camera.

  4. Ricoh YF-20 Super Lens Cover Replacement: passo 4, immagine 1 di 3 Ricoh YF-20 Super Lens Cover Replacement: passo 4, immagine 2 di 3 Ricoh YF-20 Super Lens Cover Replacement: passo 4, immagine 3 di 3
    • Removing the film compartment door is optional. However, it may aid maneuverability in future steps.

    • Use a thin object like a toothpick or a small screwdriver to push down on the metal pin holding the film compartment door in place.

    • Use your fingers to completely remove the metal pin.

    • Remove the film compartment door.

  5. Ricoh YF-20 Super Lens Cover Replacement: passo 5, immagine 1 di 2 Ricoh YF-20 Super Lens Cover Replacement: passo 5, immagine 2 di 2
    • Use a thin shaft screwdriver and unscrew the two indicated screws within the film compartment.

  6. Ricoh YF-20 Super Lens Cover Replacement: passo 6, immagine 1 di 3 Ricoh YF-20 Super Lens Cover Replacement: passo 6, immagine 2 di 3 Ricoh YF-20 Super Lens Cover Replacement: passo 6, immagine 3 di 3
    • Loosen the front cover from the left and right sides of the camera.

    • Take off the front cover.

  7. Ricoh YF-20 Super Lens Cover Replacement, Lens Cover: passo 7, immagine 1 di 3 Ricoh YF-20 Super Lens Cover Replacement, Lens Cover: passo 7, immagine 2 di 3 Ricoh YF-20 Super Lens Cover Replacement, Lens Cover: passo 7, immagine 3 di 3
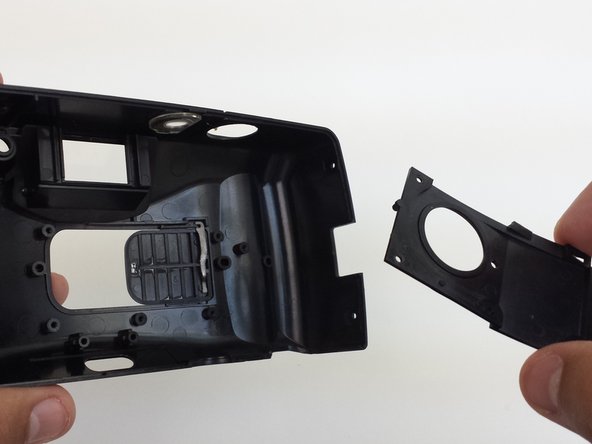
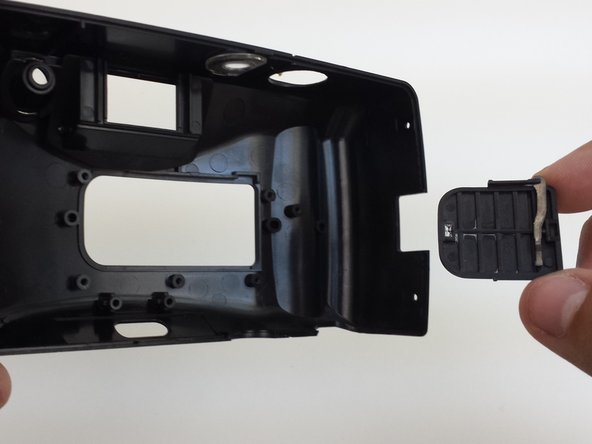
    • The lens cover is only attached to the front cover of the camera. Set the rest of the camera aside.

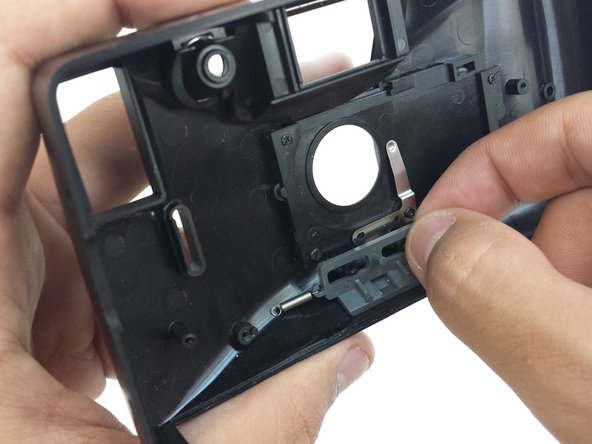
    • In order to reach the lens cover, the zoom mechanism must be removed.

    • Unscrew three screws from the front cover that hold the zoom mechanism in place.

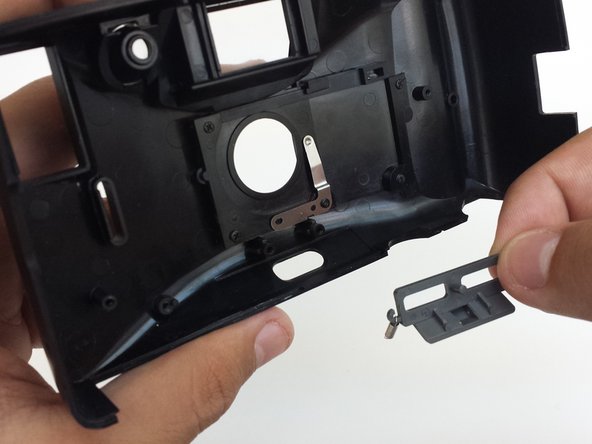
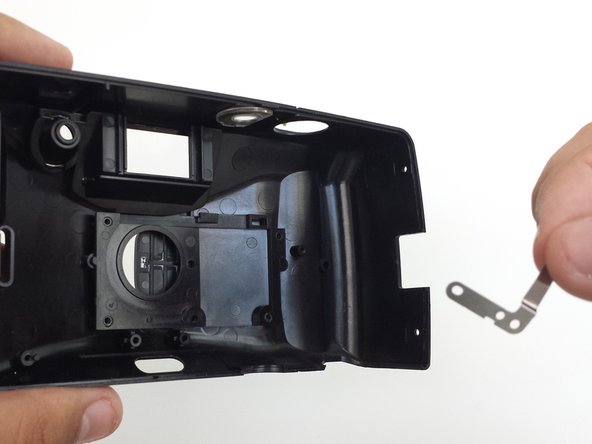
    • Remove the zoom mechanism.

  8. Ricoh YF-20 Super Lens Cover Replacement: passo 8, immagine 1 di 3 Ricoh YF-20 Super Lens Cover Replacement: passo 8, immagine 2 di 3 Ricoh YF-20 Super Lens Cover Replacement: passo 8, immagine 3 di 3
    • Unscrew the five screws that hold the lens cover plate and metal brace in place.

    • Remove metal brace.

    • Remove lens cover plate.

  9. Ricoh YF-20 Super Lens Cover Replacement: passo 9, immagine 1 di 2 Ricoh YF-20 Super Lens Cover Replacement: passo 9, immagine 2 di 2
    • To remove lens cover, push the lens cover from the outside of the front cover towards the inside of the front cover.

    • Remove the lens cover.

    • The metal arm attached to the lens cover is not securely attached and may fall off.

Conclusione

To reassemble your device, follow these instructions in reverse order.

Eric Dazet

Membro da: 04/10/12

352 Reputazione

5 Guide realizzate

Team

Cal Poly, Team 6-21, Amido Spring 2012 Membro di Cal Poly, Team 6-21, Amido Spring 2012

CPSU-AMIDO-S12S6G21

4 Membri

18 Guide realizzate

0 Commenti

Aggiungi Commento

Visualizza Statistiche:

Ultime 24 Ore: 0

Ultimi 7 Giorni: 1

Ultimi 30 Giorni: 2

Tutti i Tempi: 311