Salta al contenuto principale

Motorola V60c Motherboard Replacement

Cosa ti serve

  1. Motorola V60c Motherboard Replacement, Battery: passo 1, immagine 1 di 2 Motorola V60c Motherboard Replacement, Battery: passo 1, immagine 2 di 2
    • Depress the silver button.

    • Pull from top of phone to lift the cover.

  2. Motorola V60c Motherboard Replacement: passo 2, immagine 1 di 2 Motorola V60c Motherboard Replacement: passo 2, immagine 2 di 2
    • Hold battery from both sides at the bottom.

    • Push upwards and gently lift to remove.

  3. Motorola V60c Motherboard Replacement, Motherboard: passo 3, immagine 1 di 1
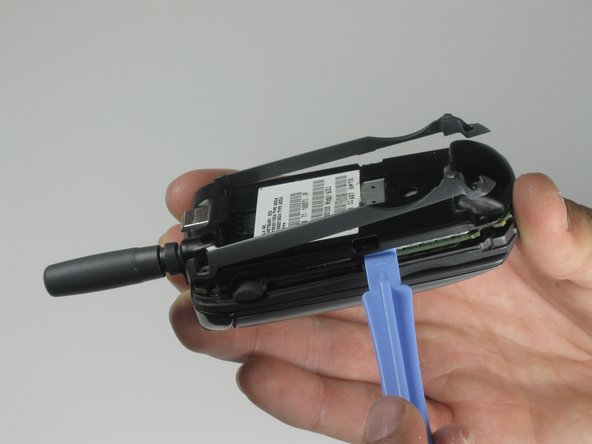
    • Remove 4 screws from corners using T-6 screwdriver.

    • NOTE: Bottom two screws are gold.

    • NOTE: Make sure screws return to correct place when reassembling.
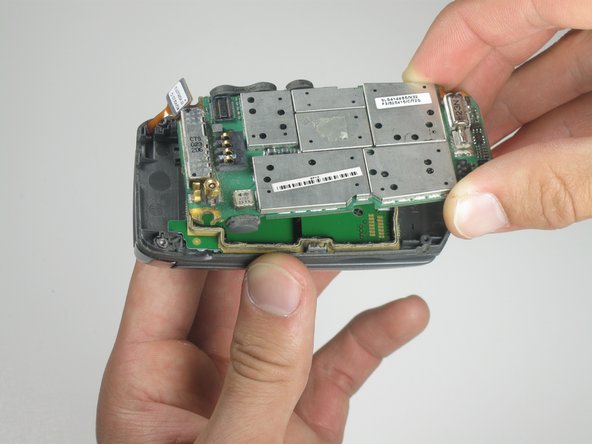
  4. Motorola V60c Motherboard Replacement: passo 4, immagine 1 di 2 Motorola V60c Motherboard Replacement: passo 4, immagine 2 di 2
    • Use a plastic opening tool to pry up back cover from the two side clips.

    • NOTE: sticker might be attached to rest of phone.

  5. Motorola V60c Motherboard Replacement: passo 5, immagine 1 di 1
    • Remove the back cover.

  6. Motorola V60c Motherboard Replacement: passo 6, immagine 1 di 2 Motorola V60c Motherboard Replacement: passo 6, immagine 2 di 2
    • Use a plastic opening tool to gently remove the orange ribbon cable.

    • Lift up the main logic board to remove.

Conclusione

To reassemble your device, follow these instructions in reverse order.

Team

Cal Poly, Team 25-86, Amido Spring 2010 Membro di Cal Poly, Team 25-86, Amido Spring 2010

CPSU-AMIDO-S10S25G86

5 Membri

10 Guide realizzate

0 Commenti

Aggiungi Commento

Visualizza Statistiche:

Ultime 24 Ore: 1

Ultimi 7 Giorni: 2

Ultimi 30 Giorni: 2

Tutti i Tempi: 2,340