Salta al contenuto principale

Mad Catz FightPad PRO Joystick Replacement

Cosa ti serve

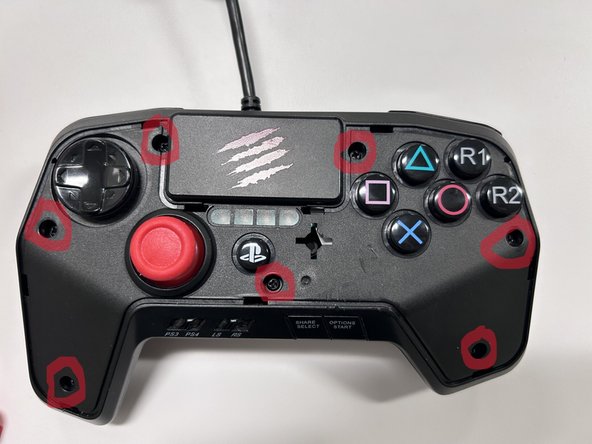
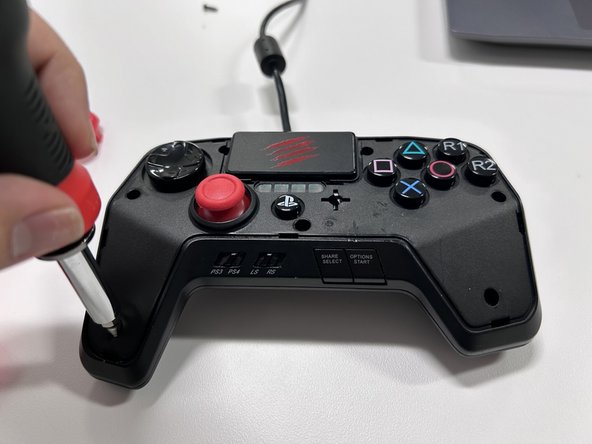
  1. Mad Catz FightPad PRO Joystick Replacement, Mad Catz FightPad PRO Joystick Replacement: passo 1, immagine 1 di 3 Mad Catz FightPad PRO Joystick Replacement, Mad Catz FightPad PRO Joystick Replacement: passo 1, immagine 2 di 3 Mad Catz FightPad PRO Joystick Replacement, Mad Catz FightPad PRO Joystick Replacement: passo 1, immagine 3 di 3
    • Remove the single 6 mm screw on the back shell of the controller using a Phillips #00 screwdriver.

  2. Mad Catz FightPad PRO Joystick Replacement, Step 2: passo 2, immagine 1 di 3 Mad Catz FightPad PRO Joystick Replacement, Step 2: passo 2, immagine 2 di 3 Mad Catz FightPad PRO Joystick Replacement, Step 2: passo 2, immagine 3 di 3
    • Remove the faceplate on the controller.

    • Be gentle as too much pressure can cause damage to the faceplate.

  3. Mad Catz FightPad PRO Joystick Replacement, Step 3: passo 3, immagine 1 di 3 Mad Catz FightPad PRO Joystick Replacement, Step 3: passo 3, immagine 2 di 3 Mad Catz FightPad PRO Joystick Replacement, Step 3: passo 3, immagine 3 di 3
    • Remove the seven screws using a Phillips #00 screwdriver.

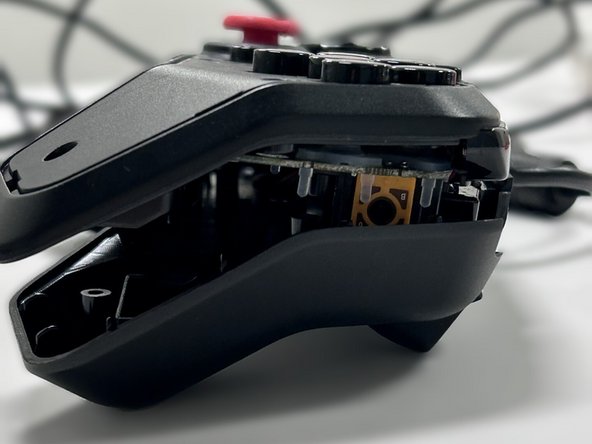
  4. Mad Catz FightPad PRO Joystick Replacement, Step 4: passo 4, immagine 1 di 2 Mad Catz FightPad PRO Joystick Replacement, Step 4: passo 4, immagine 2 di 2
    • Detach the controller from the back shell.

    • Be gentle because you could damage the motherboard with too much pressure.

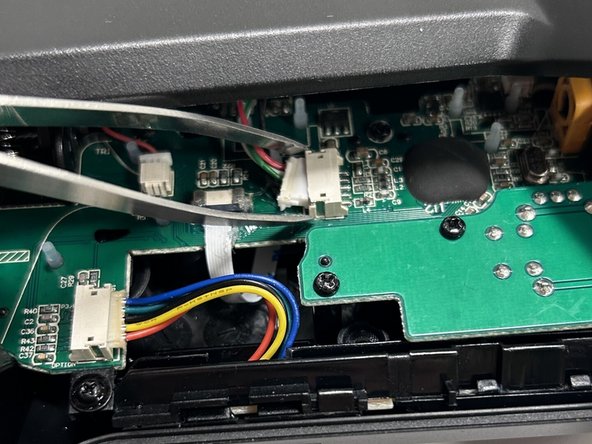
  5. Mad Catz FightPad PRO Joystick Replacement, Step 5: passo 5, immagine 1 di 3 Mad Catz FightPad PRO Joystick Replacement, Step 5: passo 5, immagine 2 di 3 Mad Catz FightPad PRO Joystick Replacement, Step 5: passo 5, immagine 3 di 3
    Attrezzo utilizzato in questo passaggio:
    Tweezers
    $4.99
    Compra
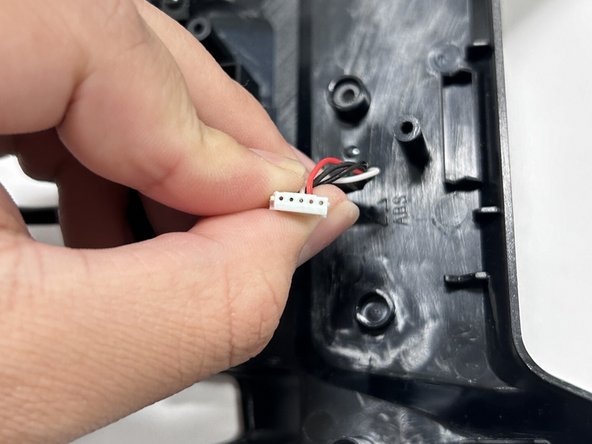
    • Using tweezers or your fingers, detach the wires connecting the motherboard to the rest of the controller.

  6. Mad Catz FightPad PRO Joystick Replacement, Step 6: passo 6, immagine 1 di 2 Mad Catz FightPad PRO Joystick Replacement, Step 6: passo 6, immagine 2 di 2
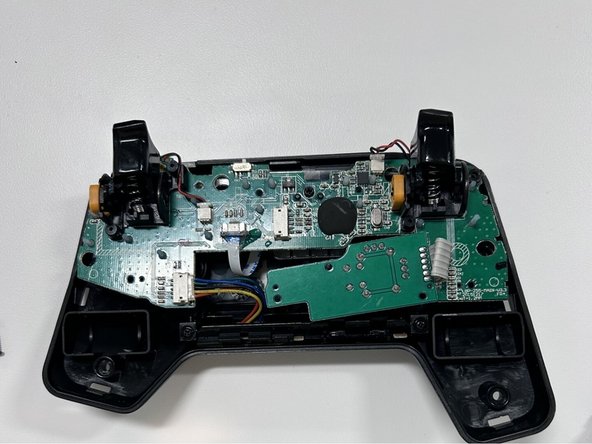
    • Remove the eight 6 mm screws from the motherboard using a Phillips #00 screwdriver.

    • Once the screws are removed, the inner parts of the controller will start to fall apart. Keeping the controller facedown will prevent any parts from falling out.

  7. Mad Catz FightPad PRO Joystick Replacement, Step 7: passo 7, immagine 1 di 2 Mad Catz FightPad PRO Joystick Replacement, Step 7: passo 7, immagine 2 di 2
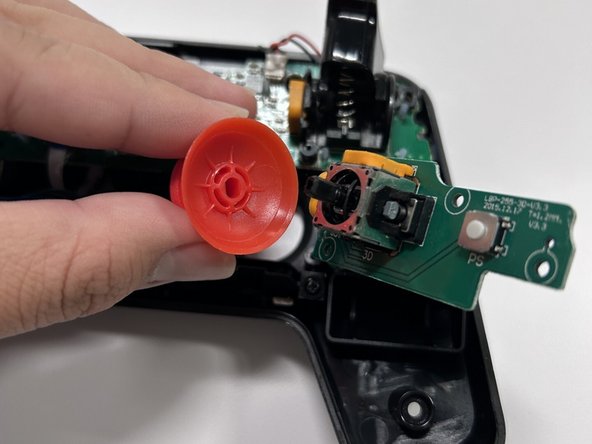
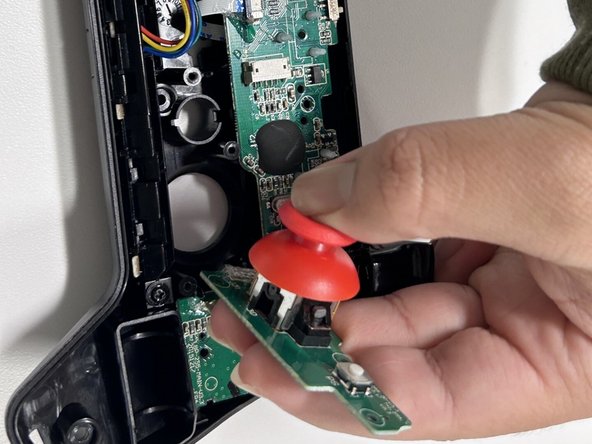
    • Using your fingers carefully remove the joystick until you hear a pop noise.

  8. Mad Catz FightPad PRO Joystick Replacement: passo 8, immagine 1 di 3 Mad Catz FightPad PRO Joystick Replacement: passo 8, immagine 2 di 3 Mad Catz FightPad PRO Joystick Replacement: passo 8, immagine 3 di 3
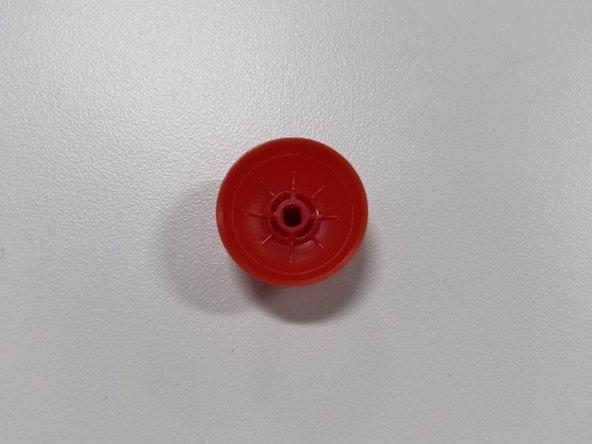
    • Make sure that the new joystick and motherboard pieces match before placing them together.

    • Hold down on the joystick until you hear a click noise.

Conclusione

To reassemble your device, follow these instructions in reverse order.

Un'altra persona ha completato questa guida.

Ian Pimentel

Membro da: 10/24/23

217 Reputazione

1 Guida realizzata

Un commento

شكرا افادني هذا 🐤🤍

King 444 - Replica

Aggiungi Commento

Visualizza Statistiche:

Ultime 24 Ore: 2

Ultimi 7 Giorni: 17

Ultimi 30 Giorni: 46

Tutti i Tempi: 146