Salta al contenuto principale

Linksys WAP 11 Antenna Replacement

Cosa ti serve

  1. Linksys WAP 11 Antenna Replacement, Outer Case: passo 1, immagine 1 di 1
    • Be sure the ethernet and power cables are disconnected from the device.

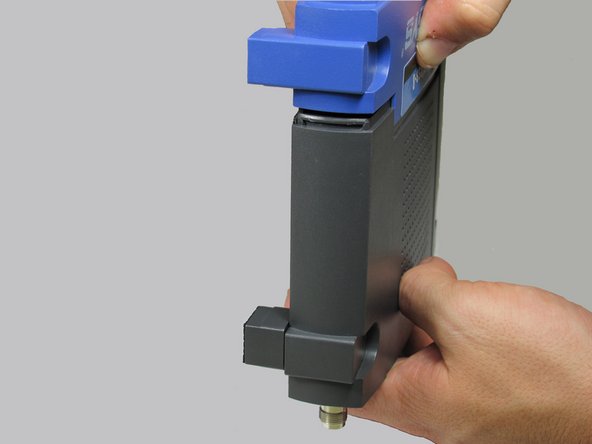
    • You should also unscrew the external plastic antennas. There is one antenna on each side of the device.

  2. Linksys WAP 11 Antenna Replacement: passo 2, immagine 1 di 3 Linksys WAP 11 Antenna Replacement: passo 2, immagine 2 di 3 Linksys WAP 11 Antenna Replacement: passo 2, immagine 3 di 3
    • To open the Linksys WAP11, you will need a Phillips #1 screwdriver and a pair of metal tweezers.

    • Use the tweezers to remove the two rubber boots on the front two legs. The easiest way to do this is to insert the tweezers into the hole in the face of the boot. Once you are hooked behind the boot, pull outwards.

    • This will reveal two small Phillips-head screws. Remove them.

    • Keep these two screws together.

  3. Linksys WAP 11 Antenna Replacement: passo 3, immagine 1 di 2 Linksys WAP 11 Antenna Replacement: passo 3, immagine 2 di 2
    • Using two hands (one on the front of the device and the other on the back) apply pressure to the top and bottom seal while pulling the front and back away from each other.

    • This requires significant amount of force.

    • The seal is located where the blue plastic meets the black plastic. This is where you will apply pressure.

  4. Linksys WAP 11 Antenna Replacement: passo 4, immagine 1 di 1
    • After the face of the device has been removed, slide the base of the device off to reveal the motherboard and other internal components.

    • When removing the base, do not damage the wires that are attached to the device.

  5. Linksys WAP 11 Antenna Replacement: passo 5, immagine 1 di 1
    • This is what the device looks like when it is fully opened.

  6. Linksys WAP 11 Antenna Replacement, Antenna: passo 6, immagine 1 di 1
    • Using a Phillips screwdriver remove the the three screws that fasten the main circuit board to the chassis.

  7. Linksys WAP 11 Antenna Replacement: passo 7, immagine 1 di 1
    • Using a pair of needle nose pliers, remove the nuts that secure the antenna ports to the rear panel.

  8. Linksys WAP 11 Antenna Replacement: passo 8, immagine 1 di 1
    • Using a soldering iron and desoldering wick, desolder and remove the two antennas from the motherboard.

    • The antenna can now be replaced with a new one.

Conclusione

To reassemble your device, follow these instructions in reverse order.

Joe M

Membro da: 10/12/11

159 Reputazione

3 Guide realizzate

Team

Cal Poly, Team 3-17, Regan Fall 2011 Membro di Cal Poly, Team 3-17, Regan Fall 2011

CPSU-REGAN-F11S3G17

5 Membri

8 Guide realizzate

0 Commenti

Aggiungi Commento

Visualizza Statistiche:

Ultime 24 Ore: 0

Ultimi 7 Giorni: 0

Ultimi 30 Giorni: 4

Tutti i Tempi: 1,468