Introduzione
The optical drive (also known the CD drive) is one of the most frequently used parts of the HP Media Center 876x. As a result, damages are common and often replacement is necessary.
Cosa ti serve
-
-
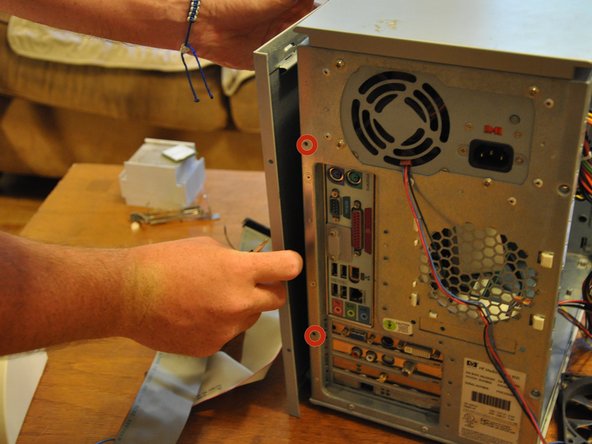
Orient the tower vertically.
-
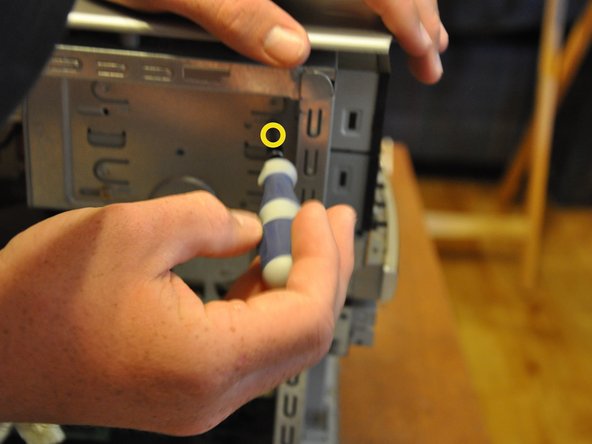
Using the #0 Phillips head screwdriver, unscrew and remove the two (5 mm) screws that fasten the remaining side panel to the tower.
-
Slide the side panel out of its notches, and pull it gently off of the tower.
-
-
-
-
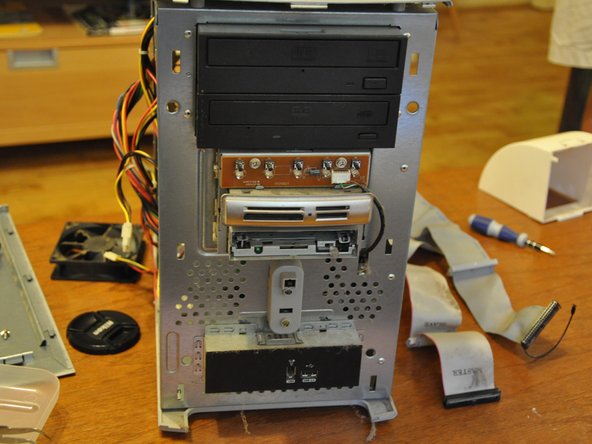
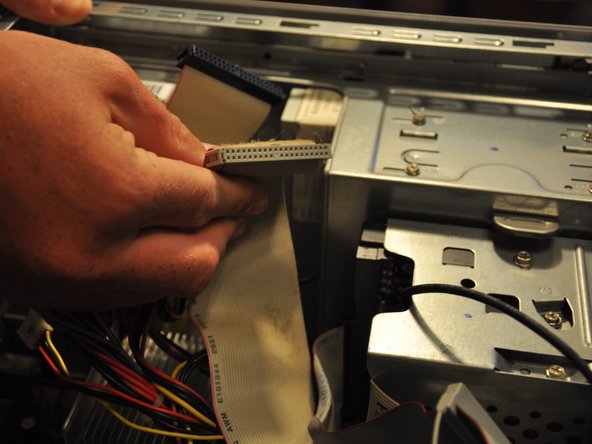
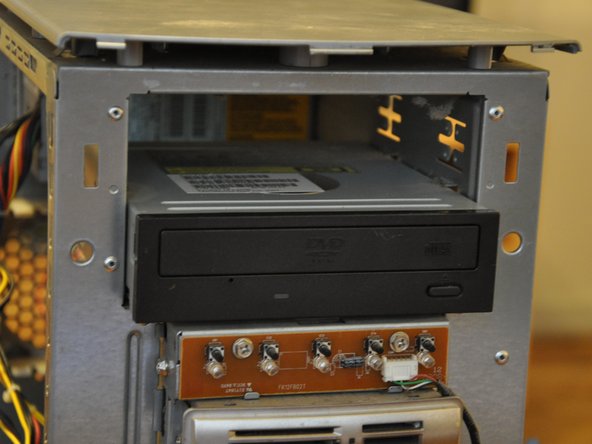
Identify the optical drive.
-
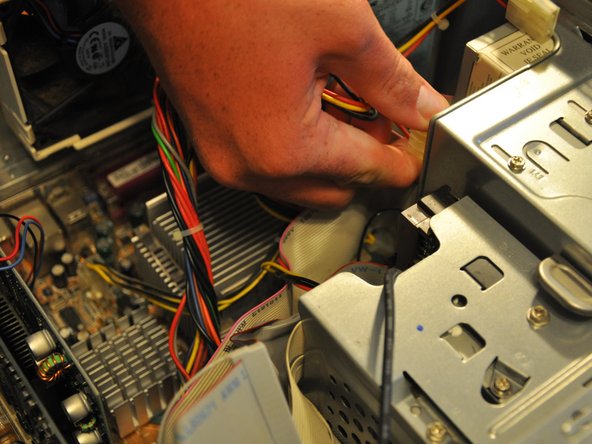
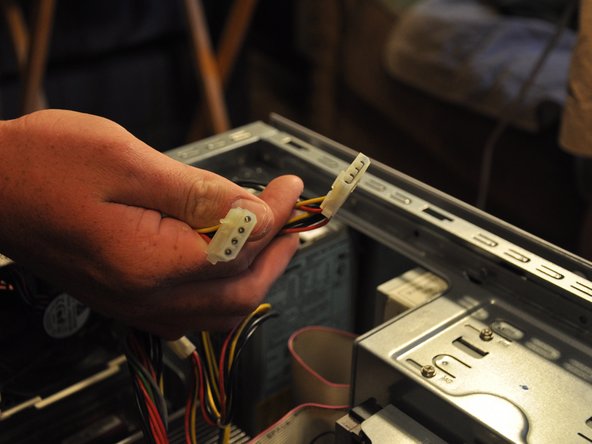
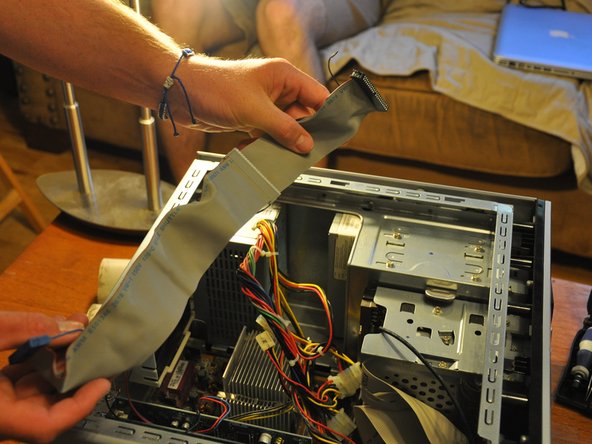
Pull the molex connectors out of the posterior end of the optical drive.
-


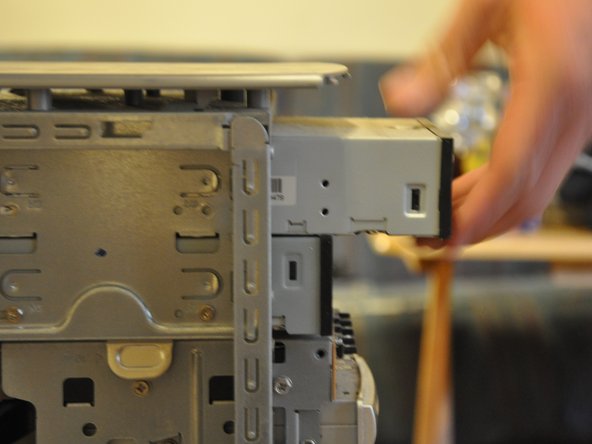

To reassemble your device, follow these instructions in reverse order.
To reassemble your device, follow these instructions in reverse order.
Annulla: non ho completato questa guida.
Altre 2 persone hanno completato questa guida.
Team

Clemson, Team 6-1, Benson Spring 2014 Membro di Clemson, Team 6-1, Benson Spring 2014
CLEM-BENSON-S14S6G1
3 Membri
15 Guide realizzate