Salta al contenuto principale

Garmin Nuvi 680 Antenna Replacement

Cosa ti serve

  1. Garmin Nuvi 680 Antenna Replacement, Outer Case: passo 1, immagine 1 di 1
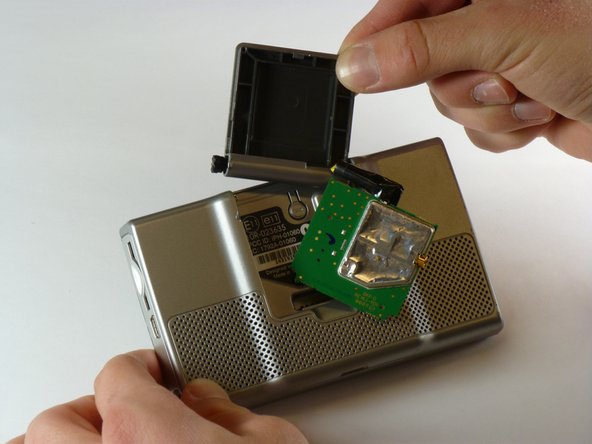
    • Flip open the antenna on the back of the device.

    • Remove the two 4.42 mm screws on the antenna cover using a T5 Torx screwdriver.

  2. Garmin Nuvi 680 Antenna Replacement: passo 2, immagine 1 di 1
    • Remove the antenna cover.

  3. Garmin Nuvi 680 Antenna Replacement: passo 3, immagine 1 di 1
    • The yellow wire is connected to the motherboard, so you cannot disconnect it until you finish opening the device.

    • Pull the antenna circuit board out of its case.

  4. Garmin Nuvi 680 Antenna Replacement: passo 4, immagine 1 di 2 Garmin Nuvi 680 Antenna Replacement: passo 4, immagine 2 di 2
    • Insert the pointed end of a spudger into the leftmost slit of the antenna case.

    • Push the spudger to the right.

    • Slide the antenna case out slowly or you may lose the antenna's spring. The spring is inside the black plastic that holds the antenna case to the device.

    • Slide the antenna case out of the device.

    • Reinstallation tip: first reassemble the antenna casing (place antenna back into its plastic cover), and then re-insert the entire assembly back into the GPS body.

  5. Garmin Nuvi 680 Antenna Replacement: passo 5, immagine 1 di 1
    • Remove the two screws on the back of the outer case using a T5 Torx screwdriver.

    • These screws are 10.82 mm long.

  6. Garmin Nuvi 680 Antenna Replacement: passo 6, immagine 1 di 2 Garmin Nuvi 680 Antenna Replacement: passo 6, immagine 2 di 2
    • Gently pull apart the front and back of the device. The front and back are still connected by ribbon cables.

    • Starting along the top, separate the front and back of the device by pushing an iPod-opening tool into the crack along each side of the case.

  7. Garmin Nuvi 680 Antenna Replacement, Antenna: passo 7, immagine 1 di 2 Garmin Nuvi 680 Antenna Replacement, Antenna: passo 7, immagine 2 di 2
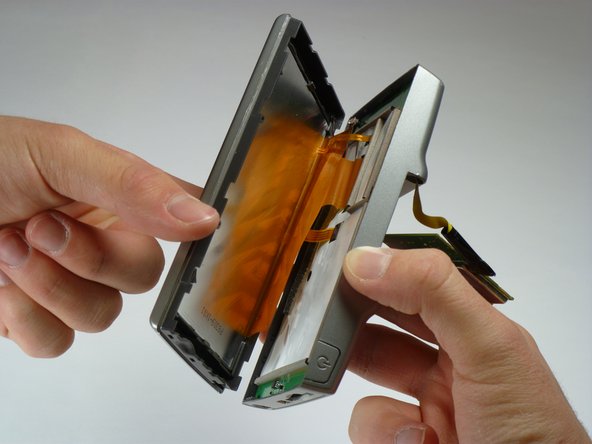
    • Use a spudger to disconnect the yellow antenna wire from the ZIF connector by opening the brown latch holding the wire in place.

    • Remove the antenna.

Conclusione

To reassemble your device, follow these instructions in reverse order.

Team

Cal Poly, Team 5-22, Amido Winter 2011 Membro di Cal Poly, Team 5-22, Amido Winter 2011

CPSU-AMIDO-W11S5G22

5 Membri

7 Guide realizzate

Un commento

Where can you find the replacment antenna?

All I see is external antennas on the net.

Dennis - Replica

Aggiungi Commento

Visualizza Statistiche:

Ultime 24 Ore: 0

Ultimi 7 Giorni: 0

Ultimi 30 Giorni: 1

Tutti i Tempi: 4,440