Salta al contenuto principale

Disassembling the Linksys E1200

Cosa ti serve

  1. Disassembling the Linksys E1200, Cover and Circuit Board: passo 1, immagine 1 di 3 Disassembling the Linksys E1200, Cover and Circuit Board: passo 1, immagine 2 di 3 Disassembling the Linksys E1200, Cover and Circuit Board: passo 1, immagine 3 di 3
    • Opening the device will void your warranty.

    • Anti-slip pads cover three screws that hold the device together. Pry off the pads to access the screws.

    • Remove the three screws.

    • Save the pads for reassembly.

  2. Disassembling the Linksys E1200: passo 2, immagine 1 di 3 Disassembling the Linksys E1200: passo 2, immagine 2 di 3 Disassembling the Linksys E1200: passo 2, immagine 3 di 3
    • Once the three screws are removed, the device is ready for disassembly.

    • Push up on the rear flap while holding down on the rest of the body. This will open a small gap.

    • Insert the plastic opening tool in the gap and begin prying on the corner.

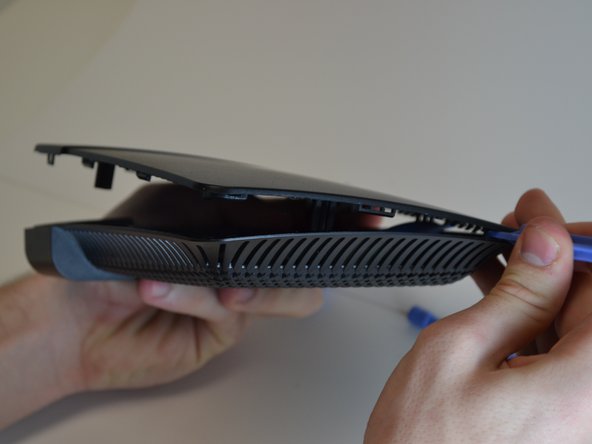
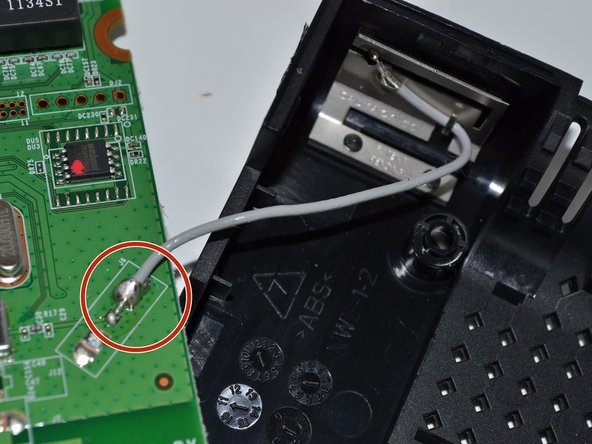
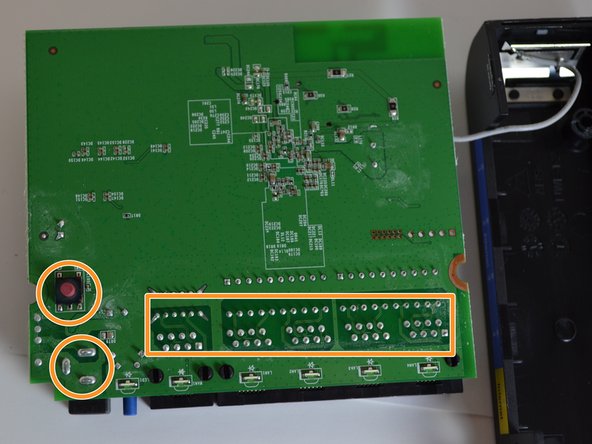
    • Continue to pry around the body of the case. Separate both sides of the case with this method.

  3. Disassembling the Linksys E1200: passo 3, immagine 1 di 2 Disassembling the Linksys E1200: passo 3, immagine 2 di 2
    • Once the sides are released, the front of the cover can be removed.

    • Use a plastic opening tool to separate the front of the cover from the body.

    • It is helpful to use a different plastic opening tool as a wedge on the sides to prevent them from snapping back together.

  4. Disassembling the Linksys E1200: passo 4, immagine 1 di 3 Disassembling the Linksys E1200: passo 4, immagine 2 di 3 Disassembling the Linksys E1200: passo 4, immagine 3 di 3
    • The cover can now be removed.

    • To repair anything on the circuit board, use the plastic opening tool to pull back on the two tabs holding it down.

    • Use caution when pulling on the tabs as they are stiff and easy to break.

    • Keep the tabs if they snap off. The tabs can be reattached with glue when reassembling the device.

  5. Disassembling the Linksys E1200: passo 5, immagine 1 di 3 Disassembling the Linksys E1200: passo 5, immagine 2 di 3 Disassembling the Linksys E1200: passo 5, immagine 3 di 3
    • If the antenna needs to be disconnected, desolder the connection and reattach it prior to reassembly.

    • If the ethernet ports, power port, or reset button are damaged, the large solder points allow you to replace them.

    • Many components on the board cannot be serviced. These components were attached by a machine and cannot be removed.

Conclusione

To reassemble your device, follow these instructions in reverse order.

Altre 13 persone hanno completato questa guida.

Team

0 Commenti

Aggiungi Commento

Visualizza Statistiche:

Ultime 24 Ore: 1

Ultimi 7 Giorni: 2

Ultimi 30 Giorni: 8

Tutti i Tempi: 7,024