Introduzione
For sticky on/off buttons, you may only need to clean the button. This guide will show you how to fully remove and replace the button.
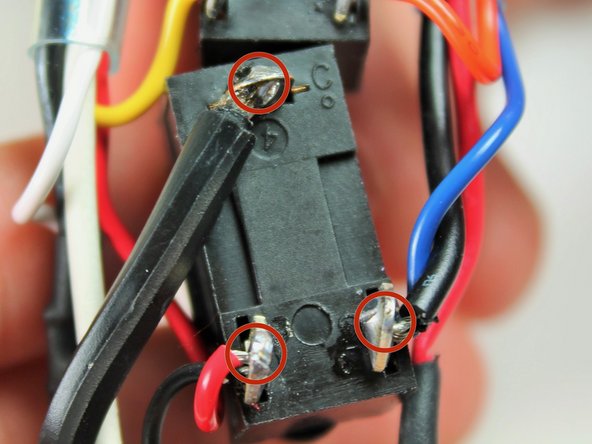
Note: This guide requires soldering skills. If you don't know how to solder or want to brush up on your skills check out this handy tutorial.
Cosa ti serve
-
-
-
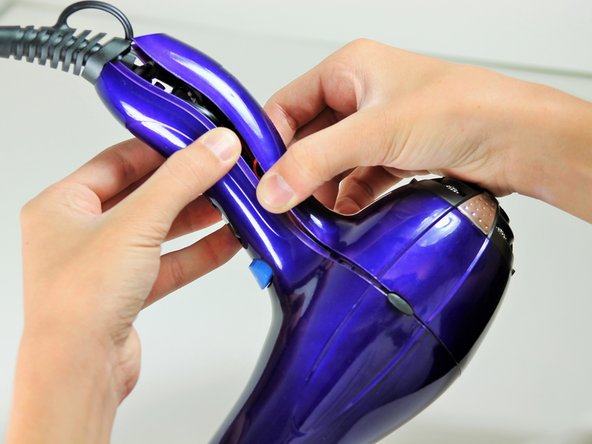
Hold the hair dryer by the nozzle so that the handle points to the left.
-
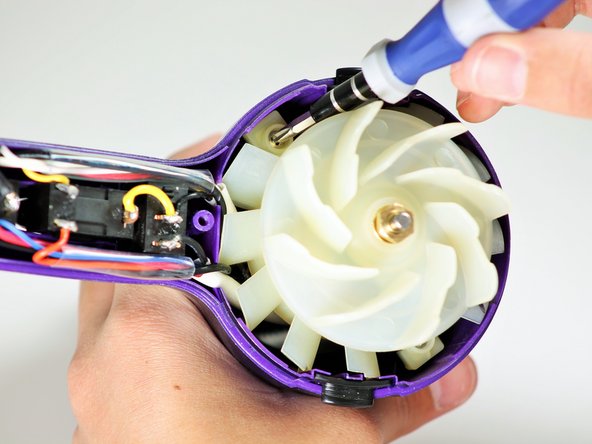
Remove the two 1-inch Phillips #2 screws from the back of the fan motor.
-


To reassemble your device, follow these instructions in reverse order.
To reassemble your device, follow these instructions in reverse order.
Annulla: non ho completato questa guida.
Altre 2 persone hanno completato questa guida.
Team

Cal Poly, Team 10-58, Amido Spring 2014 Membro di Cal Poly, Team 10-58, Amido Spring 2014
CPSU-AMIDO-S14S10G58
4 Membri
7 Guide realizzate