Introduzione
In this guide you'll be opening the back panel of your Blu Studio, this is the first step you'll take whenever you replace or add internal parts.
If you don't have any fingernails you may want to use the plastic prying tools.
Cosa ti serve
-
-
-
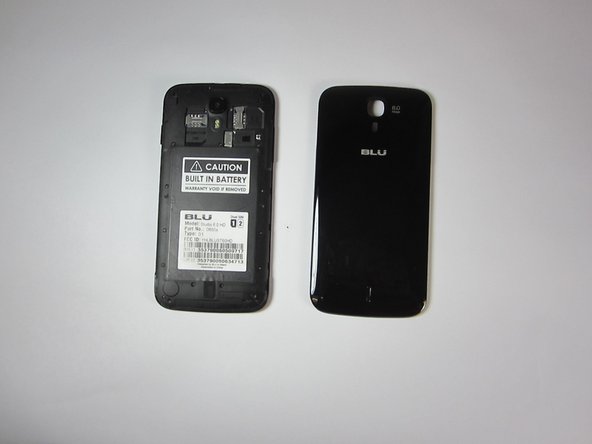
To begin the removal of your back panel, first locate the lift tab on the bottom-right corner.
-


To reassemble your device, follow these instructions in reverse order.
To reassemble your device, follow these instructions in reverse order.
Annulla: non ho completato questa guida.
Altre 7 persone hanno completato questa guida.
Team

USF Tampa, Team 9-1, Blackwell Fall 2014 Membro di USF Tampa, Team 9-1, Blackwell Fall 2014
USFT-BLACKWELL-F14S9G1
3 Membri
8 Guide realizzate