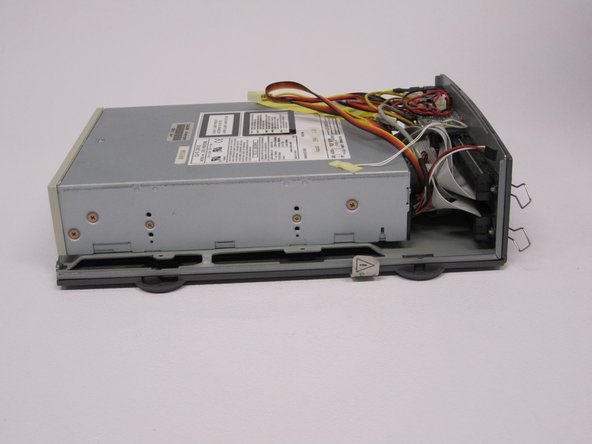
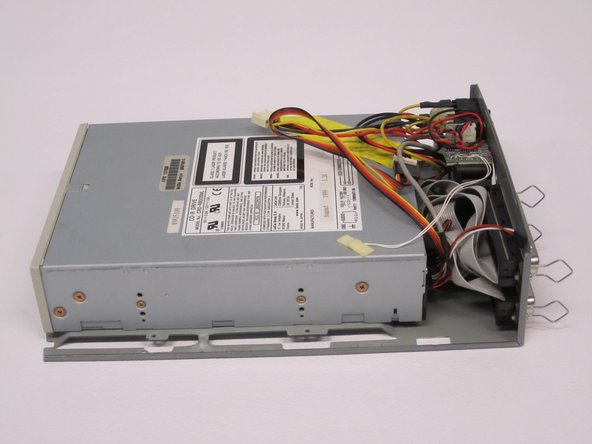
Salta al contenuto principale

APS Tech 101629 External Casing Replacement

Cosa ti serve

  1. APS Tech 101629 External Casing Replacement, External Casing: passo 1, immagine 1 di 3 APS Tech 101629 External Casing Replacement, External Casing: passo 1, immagine 2 di 3 APS Tech 101629 External Casing Replacement, External Casing: passo 1, immagine 3 di 3
    • Pry all four of the plastic feet off the bottom of the enclosure using the iPod opening tool.

  2. APS Tech 101629 External Casing Replacement: passo 2, immagine 1 di 2 APS Tech 101629 External Casing Replacement: passo 2, immagine 2 di 2
    • Unscrew the four screws previously covered by the feet with a Phillips #1 screwdriver.

  3. APS Tech 101629 External Casing Replacement: passo 3, immagine 1 di 2 APS Tech 101629 External Casing Replacement: passo 3, immagine 2 di 2
    • Flip the device right side up.

    • Gently slide the casing upwards and off the hard drive.

  4. APS Tech 101629 External Casing Replacement: passo 4, immagine 1 di 1
    • Flip device upside down again.

    • Gently pry the bottom gray casing away from the device.

  5. APS Tech 101629 External Casing Replacement: passo 5, immagine 1 di 2 APS Tech 101629 External Casing Replacement: passo 5, immagine 2 di 2
    • Rotate so the back of the device is facing you.

    • Gently pry the back casing away.

    • When the back casing is removed, the fan will become loose.

Conclusione

To reassemble your device, follow these instructions in reverse order.

Un'altra persona ha completato questa guida.

Team

Cal Poly, Team 24-60, Amido Spring 2011 Membro di Cal Poly, Team 24-60, Amido Spring 2011

CPSU-AMIDO-S11S24G60

5 Membri

12 Guide realizzate

0 Commenti

Aggiungi Commento

Visualizza Statistiche:

Ultime 24 Ore: 0

Ultimi 7 Giorni: 2

Ultimi 30 Giorni: 4

Tutti i Tempi: 695