Salta al contenuto principale

Remplacement de la carte de circuit imprimé (PCB) du pavé tactile du clavier intelligent Logitech Harmony

Inglese
Francese

Traduzione in corso passo 7

Passo 7
Logitech Harmony Smart Keyboard Touchpad Printed Circuit Board (PCB) Replacement: passo 0, immagine 1 di 3 Logitech Harmony Smart Keyboard Touchpad Printed Circuit Board (PCB) Replacement: passo 0, immagine 2 di 3 Logitech Harmony Smart Keyboard Touchpad Printed Circuit Board (PCB) Replacement: passo 0, immagine 3 di 3
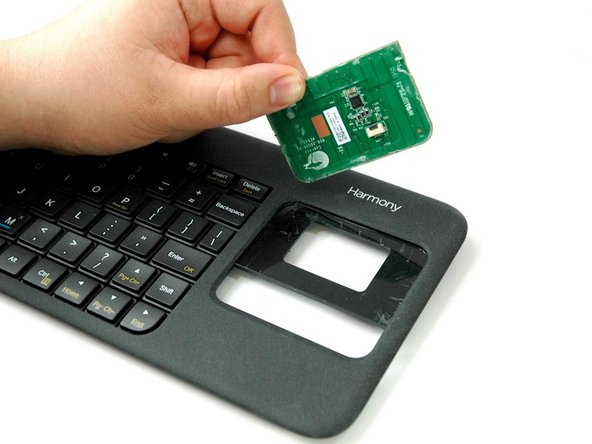
  • Slide and nudge the spudger upward underneath the PCB.

  • Wiggle and lift up the PCB with your thumb as you nudge the spudger up to release the PCB.

Faites glisser et poussez le spudger vers le haut sous le PCB.

Remuez et soulevez le PCB avec votre pouce tout en poussant le spudger vers le haut pour libérer le PCB.

I tuoi contributi sono usati su licenza in base alla licenza open source Creative Commons.