Nota: Stai modificando un prerequisito per la guida che stavi visualizzando. Tutte le modifiche avranno effetto su tutte 2le guide che includono questo passo.
Traduzione in corso passo 16
Passo 16

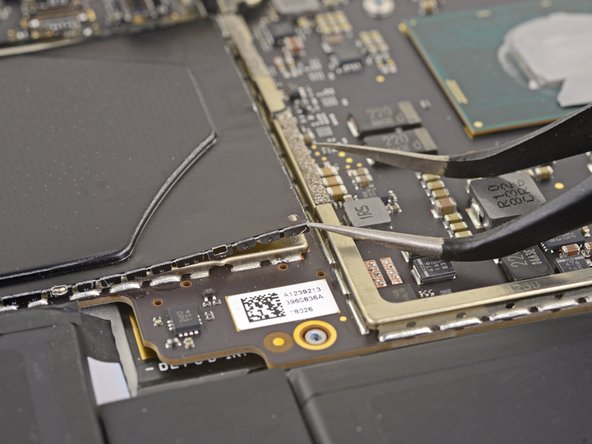
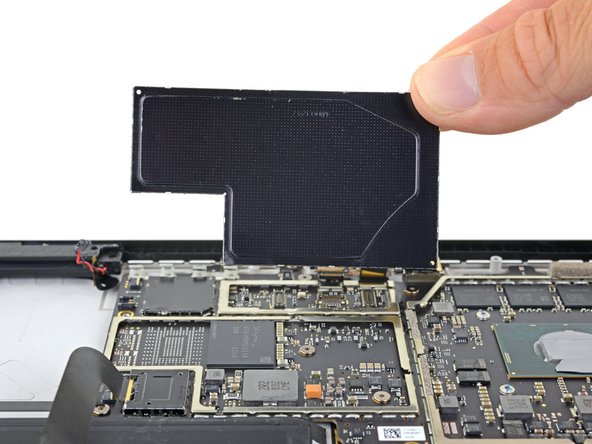


Remove the two large EMI shields
-
Insert one point of a pair of pointed tweezers into a gap in the corner of the left-most of the remaining large EMI shields.
-
Use the tweezers to pry the EMI shield away from the motherboard as much as you can without bending it.
-
Repeat this procedure at different points around the shield until it is free. Remove the shield.
I tuoi contributi sono usati su licenza in base alla licenza open source Creative Commons.