Traduzione in corso passo 2
Passo 2


Installation tips
-
Remove all packing tape.
-
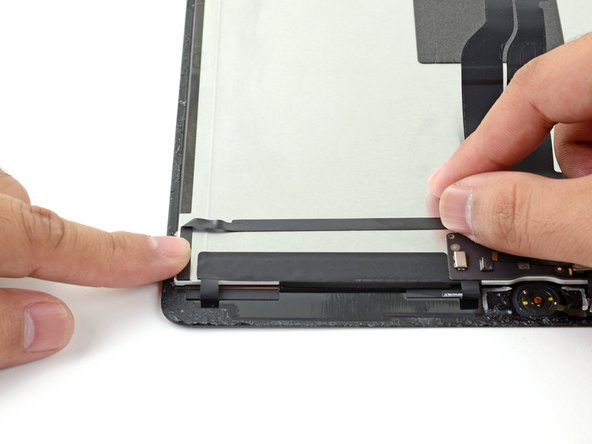
Peel any adhesive liners from the flex cables and press the cables in place onto the display panel.
-
Fold and connect the flex cable in the bottom left corner of the screen.
-
Don't peel and expose the perimeter adhesive until you've tested your repair and are ready to seal up the iPad.
I tuoi contributi sono usati su licenza in base alla licenza open source Creative Commons.