Salta al contenuto principale

Replacing the Carriage in the Photosmart All In One Printer

Inglese
Italiano

Traduzione in corso passo 5

Passo 5
Replacing the Carriage in the Photosmart All In One Printer: passo 0, immagine 1 di 3 Replacing the Carriage in the Photosmart All In One Printer: passo 0, immagine 2 di 3 Replacing the Carriage in the Photosmart All In One Printer: passo 0, immagine 3 di 3
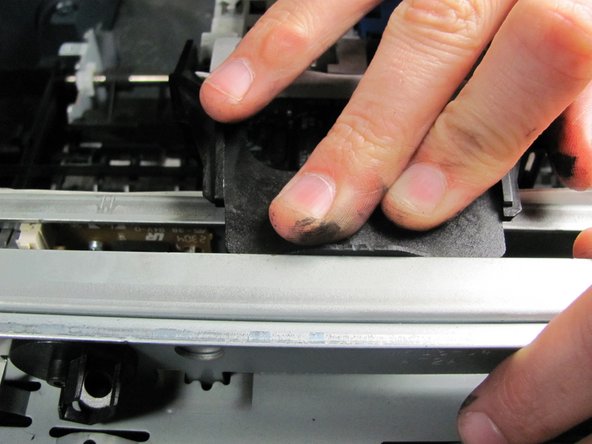
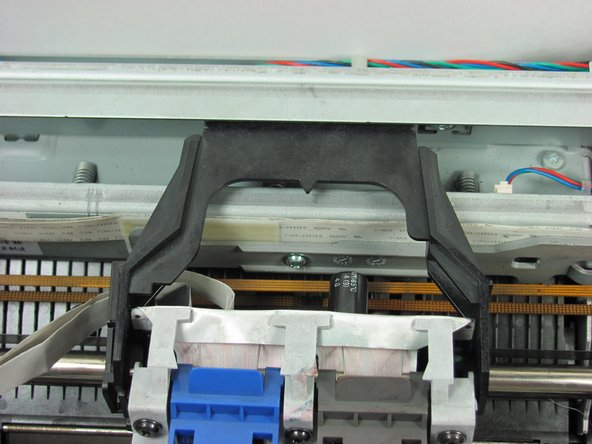
  • Place new printer carriage on the carriage rod one side at a time.

  • For proper reassembly, place the printer carriage’s black lip beneath the overhanging metal flap located at the back of the printer.

Inserisci qui la traduzione

Inserisci qui la traduzione

I tuoi contributi sono usati su licenza in base alla licenza open source Creative Commons.