Salta al contenuto principale

Sostituzione Batteria iPad Air 2 Wi-Fi

Inglese
Italiano

Traduzione in corso passo 10

Passo 10
iPad Air 2 Wi-Fi Battery Replacement: passo 0, immagine 1 di 2 iPad Air 2 Wi-Fi Battery Replacement: passo 0, immagine 2 di 2
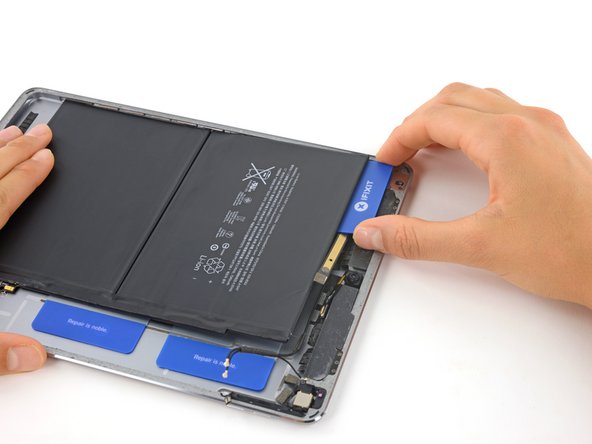
  • Remove the card and slide it under the top edge of the battery again, on the left side near the edge of the iPad.

  • Be extremely careful to slide the card over the front-facing camera and headphone jack cables to avoid cutting them.

  • Push the card in as far as it will go, breaking through as much of the adhesive underneath the battery as you can.

Rimuovi la scheda e falla scorrere sotto l'angolo superiore della batteria un'altra volta, sul lato sinistro dell'iPad vicino al bordo.

Fai molto attenzione a far scorrere la scheda sopra la fotocamera frontale e il cavo jack delle cuffie per evitare di danneggiarli.

Spingi la scheda di plastica più verso il centro che puoi, rompendo tutto l'adesivo che riesci.

I tuoi contributi sono usati su licenza in base alla licenza open source Creative Commons.