Salta al contenuto principale

Sostituzione Batteria iPad Air 2 Wi-Fi

Inglese
Italiano

Traduzione in corso passo 6

Passo 6
iPad Air 2 Wi-Fi Battery Replacement: passo 0, immagine 1 di 3 iPad Air 2 Wi-Fi Battery Replacement: passo 0, immagine 2 di 3 iPad Air 2 Wi-Fi Battery Replacement: passo 0, immagine 3 di 3
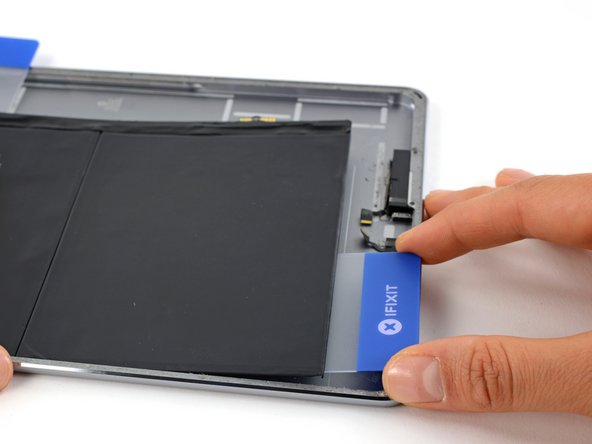
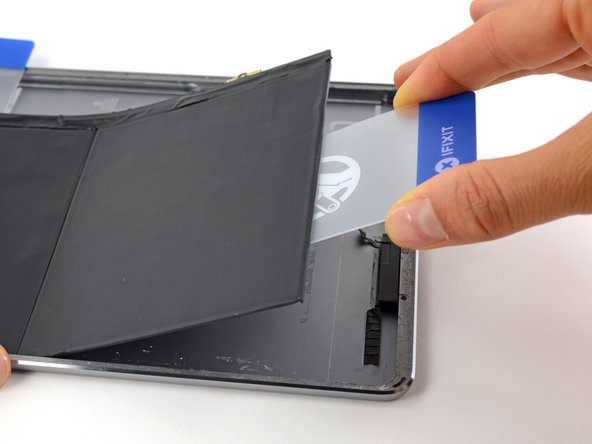
  • Push the plastic card about two inches underneath the battery, and lift it up to pry the first battery cell off the rear case.

  • If the battery begins to bend, use an iOpener to apply heat to the back of the battery and repeat the previous two steps to adequately break up the battery adhesive.

Spingi la scheda per circa 5 cm sotto la batteria e quindi usala per sollevare la prima batteria dal case posteriore.

Se la batteria inizia a piegarsi, usa un iOpener per applicare del calore sulla batteria e ripeti i primi due passi per ammorbidire ulteriormente l'adesivo.

I tuoi contributi sono usati su licenza in base alla licenza open source Creative Commons.