Salta al contenuto principale

Removing a Cracked Front Panel

Inglese
Italiano

Traduzione in corso passo 3

Passo 3
Removing a Cracked Front Panel: passo 0, immagine 1 di 3 Removing a Cracked Front Panel: passo 0, immagine 2 di 3 Removing a Cracked Front Panel: passo 0, immagine 3 di 3
  • For the next step, you'll need to apply your iOpener directly to the broken glass left adhered to the iPad.

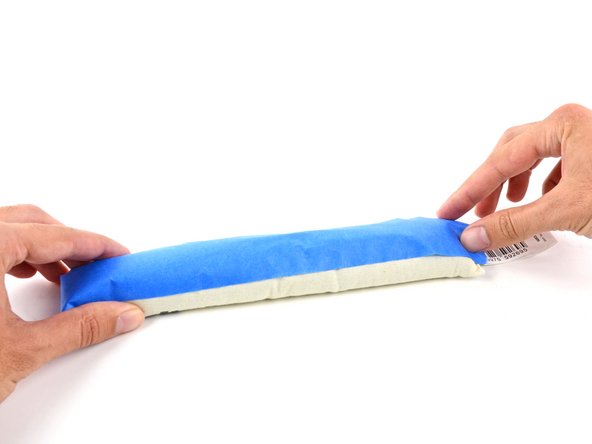
  • To protect your iOpener from the glass and keep it from filling with glass dust, stick some masking tape to one side.

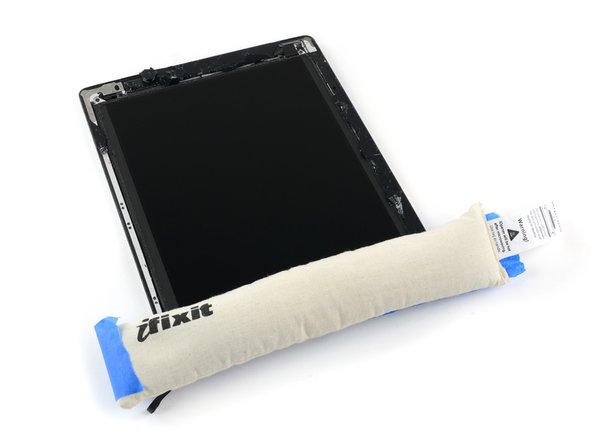
  • Heat the iOpener and apply it to one edge of the iPad, directly on top of the pieces of glass that are still adhered to the rear case of the iPad.

  • Leave the iOpener there for at least 90 seconds, to soften the adhesive holding these small pieces in place.

  • Be careful not to touch or otherwise disturb the LCD.

Inserisci qui la traduzione

Inserisci qui la traduzione

Inserisci qui la traduzione

Inserisci qui la traduzione

Inserisci qui la traduzione

I tuoi contributi sono usati su licenza in base alla licenza open source Creative Commons.