Salta al contenuto principale

Cricut Maker 3 Belt Replacement

Inglese
Italiano

Traduzione in corso passo 25

Passo 25
Cricut Maker 3 Belt Replacement: passo 0, immagine 1 di 3 Cricut Maker 3 Belt Replacement: passo 0, immagine 2 di 3 Cricut Maker 3 Belt Replacement: passo 0, immagine 3 di 3
  • The gear you remove in this step has a small cap at its bottom that will fall off when you slide the gear out of the bracket. Be careful not to lose it.

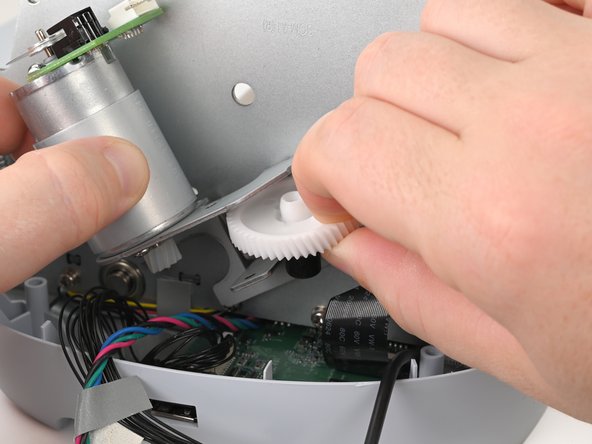
  • With one hand holding the motor, use your other hand to remove the gear from the motor bracket.

  • This part can be tricky. Adjust the motor and pull the gear at different angles until it comes free.

  • As the gear comes free of the bracket, lift the gear out of the belt.

  • During reassembly:

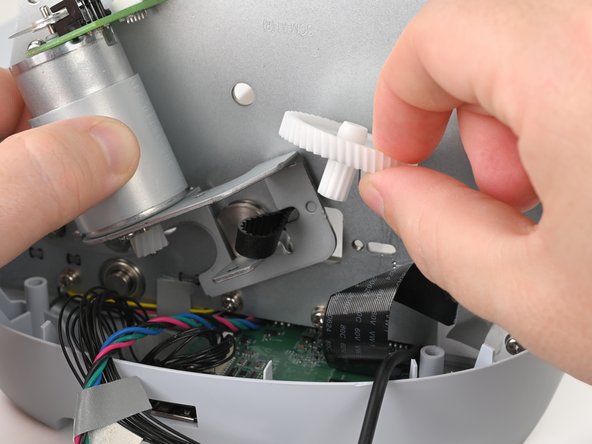
  • Thread the belt through the opening in the motor bracket.

  • Insert the smaller part of the gear into the belt and replace the cap on the bottom of the gear.

  • Hold the gear, belt, and cap in place as you place the gear into the motor bracket.

Inserisci qui la traduzione

Inserisci qui la traduzione

Inserisci qui la traduzione

Inserisci qui la traduzione

Inserisci qui la traduzione

Inserisci qui la traduzione

Inserisci qui la traduzione

Inserisci qui la traduzione

I tuoi contributi sono usati su licenza in base alla licenza open source Creative Commons.