Salta al contenuto principale

Prusa i3 MK3 Filament Sensor Replacement

Traduzione in corso passo 5

Inglese
Italiano
Passo 5
Prusa i3 MK3 Filament Sensor Replacement: passo 0, immagine 1 di 3 Prusa i3 MK3 Filament Sensor Replacement: passo 0, immagine 2 di 3 Prusa i3 MK3 Filament Sensor Replacement: passo 0, immagine 3 di 3
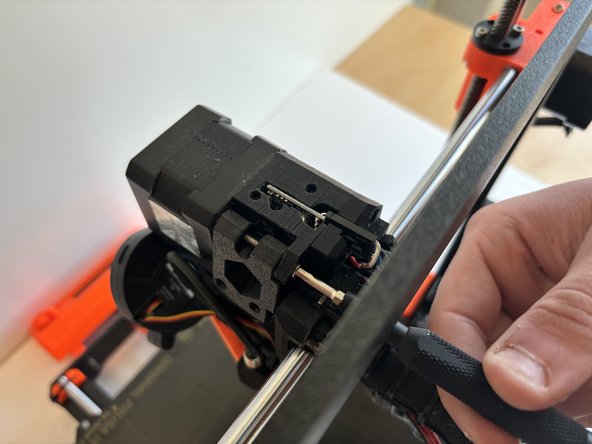
  • Orient the printer so that the screen is facing away from you.

  • Remove the 2.5mm X 30mm socket head screw located on the top left of the backside of the extruder head.

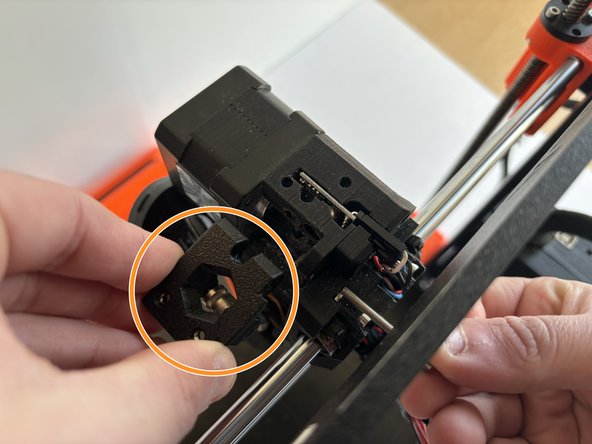
  • Rotate the printer so that the screen is facing to the left.

  • Remove the extruder access door from the extruder head.

  • Be careful not to lose the square nuts that hold the screws removed in Step 3. (They sit inside the extruder access door.)

Inserisci qui la traduzione

Inserisci qui la traduzione

Inserisci qui la traduzione

Inserisci qui la traduzione

Inserisci qui la traduzione

I tuoi contributi sono usati su licenza in base alla licenza open source Creative Commons.