Salta al contenuto principale

Come sostituire l'adesivo del vetro posteriore del tuo iPhone

Inglese
Italiano

Traduzione in corso passo 15
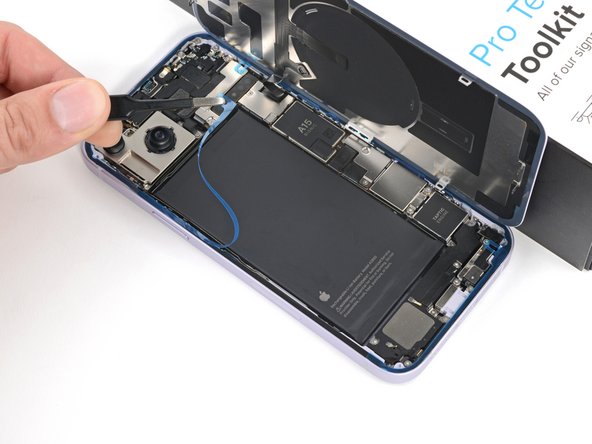
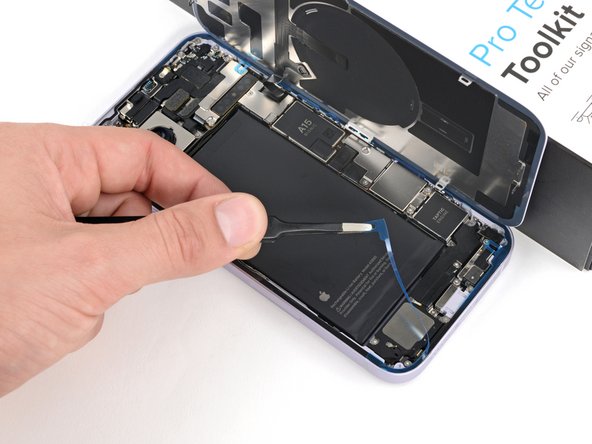
Passo 15
How to Replace Your iPhone Rear Glass Adhesive, Remove the final adhesive liners: passo 0, immagine 1 di 3 How to Replace Your iPhone Rear Glass Adhesive, Remove the final adhesive liners: passo 0, immagine 2 di 3 How to Replace Your iPhone Rear Glass Adhesive, Remove the final adhesive liners: passo 0, immagine 3 di 3
Remove the final adhesive liners
  • Remove the liners from the top, left, and bottom edges of your iPhone. Wait to remove the liner along the right edge.

  • As you remove the liners, be sure nothing touches the exposed adhesive.

Rimuovi le pellicole dai bordi superiore, sinistro e inferiore del tuo iPhone. Attendi a rimuovere la pellicola lungo il bordo destro.

Mentre rimuovi le pellicole, assicurati che nulla tocchi l'adesivo esposto.

I tuoi contributi sono usati su licenza in base alla licenza open source Creative Commons.