Avviso: Stai modificando una guida prerequisita. Tutte le modifiche avranno effetto su tutte le guide che includono questo passo.
Traduzione in corso passo 27
Passo 27


-
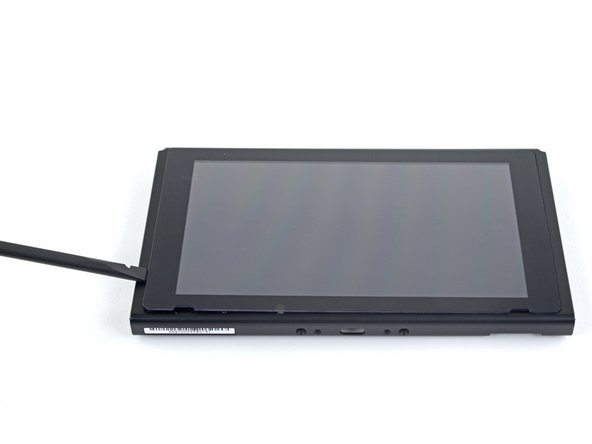
Heat the right edge of the screen for around two minutes to help soften the adhesive.
-
Place the flat end of a spudger into the gap along the left edge of the screen.
-
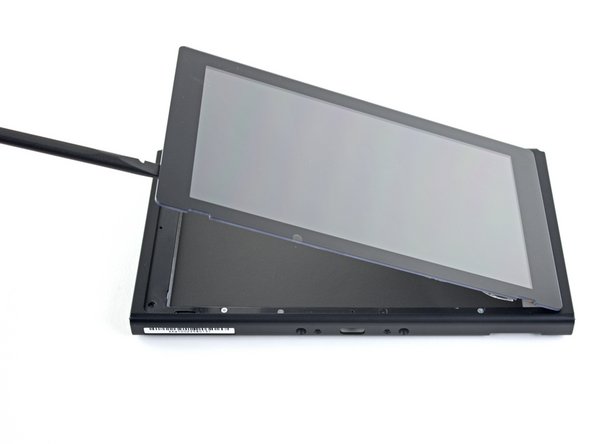
Carefully and slowly lift the left edge of the screen, opening it like a book.
I tuoi contributi sono usati su licenza in base alla licenza open source Creative Commons.