Traduzione in corso passo 2
Passo 2


-
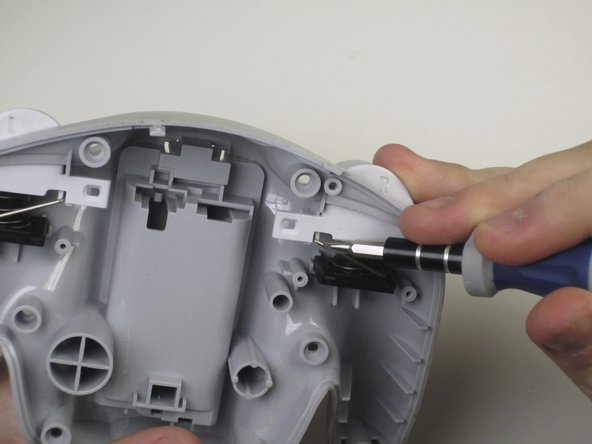
Using the screwdriver, carefully unlock the spring clip from its holder.
-
Once unlocked, use tweezers to pull springs out of its holster.
| [* black] Using the screwdriver, carefully unlock the spring clip from its holder. | |
| - | [* black] Once unlocked, use tweezers to pull springs out of its holster. |
| + | [* black] Once unlocked, use [product|IF145-020|tweezers] to pull springs out of its holster. |
| [* icon_caution] The springs will try to jump out. Be careful not to lose them when setting them aside. | |
| [* icon_note] When reattaching the clips, use tweezers to align the clip with its holder and press in until it clicks. |
I tuoi contributi sono usati su licenza in base alla licenza open source Creative Commons.