Salta al contenuto principale

How to Disassemble a Small Guitar Amplifier

Avviso: Stai modificando una guida prerequisita. Tutte le modifiche avranno effetto sulla guida che include questo passo.

Inglese
Italiano

Traduzione in corso passo 6

Passo 6
How to Disassemble a Small Guitar Amplifier, Discharging capacitors: passo 0, immagine 1 di 3 How to Disassemble a Small Guitar Amplifier, Discharging capacitors: passo 0, immagine 2 di 3 How to Disassemble a Small Guitar Amplifier, Discharging capacitors: passo 0, immagine 3 di 3
Discharging capacitors
  • Electrolytic capacitors can hold a dangerous charge for months or even years after a device has been powered off, thus, it is always a good safety practice to discharge the capacitors before working on an audio amplifier

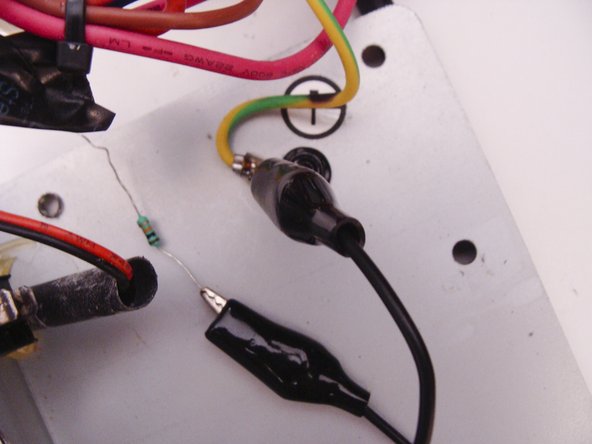
  • Connect one end of an alligator lead to the chassis ground, and the other lead to an 10K ohm resistor

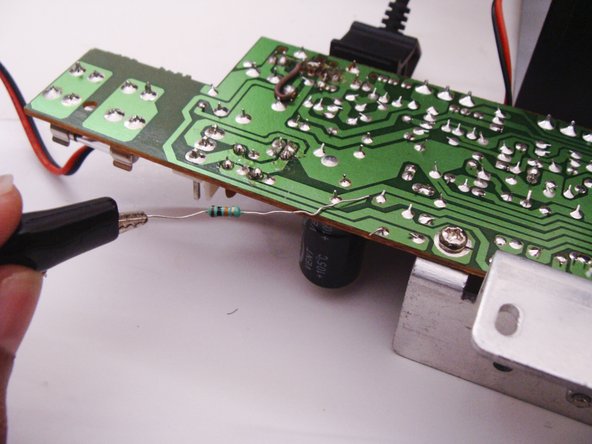
  • Identify the power supply capacitors and touch the 10K ohm resistor's open lead to each of it's leads for a few seconds

  • If you are paranoid, you may check with a voltmeter to ensure that the capacitors are safely discharged

  • It should now be safe to work on your amplifier's circuit board

Inserisci qui la traduzione

Inserisci qui la traduzione

Inserisci qui la traduzione

Inserisci qui la traduzione

Inserisci qui la traduzione

I tuoi contributi sono usati su licenza in base alla licenza open source Creative Commons.