Salta al contenuto principale

Sostituzione Tasti Joy-Con destro Nintendo Switch

Inglese
Italiano

Traduzione in corso passo 12

Passo 12
Nintendo Switch Right Joy-Con Buttons Replacement: passo 0, immagine 1 di 2 Nintendo Switch Right Joy-Con Buttons Replacement: passo 0, immagine 2 di 2
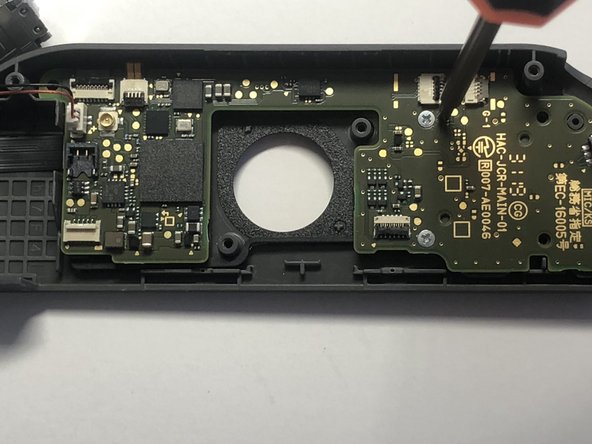
  • Using a Phillips #2 screwdriver, remove the two 1.5 mm screws holding the motherboard in place.

  • Be careful as this is the only thing holding the buttons down and they will become loose once the screws are removed.

Usando un cacciavite a croce Phillips #2, svita le due viti da 1,5 mm che tengono ferma la scheda madre.

Stai attento in quanto queste sono le uniche cose a tenere fermi i tasti e verranno rilasciati dopo aver rimosso le viti.

I tuoi contributi sono usati su licenza in base alla licenza open source Creative Commons.