Salta al contenuto principale

Nintendo Switch 右側ジョイコンボタンの交換

Inglese
Giapponese

Traduzione in corso passo 3

Passo 3
Nintendo Switch Right Joy-Con Buttons Replacement: passo 0, immagine 1 di 3 Nintendo Switch Right Joy-Con Buttons Replacement: passo 0, immagine 2 di 3 Nintendo Switch Right Joy-Con Buttons Replacement: passo 0, immagine 3 di 3
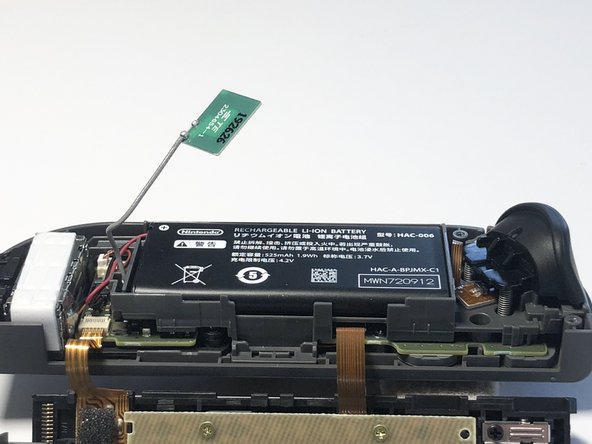
  • Pull the Bluetooth antenna out of its compartment and out of the way of the battery.

  • Using a plastic opening tool, lift the battery up and out of its compartment from the right edge.

  • The battery is held in place by adhesive tape and may take a bit of force to remove.

  • Be careful not to pull the battery or antenna out completely as they are still connected to the motherboard.

Bluetoothアンテナを収納部から引き出し、バッテリーの邪魔にならないようにします。

プラスチックの開口ツールを使って、バッテリーを持ち上げ、パーツ右端から取り出します。

バッテリーは接着テープで装着されているため、取り外しにはかなりの力が必要です。

アンテナもしくはバッテリーを完全に引き出さないでください。まだマザーボードに繋がっている状態です。

I tuoi contributi sono usati su licenza in base alla licenza open source Creative Commons.