Avviso: Stai modificando un prerequisito per la guida che stavi visualizzando. Tutte le modifiche avranno effetto sulla guida che include questo passo.
Traduzione in corso passo 9
Passo 9

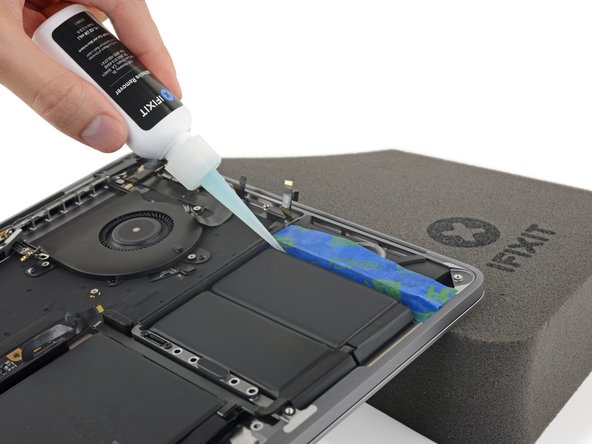


Apply the adhesive remover
-
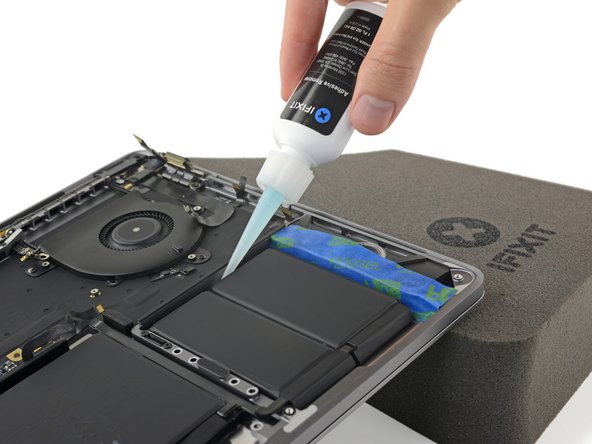
Apply a few drops of adhesive remover underneath the far right battery cell.
-
Wait about two minutes for the adhesive remover to penetrate and soften the battery adhesive before you proceed to the next step.
I tuoi contributi sono usati su licenza in base alla licenza open source Creative Commons.