Avviso: Stai modificando una guida prerequisita. Tutte le modifiche avranno effetto su tutte le guide che includono questo passo.
Traduzione in corso passo 21
Passo 21


-
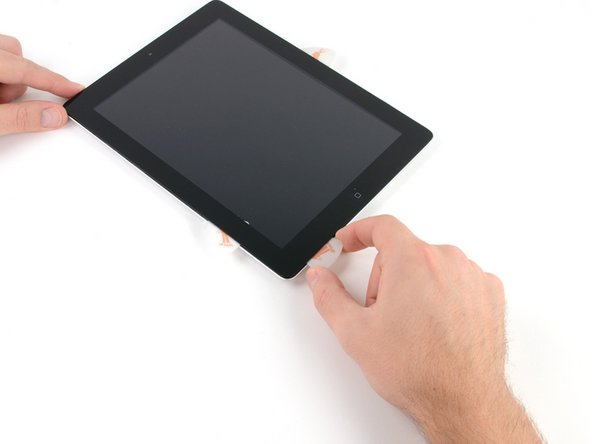
Using the opening pick that is still underneath the bottom edge of the iPad, release the adhesive along the bottom left corner.
| [* black] Using the opening pick that is still underneath the bottom edge of the iPad, release the adhesive along the bottom left corner. | |
| - | [* icon_caution] The bottom of the digitizer cable is only ~1" from the bottom of the iPad. Work carefully and slowly, making sure to not sever this cable. |
| + | [* icon_caution] The bottom of the digitizer cable is only ~1" (25 mm) from the bottom of the iPad. Work carefully and slowly, making sure to not sever this cable. |
I tuoi contributi sono usati su licenza in base alla licenza open source Creative Commons.