Salta al contenuto principale

Reemplazo del panel frontal iPad 4G

Avviso: Stai modificando una guida prerequisita. Tutte le modifiche avranno effetto su tutte le guide che includono questo passo.

Inglese
Spagnolo

Traduzione in corso passo 9

Passo 9
Removing iPad 3 4G Front Panel: passo 0, immagine 1 di 3 Removing iPad 3 4G Front Panel: passo 0, immagine 2 di 3 Removing iPad 3 4G Front Panel: passo 0, immagine 3 di 3
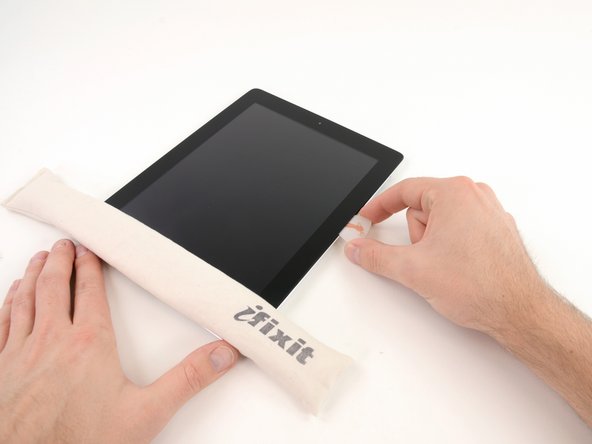
  • It may be necessary to move the heated iOpener back onto the right edge of the iPad as you release the adhesive. This depends on how long the iPad has been able to cool while you were working on it.

  • If the opening pick gets stuck in the adhesive, "roll" the pick along the side of the iPad, continuing to release the adhesive.

Puede ser necesario mover el iOpener caliente sobre el borde derecho del iPad mientras suelta el adhesivo. Esto depende de cuánto tiempo el iPad ha podido enfriar mientras trabajaba en él.

Si la púa de apertura se queda pegada en el adhesivo, "rodar" la púa a lo largo del lado del iPad liberando el adhesivo.

I tuoi contributi sono usati su licenza in base alla licenza open source Creative Commons.