Avviso: Stai modificando una guida prerequisita. Tutte le modifiche avranno effetto su tutte le guide che includono questo passo.
Traduzione in corso passo 4
Passo 4


-
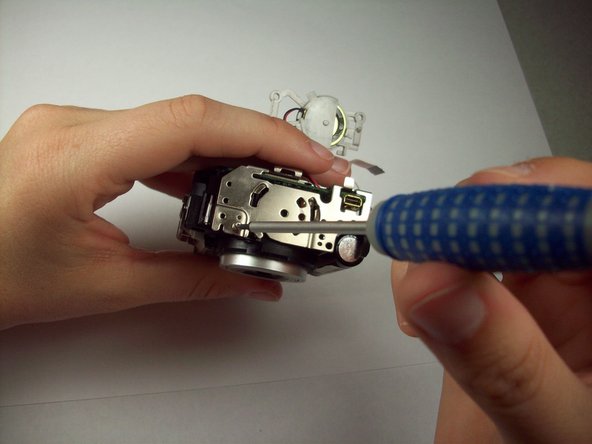
Using a Phillips 00 screwdriver, remove the 4.25 mm screw on bottom left edge of the LCD bracket.
-
Lift off the LCD bracket and slip the grey bracket through the LCD bracket. The LCD bracket should now be completely removed.
I tuoi contributi sono usati su licenza in base alla licenza open source Creative Commons.